

Step 7: Check the Back Panel
Lay the back panel flat with the right side facing upward. Its overall shape should be circular, with the zipper running across the diameter.
Check that the finished seamline radius is approximately 8 inches (20.3 cm). The curved perimeter should match the front panel’s outer seamline.
Press the zipper seam carefully, moving the iron away from the zipper teeth and following the zipper manufacturer’s care recommendations.
Step 8: Join the Front and Back
Place the patchwork front and back together with their right sides facing each other. Match the outer circular edges carefully.
Position the zipper near one of the lower sections of the cushion so it is less noticeable when the pillow is displayed.
Match the center points, quarter points, and any visible alignment marks. Pin around the entire perimeter.
Using a 1/2-inch (1.3 cm) seam allowance, sew around the circular edge. Stitch slowly over the patchwork seams to avoid skipped stitches.
Leave the zipper slightly open so that the cover can be turned right side out after sewing. Reinforce the stitching near the zipper ends with a few additional stitches.
Trim any bulky seam intersections carefully. Where the curved seam allowance needs more flexibility, make small clips perpendicular to the seam, stopping well before the stitching line.
Step 9: Turn and Inspect the Cushion Cover
Turn the cushion cover through the zipper opening. Gently work the circular edge into shape using your fingers.
Do not pull sharply on the zipper or the patchwork seams. Use a blunt turning tool if necessary to smooth the perimeter without damaging the fabric.
Check the outside for uneven seams, loose threads, or puckering. Press the perimeter gently from the wrong side where accessible, avoiding excessive heat on delicate prints.
Step 10: Make the Decorative Covered Buttons
Choose a coordinating fabric for the center buttons. A small floral print or polka dot fabric works especially well because it creates a decorative focal point without overpowering the radial design.
Use two matching covered buttons measuring approximately 1 1/2 inches (3.8 cm) across. Cut the fabric according to the button-covering kit instructions.
Follow the manufacturer’s assembly directions to cover both buttons. If the chosen fabric is lightweight, apply a small piece of lightweight fusible interfacing before covering the button.
Using two buttons creates a balanced appearance on the front and back of the pillow. The buttons also help maintain the decorative indentation when the cushion is filled.
Step 11: Attach the Center Buttons
Insert the round pillow form into the cover and position it evenly. Close the zipper temporarily to check the overall shape.
Mark the center point on both sides of the cushion. Use a removable fabric marker to make sure the two points align directly opposite each other.
Thread a long upholstery needle with strong upholstery thread. Knot the thread securely and insert the needle through the back button’s shank or attachment loop.
Pass the needle through the cushion filling and fabric layers toward the marked front center. Attach the front covered button and pass the needle back through the cushion to the opposite button.
Repeat the pass if necessary, then pull the thread gently until a small decorative indentation forms at the center. Do not pull so tightly that the fabric tears or the pillow becomes excessively compressed.
Secure the thread with several firm knots around the button attachment and trim the excess thread.
Check the tufting from both sides. The two buttons should sit securely, and the fabric around the center should form a balanced, attractive indentation.
For decorative cushions used in homes with small children or pets, consider omitting detachable buttons or using securely attached embroidered center details instead. Always inspect decorative attachments regularly.
Step 12: Final Assembly and Shaping
Adjust the pillow insert through the zipper opening until the filling is evenly distributed around the circumference.
Smooth the radial seams with your hands and check that no wedge is twisted or folded inside the cover.
Close the zipper completely and position the cushion on a flat surface. Turn it slightly to inspect the overall shape from different directions.
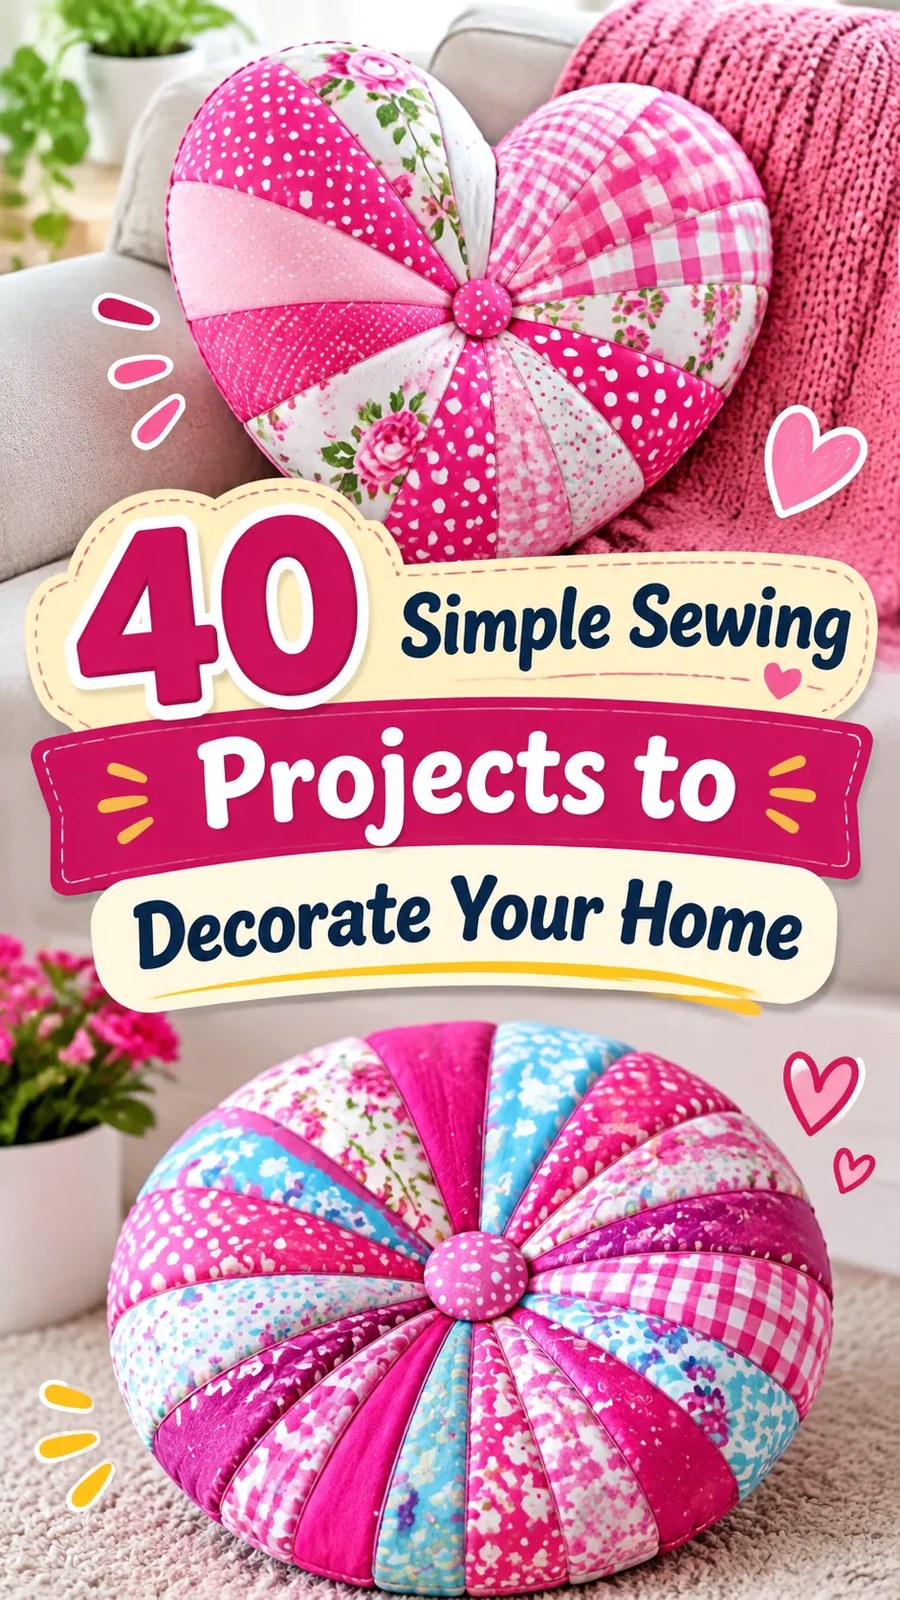
The finished cushion should have a rounded outline, clearly visible radial fabric sections, and a decorative center indentation.
Give the fabric a final light press if needed, following the fabric care instructions. Your handmade round patchwork pillow is ready to decorate your home.
Pattern Construction Checklist
- 16 wedge panels cut and arranged correctly.
- All radial seams stitched using a consistent 1/4-inch allowance.
- Front circumference checked against the 16-inch finished diameter.
- Two back semicircles joined with a centered 14-inch zipper.
- Front and back assembled using a 1/2-inch outer seam allowance.
- Curved seam allowances clipped where necessary.
- Cover turned through the zipper opening.
- Both center buttons securely attached.
- Insert distributed evenly and zipper closed.
How to Customize the Patchwork Pillow
Change the Number of Fabric Sections
The 16-wedge construction creates a balanced radial design with plenty of room for different prints. However, you can modify the appearance by changing the number of wedges.
- 8 wedges: Creates wider fabric sections and a simpler patchwork appearance. Use a 45-degree angle for each wedge.
- 12 wedges: Produces a moderately detailed design. Each wedge occupies a 30-degree angle.
- 16 wedges: Offers a balanced arrangement with narrow, colorful sections.
- 20 wedges: Creates a more intricate appearance, although the center becomes more crowded and requires extra precision.
Whenever you change the wedge count, divide 360 degrees by the number of sections and use the resulting angle when drafting the new wedge pattern.
The seamline radius can remain 8 inches (20.3 cm) if you want to retain the same approximate finished diameter.
Create Different Color Combinations
One of the most enjoyable parts of this sewing project is choosing the fabrics. The same pattern can look completely different depending on the prints and colors you select.
For a cheerful cottage-inspired cushion, combine pink floral cotton, pale gingham, small polka dots, and delicate botanical prints.
For a more modern appearance, try navy, mustard, cream, and muted geometric fabrics. A monochromatic cushion using different shades of one color can also create a sophisticated effect.
You can even create a coordinated pair of pillows by using the same fabric collection but changing the order of the wedges.
Adjust the Finished Pillow Size
The base pattern creates a pillow measuring approximately 16 inches (40.6 cm) in diameter. To create a smaller or larger cushion, change the seamline radius while retaining the 16-wedge layout.
Use the following approximate calculations:
- 12-inch pillow: Use a 6-inch (15.2 cm) seamline radius.
- 14-inch pillow: Use a 7-inch (17.8 cm) seamline radius.
- 16-inch pillow: Use an 8-inch (20.3 cm) seamline radius.
- 18-inch pillow: Use a 9-inch (22.9 cm) seamline radius.
- 20-inch pillow: Use a 10-inch (25.4 cm) seamline radius.
For every new size, redraft the wedge with the same 22.5-degree angle and adjust the back semicircle pattern to match the new finished diameter. Add the specified seam allowances outside the new seamlines.
Choose a pillow insert that corresponds to the finished cover dimensions. A slightly fuller insert can create a plumper decorative appearance, but avoid forcing an oversized insert into the cover because this can distort the seams and zipper.
Sewing Insight: Make the Center Look Neat
The point where all 16 wedge seams meet is the most noticeable technical detail of this project. Keep the seam allowances consistent, reduce unnecessary bulk, and avoid sewing beyond the marked center point. A carefully attached covered button will create a clean decorative focal point while hiding minor irregularities in the seam intersection.
Optional Decorative Variations
Once you understand the basic construction, experiment with additional decorative details.
- Add narrow lace trim to selected wedge sections before joining the panels.
- Use contrasting piping around the outer edge for a more defined finish.
- Replace the center button with a larger fabric-covered decorative button.
- Choose velvet or textured cotton for a few accent wedges.
- Use a coordinated solid fabric for the back to make the patchwork front stand out.
- Add subtle hand embroidery to selected sections before assembly.
- Use seasonal fabrics for holiday and special-occasion decorating.
If adding lace, piping, or other dimensional trims, test the extra thickness with your sewing machine before constructing the complete cushion.
Common Patchwork Pillow Sewing Mistakes and Solutions
Uneven Wedge Sections
If the finished wedges have noticeably different widths, check the original cutting template and make sure the fabric was not stretched while cutting or sewing.
Use the same pattern piece for every section. Check the cutting line, grainline, and seam allowance before cutting each wedge.
A Bulky or Messy Center
Too many thick seam allowances meeting at one point can create a raised, uneven center. This is particularly common when sewing many wedge sections from heavier fabrics.
Use medium-weight cotton, press the seams carefully, and trim excess bulk gradually. Keep the seam allowance intact close to the stitching line.
Puckering Along the Curved Edge
Puckering can occur when the fabric is stretched during handling or when the front and back panels are not accurately matched.
Before sewing the outer seam, pin the front and back at the top, bottom, and side points. Distribute any minor differences evenly without stretching either panel.
If one section is significantly longer than its matching edge, check the seamline radius and correct the panel before continuing.
Zipper Problems
A zipper that waves or becomes difficult to operate may have been stretched during installation. Keep the zipper tape flat and use clips instead of pulling it into position.
Always test the zipper before joining the cushion front and back. This makes it easier to correct problems while the panels are still accessible.
A Distorted Circular Shape
If the cushion looks oval rather than round, compare the front and back seamline measurements. The front should have a consistent 8-inch (20.3 cm) seamline radius, and the back should match the same circular measurement.
Also check that the pillow insert is evenly distributed. Excessive filling in one area can change the apparent shape even when the cover is correctly sewn.
Pressing, Finishing, and Pillow Care
Pressing Techniques for Neat Patchwork
Pressing is essential when making a cushion from multiple wedge-shaped sections. It helps the seams lie flat and keeps the circular front from developing unnecessary bumps.
Press each seam after stitching rather than waiting until the entire front is complete. Use a moderate iron temperature appropriate for the fabric and avoid dragging the iron across the bias edges.
For delicate prints, use a pressing cloth. Apply gentle pressure to the center intersection so the fabric does not become distorted.
Finishing the Inner Seams
Quilting cotton does not usually require an elaborate seam finish, but the raw edges should still be protected against excessive fraying.
Suitable options include:
- Zigzag finish: Stitch along the raw edges using a medium-width zigzag stitch.
- Overcast stitch: Use the machine’s overcasting function if available.
- Pinked edges: Trim suitable lightweight cotton seam allowances with pinking shears.
- Serger finish: Overlock exposed seam allowances for a clean result.
Keep seam finishes away from the stitching line so they do not interfere with the finished dimensions.
Washing and Storage
Care instructions depend on the fiber content of the selected fabrics, the zipper, the buttons, and the pillow insert.
For washable cotton covers, close the zipper before laundering and follow the fabric manufacturer’s recommended washing temperature. Use a gentle cycle if the patchwork contains delicate decorative details.
Remove the pillow insert before washing the cover. Air-dry when practical and reshape the circular cover while slightly damp if the care instructions allow.
For fabrics that may shrink differently, test a small sample before washing the finished cushion. Store the pillow in a clean, dry location away from prolonged direct sunlight to help preserve its colors.
Important: If your decorative pillow includes covered buttons, check that their attachment remains secure. For cushions intended for children, avoid detachable small decorations and use securely embroidered details instead. Keep decorative cushions out of infant sleep spaces.
At a Glance: DIY Patchwork Cushion
- Best fabric: Medium-lightweight quilting cotton and compatible woven fabric scraps.
- Skill level: Confident beginner to intermediate, with accurate piecing and zipper installation.
- Key technique: Joining 16 equal wedge-shaped panels into a circular patchwork front.
- Finished size: Approximately 16 inches (40.6 cm) in diameter.
- Finishing method: Zipper closure, circular outer seam, and decorative center button tufting.
Create Your Own Colorful Handmade Patchwork Pillow
These colorful patchwork pillow ideas are a wonderful way to transform ordinary fabric remnants into something beautiful and useful. The combination of floral prints, polka dots, stripes, and gingham creates a lively decorative effect, while the radial construction gives the finished cushion an interesting shape from every angle.
The 16-wedge sewing pattern offers a practical starting point for creating your own round accent cushion. By carefully drafting the sections, maintaining consistent seam allowances, and checking the circular measurements before assembly, you can achieve a balanced patchwork design with a neat finish.
Before cutting your main fabric, read through the complete sewing tutorial and check that your measurements match your intended pillow insert. Prepare and press your fabrics, test the stitches on scraps, and make sure your sewing machine handles the chosen fabric comfortably.
Most importantly, have fun choosing your favorite colors and prints. Try mixing leftover quilting cotton, adding a decorative button, or creating a matching set of cushions in different sizes. Each fabric combination gives the project a different personality, making it a lovely handmade home decor idea and a thoughtful gift for someone who appreciates creative sewing.
Take your time with the patchwork seams, enjoy the process, and personalize the finished cushion to complement your favorite space. A little fabric, careful stitching, and a creative color arrangement can turn simple sewing supplies into a cheerful decorative accessory.
Tags
Patchwork Pillow
Pillow Sewing Ideas
DIY Cushion Cover
Radial Patchwork
Easy Sewing Projects
Handmade Home Decor
Fabric Scrap Sewing
Free Sewing Pattern
