


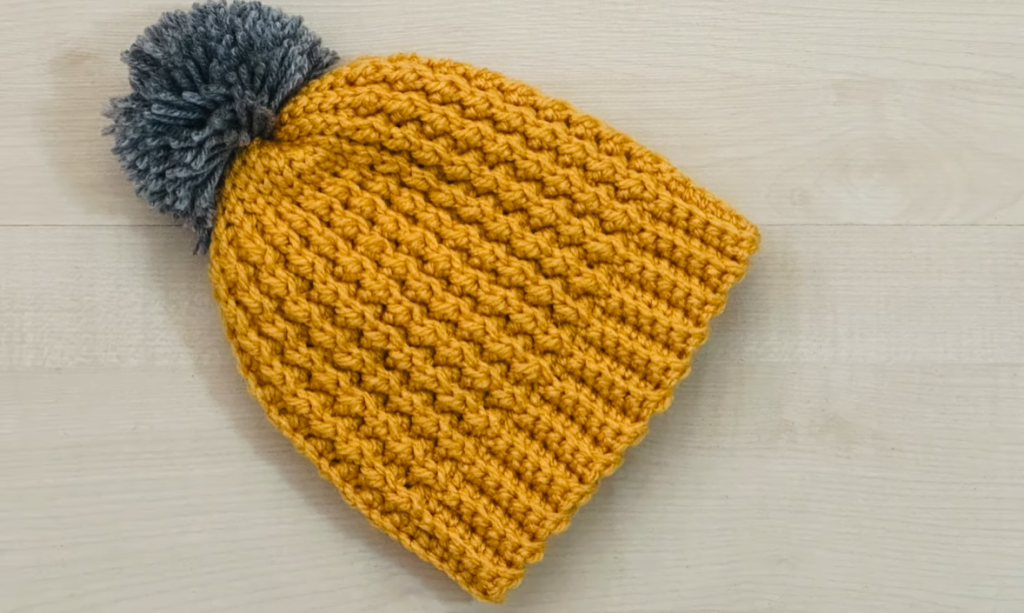
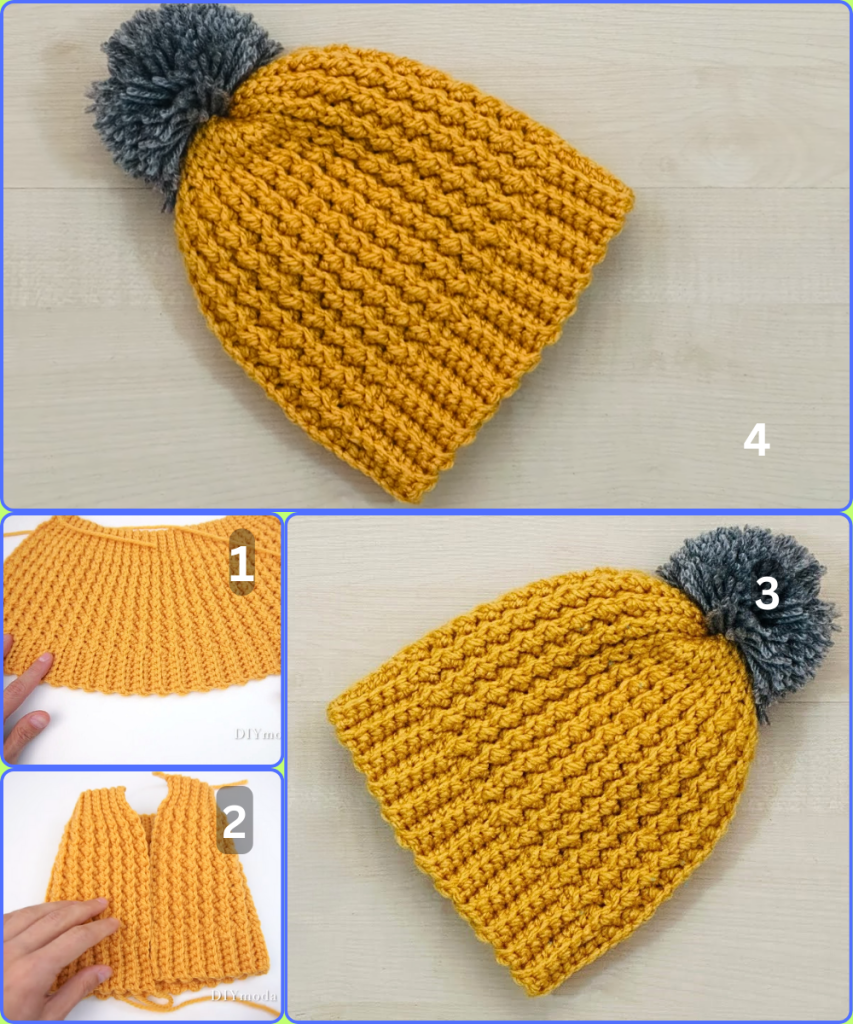
Create a beautifully textured and cozy hat with this easy-to-follow pattern. We’ll combine a stretchy, ribbed brim with the eye-catching Herringbone Half Double Crochet (HHDC) stitch for the main body of the hat. This stitch creates a dense, angled texture that looks amazing and feels super warm. This pattern is worked in the round from the bottom up to create a seamless finish.
What You’ll Need
- Yarn:
- Approximately 150 grams (about 270 yards) of worsted-weight yarn. Choose a yarn that is smooth and not too fuzzy to highlight the stitch definition.
- Hook:
- A 5.0 mm (H/8) crochet hook for the brim.
- A 5.5 mm (I/9) crochet hook for the body of the hat. Using a larger hook for the main body will prevent the fabric from being too tight.
- Tools:
- Scissors
- Tapestry needle for weaving in ends
- Stitch marker
- Pom-pom maker (optional, but a great addition!)
Key Crochet Stitches & Techniques
- ch (chain): Yarn over, pull yarn through the loop on your hook.
- sl st (slip stitch): Insert hook into the next stitch, yarn over, and pull through both the stitch and the loop on your hook.
- sc (single crochet): Insert hook into the stitch, yarn over, pull up a loop (2 loops on hook), yarn over, and pull through both loops.
- hdc (half double crochet): Yarn over, insert hook into the stitch, yarn over and pull up a loop (3 loops on hook), yarn over and pull through all 3 loops on the hook.
- sc in the back loop only (BLO): Work a single crochet stitch by inserting your hook into the back loop of the stitch only. This creates a ribbed texture.
- Herringbone Half Double Crochet (HHDC): This is our main stitch!
- Yarn over.
- Insert your hook into the first loop of the previous stitch (this is the last loop you pulled up).
- Insert your hook into the next stitch.
- Yarn over and pull up a loop through the stitch and the loop on your hook (2 loops on hook).
- Yarn over and pull through both remaining loops on your hook.
The Pattern: Let’s Get Started!
The Ribbed Brim
We’ll start with a ribbed brim that is worked in rows and then joined together to form a circle. This method creates a stretchy, professional-looking brim.
Using a 5.0 mm (H/8) hook
Pages: 1 2
