

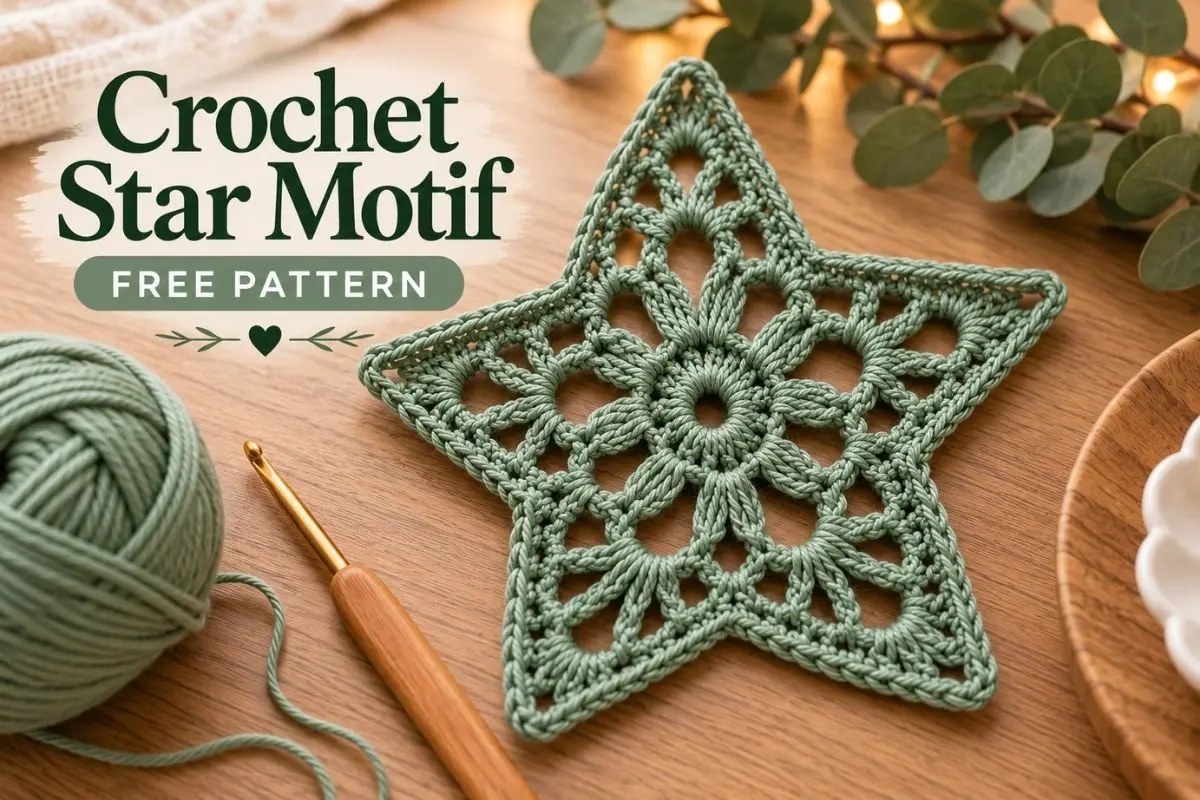
A good crochet star motif is one of those patterns that can become much more than a single project.
Worked with a smooth cotton yarn, this five-point star has an open center, delicate chain spaces and clearly defined points. It looks beautiful on its own, but it can also become a Christmas ornament, garland piece, gift topper, wall decoration or decorative appliqué.
The openwork construction keeps the star lightweight while still giving it enough structure to hold its shape after blocking.
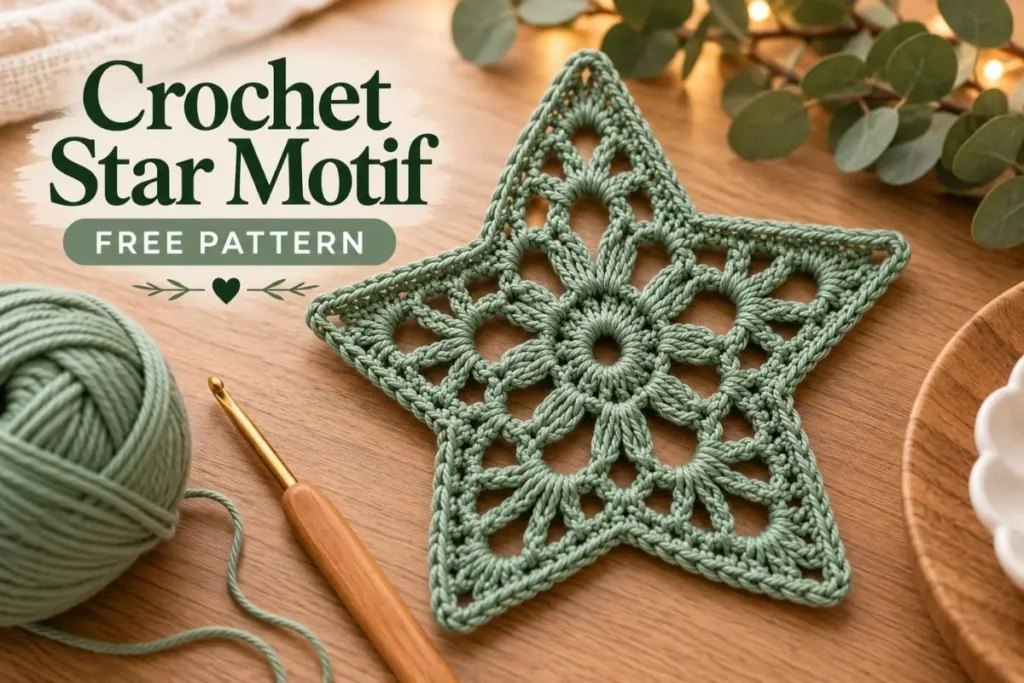
One of the things that makes this design especially useful is how easily the finished look changes with yarn choice. A small hook and fine cotton create a delicate ornament, while thicker yarn turns the same motif into a much larger decorative star.
The sage green version has a soft, modern feel, but traditional white, cream, red and metallic shades work just as well.
Crochet Star Motif Construction
The star begins with a small circular center.
Five evenly spaced sections are then created around that center. Those sections become the foundation for the five points of the star.
Each point is worked separately, beginning with three open shells and gradually narrowing until only one shell remains.
A tall-stitch tip finishes each point and gives the star its recognizable shape.
The construction is easier to understand once the center is complete because the repeating five-part structure becomes clearly visible.
Materials
You will need:
- Cotton, cotton-blend or smooth acrylic yarn
- Crochet hook appropriate for your yarn
- Yarn needle
- Scissors
- Blocking mat
- Rust-resistant pins
- Optional fabric stiffener
- Optional ribbon, twine or yarn for hanging
Yarn suggestion
For a motif similar in size and structure to the reference piece, a sport, DK or light worsted cotton yarn works particularly well.
Cotton helps the open spaces stay defined and usually responds very well to blocking.
Finished Size
Using DK-weight yarn and approximately a 3.5–4 mm crochet hook, the finished star should measure roughly:
6–7 inches (15–18 cm) across after blocking.
The exact measurement will depend on your yarn, hook and tension.
Gauge is not essential for this project.
Abbreviations
ch – chain
sl st – slip stitch
sc – single crochet
hdc – half double crochet
dc – double crochet
tr – treble crochet
dtr – double treble crochet
st / sts – stitch / stitches
sp – space
rnd – round
rep – repeat
Special Stitch
Shell
Work:
2 dc, ch 2, 2 dc
into the indicated space.
Crochet Star Motif Pattern
Center – Round 1
Make a magic ring.
Ch 3. This counts as the first dc.
Work 14 dc into the ring.
Pull the magic ring closed.
Join with a sl st to the top of the beginning ch 3.
15 dc
Round 2
Ch 1.
Sc in the same stitch.
Ch 3.
Skip the next 2 dc.
Sc in the next dc.
Repeat:
ch 3, skip next 2 dc, sc in next dc
around.
After the final ch 3, join with a sl st to the first sc.
You should have:
5 sc and 5 ch-3 spaces
Round 3
Sl st into the first ch-3 sp.
Ch 3. This counts as the first dc.
Work 4 dc in the same ch-3 sp.
Ch 2.
In each remaining ch-3 sp work:
5 dc, ch 2
Join with a sl st to the top of the beginning ch 3.
You should now have:
5 groups of 5 dc, separated by 5 ch-2 spaces.
Creating the Foundation for the Five Points
Round 4
Ch 1.
Sc in the first dc of the first 5-dc group.
Ch 3.
Skip the next dc.
Sc in the next dc.
Ch 3.
Skip the next dc.
Sc in the final dc of that group.
Ch 3 across the ch-2 space.
Sc in the first dc of the next 5-dc group.
Continue the same sequence around:
ch 3, skip 1 dc, sc in next dc, ch 3, skip 1 dc, sc in next dc, ch 3 across the next ch-2 space, sc in first dc of next group.
When you reach the final section, work the last ch 3 and join with a sl st to the first sc.
You should now have:
15 ch-3 spaces
These spaces are divided naturally into five groups of three.
Each group of three spaces will become one point of the star.
Making the First Star Point
Each star point is worked separately.
Use 3 consecutive ch-3 spaces for each point.
Point – Row 1
Join yarn with a sl st in the first ch-3 sp of one three-space section.
In the same space work:
ch 3, dc, ch 2, 2 dc
This creates the first shell.
Ch 1.
Work a shell in the next ch-3 sp.
Ch 1.
Work a shell in the third ch-3 sp.
Turn.
You should have:
3 shells
with two ch-1 spaces between them.
Point – Row 2
Sl st carefully across the first shell until you reach the first ch-1 space between the shells.
In that ch-1 sp work:
2 dc, ch 2, 2 dc
Ch 2.
In the next ch-1 sp work:
2 dc, ch 2, 2 dc
Turn.
You should now have:
2 shells
Point – Row 3
Sl st across the first shell until you reach the ch-2 space between the two shells.
In this ch-2 sp work:
2 dc, ch 2, 2 dc
Turn.
You now have:
1 shell
Forming the Point
Sl st across the shell until you reach its center ch-2 space.
In the same space work:
dc, tr, dtr
Ch 3.
Sl st into the first chain of the ch-3 to form a small picot.
Then work:
dtr, tr, dc
into the same ch-2 space.
Fasten off.
Your first star point is complete.
Complete the Remaining Four Points
Move to the next unused group of three ch-3 spaces.
