

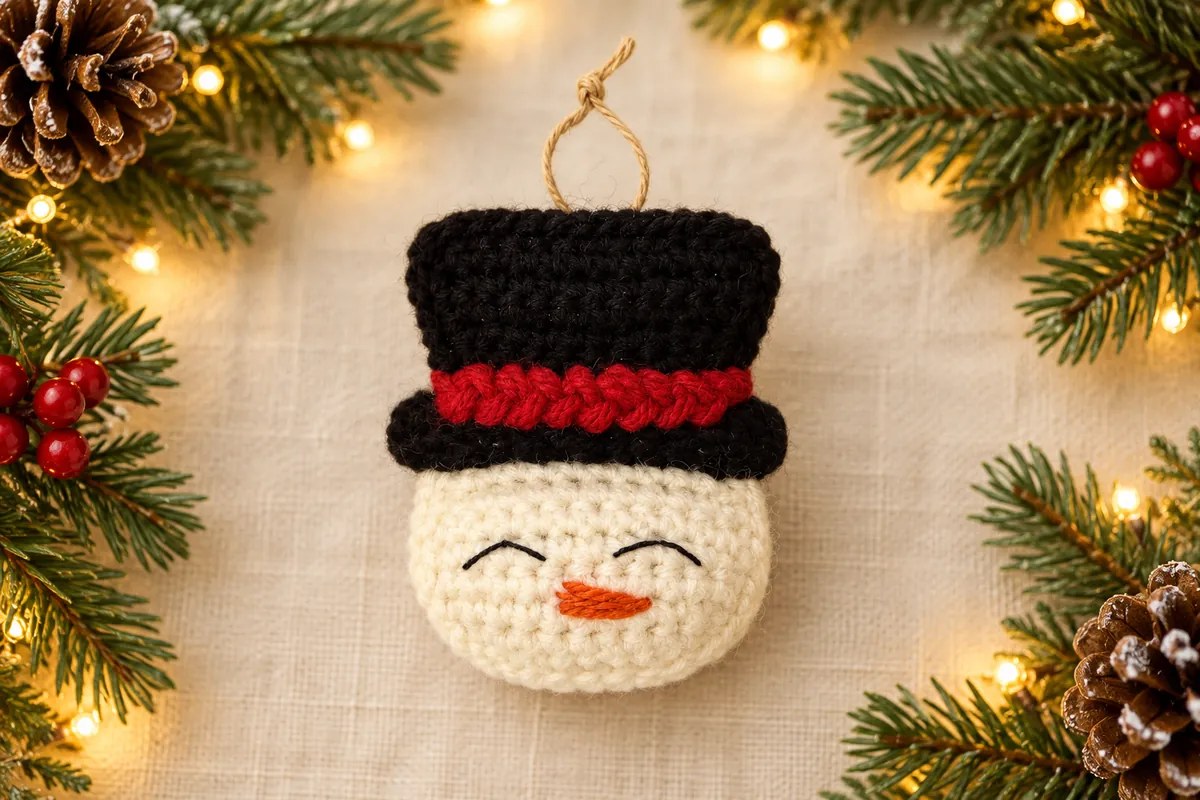
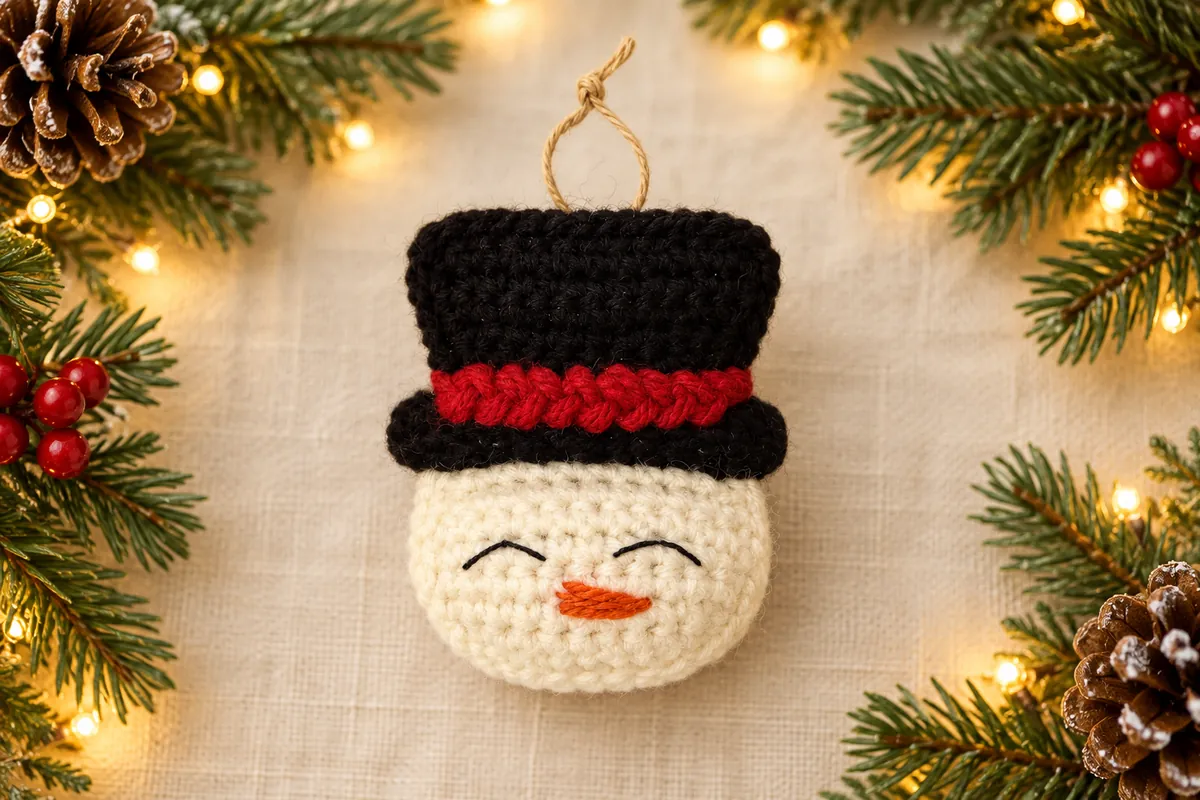
A crochet snowman ornament can say plenty with a few small details: a cream face, two sleepy embroidered eyes and a black top hat with a bright red band. This little head-shaped decoration keeps the look of the reference without adding a body, buttons or a scarf.
The pattern below builds the face from two circular panels, joined around their edges with a little stuffing between them. The hat is made separately in flat rows, then sewn across the top of the head. An orange embroidered nose finishes the expression.
Make one first to check the proportions with your yarn. You can hang it on a Christmas tree, tie it to a gift or use it as a small seasonal wall decoration. For another soft holiday character, try the Santa star amigurumi with its red hat and cheerful face.
Yarn, tools and a few useful choices
- DK cotton or a smooth acrylic yarn in ivory, black and red.
- A 2.5–3 mm hook as a starting point; adjust for firm, even fabric.
- Small amounts of orange yarn and black embroidery thread.
- Polyester filling, a blunt yarn needle, scissors and a stitch marker.
- A short length of strong cord or yarn for the hanging loop.
Keep the main yarns close in thickness. A much heavier black yarn makes the hat overpower the face, while a very fine red strand can disappear between the black sections. Smooth yarn makes it easier to see the stitches when joining the panels.
This crochet snowman ornament is a photo-inspired interpretation, suitable for a confident beginner who can increase in rounds, work flat rows and sew pieces together. It uses US terms. Finished size and yarn use depend on your materials; there is no measured sample gauge for this version.
Stitches and construction notes
ch means chain, sc means single crochet, sl st means slip stitch, inc means 2 sc in the same stitch, and st/sts means stitch/stitches. MR means magic ring. The Craft Yarn Council abbreviation guide explains standard US stitch names.
Work the head panels in continuous rounds without joining or turning. Move a marker to the first stitch of each round. Work the hat in rows, turning after each row; its turning chain never counts as a stitch. The hat components are flat pieces rather than a stuffed three-dimensional hat.
Use firm stitches for the head so the filling stays inside. The goal is a lightly padded disk, not a tightly stuffed ball. Keep the back panel plain and embroider the face before joining the two circles.
Crochet snowman ornament: make two head panels
With ivory, make a magic ring. Repeat the following instructions twice to create matching front and back panels.
- Round 1: 6 sc in the ring. Pull the ring closed. (6 sts)
- Round 2: Inc in each stitch around. (12 sts)
- Round 3: Repeat (sc, inc) six times. (18 sts)
- Round 4: Repeat (2 sc, inc) six times. (24 sts)
- Round 5: Repeat (3 sc, inc) six times. (30 sts)
- Round 6: Repeat (4 sc, inc) six times. (36 sts)
- Round 7: Sc in each stitch around. (36 sts)
After Round 7, make a slip stitch in the next stitch to finish the edge, then fasten off. This finishing slip stitch does not add to the 36-stitch joining count. Weave the magic-ring tail securely through the back of the stitches. Keep the two panels facing the same way when comparing them.
The last round adds a slight curve at the edge, helping the joined panels hold a little filling. Check that the circles have the same number of stitches before embroidering. A missing increase will make one panel smaller and harder to align.
Give the face its sleepy expression
Choose the front panel and place a marker at its top. Lay the hat pieces against it once they are made to find the visible face area. The eyes should sit below the brim, with the nose between them and a little lower.
With black thread, embroider two short upward-curving arches for closed smiling eyes. Use a few small stitches for each curve rather than one loose strand. Check the spacing from the front before securing the thread on the back.
For the nose, make a short horizontal orange triangle with satin stitches: the left end is a little wider, and the right end narrows to a point. Keep the stitches close to the fabric so they do not snag. The reference has a simple face without a mouth; leaving that space clear keeps the expression soft.
The black crown and red band
Hat crown
With black, ch 17. In the second chain from the hook, work 1 sc, then sc in each remaining chain. Row 1 has 16 sc.
