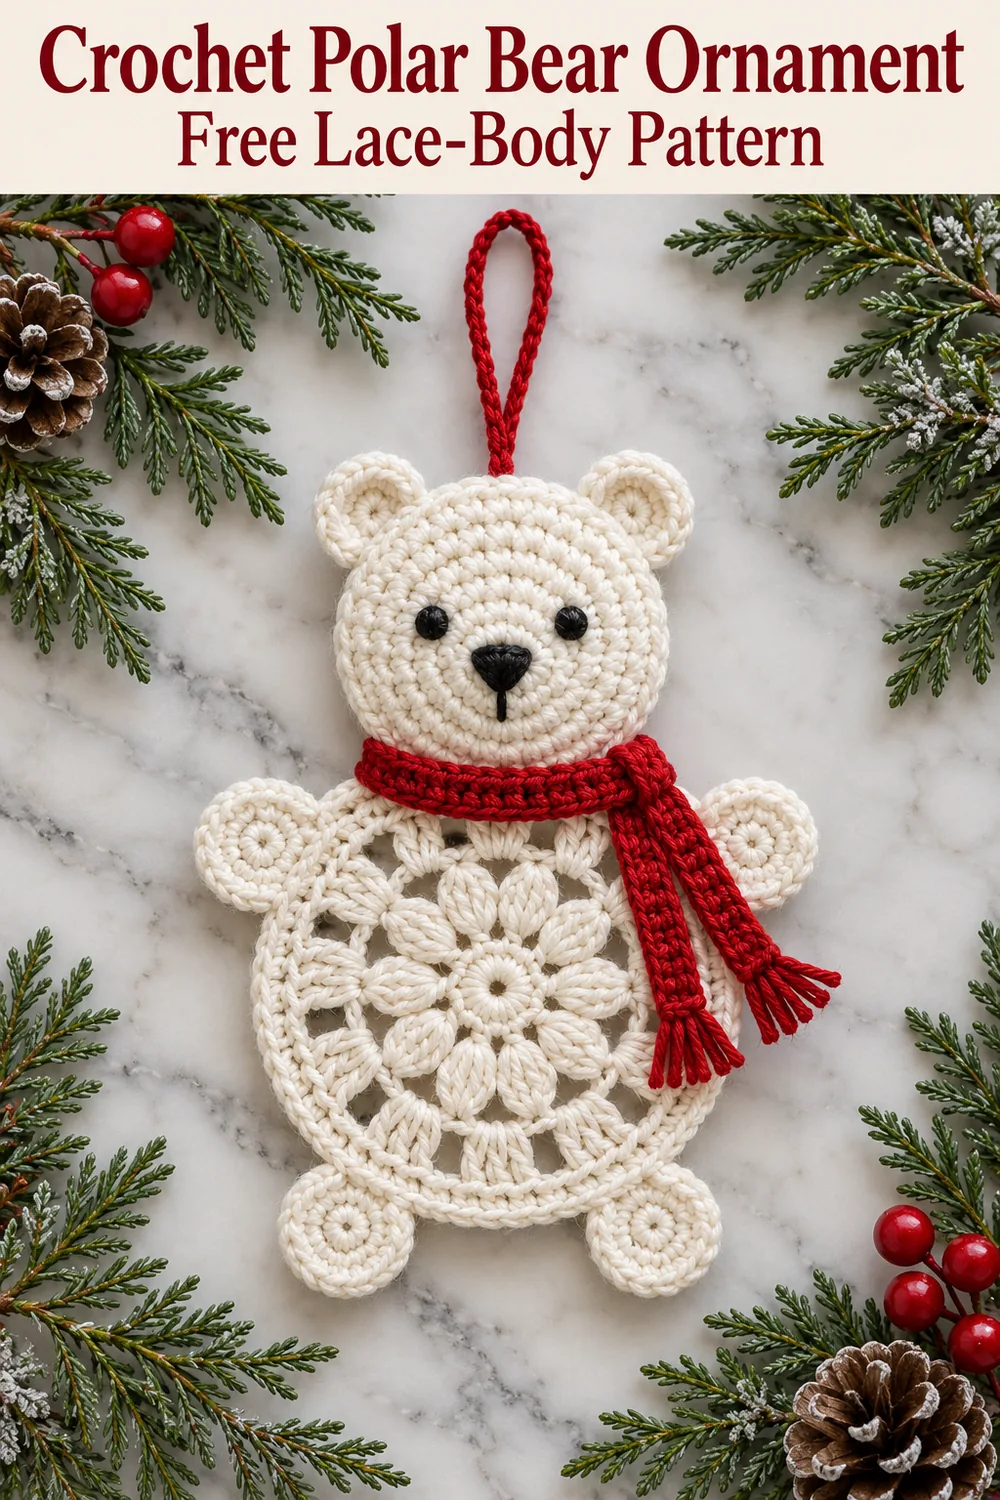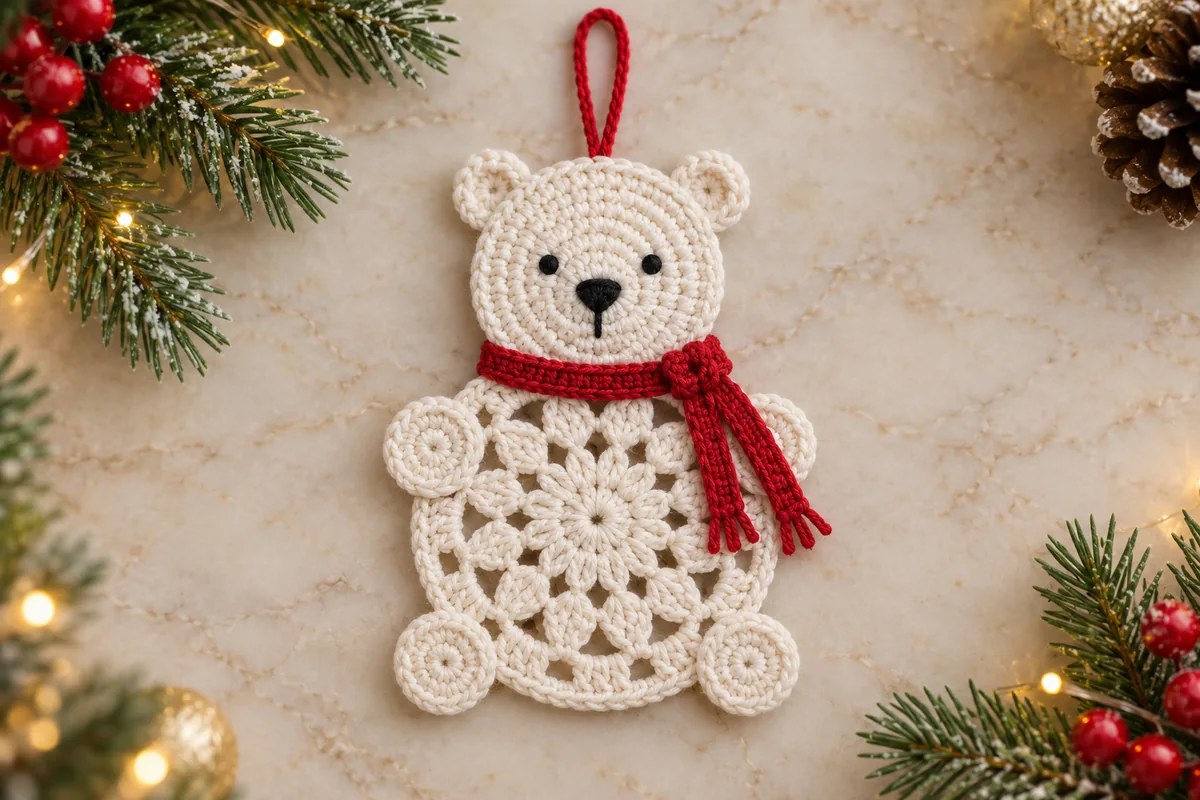
Make the last ch 2 before joining. Each old dc receives exactly one cluster. Do not add another closing chain inside the cluster; its shared top is followed by the two stated chains.
Round 3: open granny groups
Attach ivory in any ch-2 space and ch 2. Work (3 dc in the space, ch 1) in each of the twelve ch-2 spaces around. Join to the first actual dc and fasten off. 36 dc in 12 groups, with 12 ch-1 spaces.
The dc groups sit between the previous round’s petals. Keep the chain spaces open; these gaps are part of the medallion, rather than missed stitches.
Round 4: single-crochet outline
Attach ivory in the first dc of any group and ch 1. Repeat (sc in each of the next 3 dc, 1 sc in the next ch-1 space) twelve times. Join to the first sc and fasten off. 48 sc.
The edge uses 36 dc tops plus twelve chain spaces: 36 + 12 = 48 sc. The sc in a chain space goes under the whole chain, rather than into a cluster top from an earlier round. There are no increases in this edging round.
Red scarf: two narrow rows
With red, ch 41.
Row 1: Hdc in the second chain from the hook and in each remaining chain. 40 hdc. Skip only the one chain nearest the hook.
Row 2: Ch 1, turn, hdc BLO in each of the 40 stitches. 40 hdc. Fasten off and weave in the ends. The low turning ch 1 does not count as a stitch.
For optional fringe, fold a few short, equal strands of red yarn in half. Pull the folded loops through an end stitch, then pass the loose ends through those loops and snug gently. Repeat at the other scarf end and trim evenly. Fringe is added after crocheting and has no stitch count.
Embroider the face and arrange the pieces
Place the head right side up. Use black yarn to embroider two small eyes on opposite sides of the center, around the area between Rounds 3 and 4. Make several short passes in the same place for each eye, checking their alignment before securing the tails.
Below the eyes, outline a small downward-pointing triangle and fill it with short satin stitches for the nose. Add one short vertical stitch below its tip. Keep the stitches loose enough that the face disk stays flat, and secure all embroidery tails on the back.
- Block the body and head gently according to the yarn label. Pin the body at evenly spaced points without stretching one gap farther than the others.
- Place the two ears behind the head’s upper left and upper right edges. Overlap their lower sections with the head and sew across those overlaps, leaving the rounded tops visible.
- Overlap the bottom of the head with the top of the body. Sew through several adjacent stitches from both pieces to make a stable neck. Keep the head centered over the body ring.
- Sew two paw circles onto the upper left and upper right body edges for arms. Attach the other two to the lower left and lower right edges for feet. Catch solid edging stitches; do not span an open chain space with a long sewing strand.
Secure the scarf and hanger
Wrap the red strip around the narrow neck junction and tie it gently once toward one side, allowing both ends to fall over that side of the body. Adjust the tails so they reveal most of the lace. Tack the scarf to the neck and secure the knot with a few matching sewing stitches. The scarf should cover the join without pulling the head forward.
For the hanger, ch 16 with red and fasten off, leaving a tail at each end. Fold it into a loop and sew both ends to the back of the head at the top center, between the ears. Spread the attachment over several stitches rather than relying on one outer loop.
Lift the crochet polar bear ornament by its hanger and check that the head, body and paws hang without twisting. Adjust an uneven attachment before hiding the last tails. The scarf is a decoration; the sewn head-to-body connection carries the body.
Counts to check before assembly
| Part | Quantity | Count |
|---|---|---|
| Head | 1 | 6, 12, 18, 24, 30 sc |
| Ear | 2 | 8 hdc each |
| Paw circle | 4 | 6 sc, then 12 sc each |
| Body | 1 | 12 dc; 12 clusters; 36 dc; 48 sc |
| Scarf | 1 | Ch 41; 40 hdc; 40 hdc BLO |
| Hanger | 1 | Ch 16, sewn on |
Troubleshooting the lace and flat circles
The head cups: check that every increasing round has six increases and that the beginning chain was not counted. Do not add plain rounds. If the counts are right, assess tension and hook choice before making the other pieces.
The body has an uneven outer edge: count one sc in each of the 36 dc tops and one in each of the twelve ch-1 spaces. Adding two sc into the gaps gives extra fabric; missing those gap stitches tightens the circle.
A petal has several tops: it may be a group of complete dc rather than a closed cluster. The three partial dc of Round 2 must remain unfinished until you close all four hook loops together. Round 3 uses complete, separate dc.
The scarf is too stiff to tie: check that you made only two rows and worked Row 2 in the back loops. A softer red yarn of the same thickness may bend more easily. Test the knot before tacking it to the ornament.
Display ideas and chart gallery
Use the crochet polar bear ornament on a branch, a wrapped parcel or a winter garland. For another open motif, the Christmas flower granny square uses clusters inside a square frame. The Christmas gift pockets give you a different way to combine small character pieces.
The complete chart below shows every crochet stitch and chain for the body, head, both ears, all four paws, scarf and hanger. The two detail guides explain the lace edge and assembly. Chart colors help separate rounds; use ivory and red as specified in the text. The charts follow the written counts and do not claim physical testing. Sewing, embroidery and fringe are finishing details.