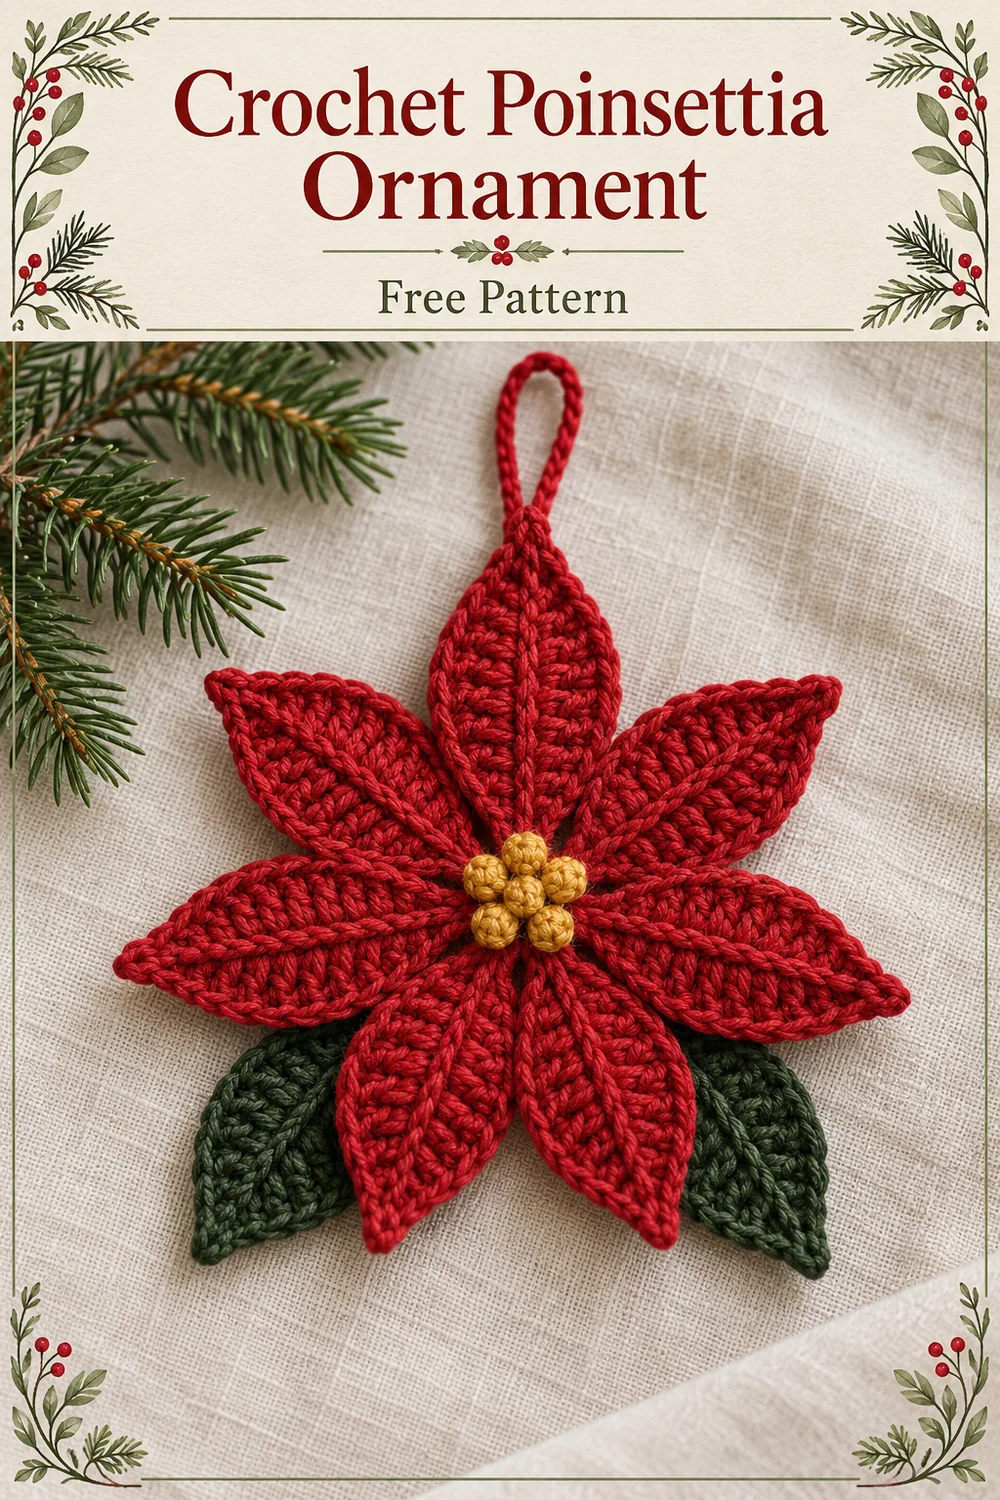
With dark green, make two more pieces using the complete petal instructions: ch 9, eight stitches along the first side, ch 2, eight stitches along the return side and join. Each green leaf has 16 working stitches and one ch-2 tip. Leave sewing tails at the joined bases.
The leaves use the same counts as the petals. Their smaller visible appearance comes from placing their bases farther underneath the red flower, rather than changing the stitch pattern. Do not trim the leaves or fold their pointed ends beneath the flower.
Yellow center with six picot bumps
Round 1: Make an MR, ch 1, work 6 sc into the ring and join with a sl st to the first sc. Tighten the ring. The beginning ch 1 does not count. 6 sc.
Round 2: Ch 1. In the first sc work (sc, ch 2, sl st into that same sc). Repeat that group once in each of the other five sc. Join to the first sc of Round 2 and fasten off with a sewing tail. 6 sc + 6 ch-2 loops + 6 anchoring sl sts, plus the final joining sl st. The beginning ch 1 does not count.
These small loops form the six raised bumps. Keep each anchoring slip stitch loose enough to sit alongside its sc. If you insert the anchor into the new sc instead of the underlying Round 1 stitch, you change the construction; all three actions in a group share one Round 1 stitch.
Arrange and sew the flower
- Block the nine pointed pieces gently according to the yarn label. Pin each ch-2 tip into a point without stretching its central chain.
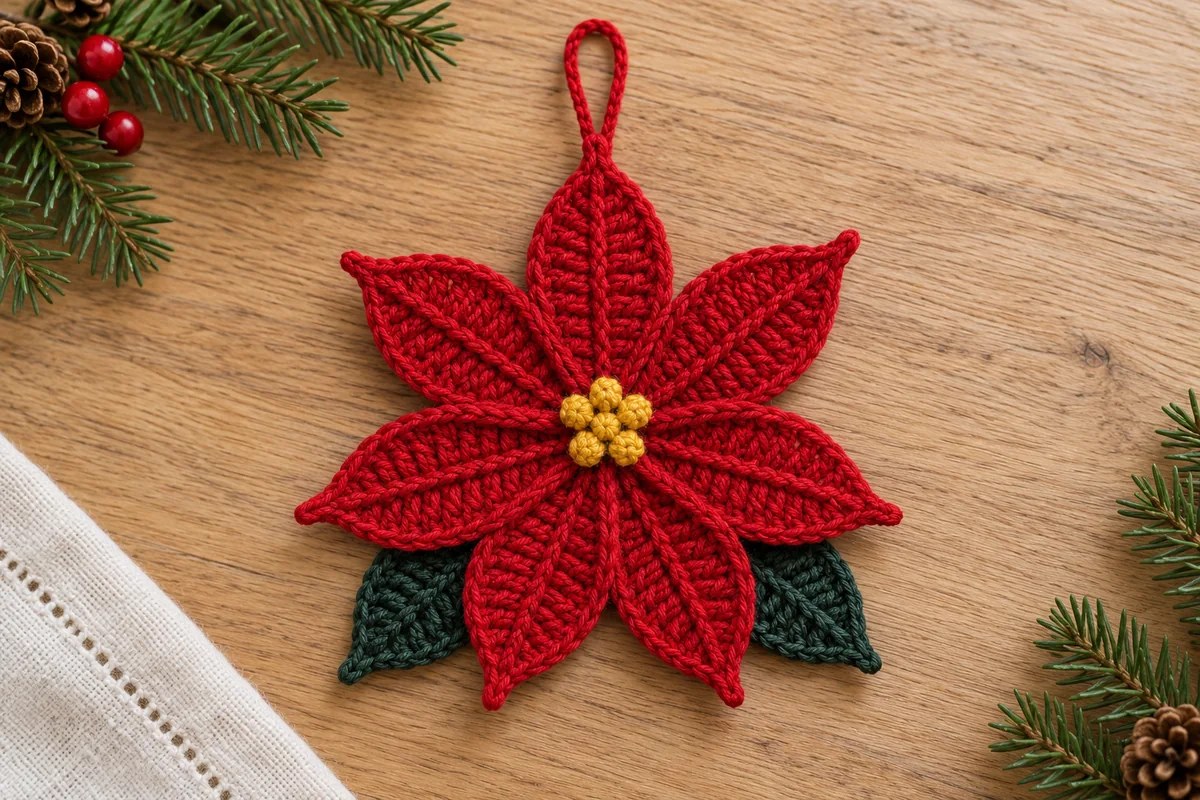
- Lay seven red petals right side up, bases inward. Put one tip at the top, then distribute the other six around it. Overlap only the small joined bases, leaving the wider middles free.
- Use red tails to stitch through neighboring bases in several directions. Turn the flower over and add small stitches across the central junction so no petal swivels independently.
- Slide the two green leaves behind the lower left and lower right petals. Sew each leaf base to at least two red bases on the back. Keep green sewing stitches hidden from the front.
- Center the yellow piece over the red junction. Stitch through its Round 1 area into several petal bases, leaving the six picot bumps free. Weave in all tails on the back.
The yellow center should cover the seams without needing to stretch across a large hole. If a gap remains between the red bases, undo those sewing stitches and bring the bases closer before attaching the center. Pulling the yellow disk tight over the gap will cup the flower.
Add the chain hanger
With red, ch 16 and fasten off, leaving a tail at each end. Fold the chain into a loop. Sew both ends securely to the back of the top petal, immediately below its tip, with several passes through the fabric. This hanger is a separate chain; it is not crocheted into the petal’s ch-2 tip.
Lift the ornament by the hanger and check its balance before hiding the final tails. If the flower tips forward, move the sewn attachment slightly downward on the back of the top petal. Keep the loop clear of the yellow center and distribute the weight across more than one stitch.
Counts at a glance
| Part | Quantity | Count per part |
|---|---|---|
| Red petal | 7 | Ch 9 foundation; 16 sts; ch-2 tip; joining sl st |
| Green leaf | 2 | Ch 9 foundation; 16 sts; ch-2 tip; joining sl st |
| Yellow center R1 | 1 | 6 sc |
| Yellow center R2 | 1 | 6 sc, six ch-2 loops, 6 anchoring sl sts |
| Hanger | 1 | Ch 16, sewn on |
If the petals twist or the center puckers
A twisted petal: check that you rotated around the end chain and used the foundation’s unused side. Working a second row into the tops of the first eight stitches makes a different shape. Lay the central chain flat before starting the return side.
A tight tip: loosen the ch 2 and make sure the return-side sc enters the same end foundation chain. Do not skip that position. The two end sc sit on opposite sides of one foundation chain with the ch-2 space between them.
A rippled outline: recount the eight stitches on each side. There are no increases along the sides and no second edging round. If the counts are right, block gently and assess the yarn-and-hook combination before making the rest of the set.
A bulky center: overlap only the narrow bases, spread the sewing passes around the junction and weave tails outward along individual pieces. Gathering every tail into one knot behind the yellow center creates a lump.
Display ideas and chart gallery
A crochet poinsettia ornament also works as a sewn-on gift decoration when you omit the chain hanger. Keep the back neat if both sides will be visible. The flat crochet baubles use a different circular construction, while the leaf point crochet star continues the pointed-petal theme.
The first chart below shows every stitch for all nine separate pointed pieces, both center rounds and the hanger. The next two guides enlarge the return-side sequence and explain assembly. They follow the written counts and are not a claim of physical testing. Save the visual you prefer for your own project notes.