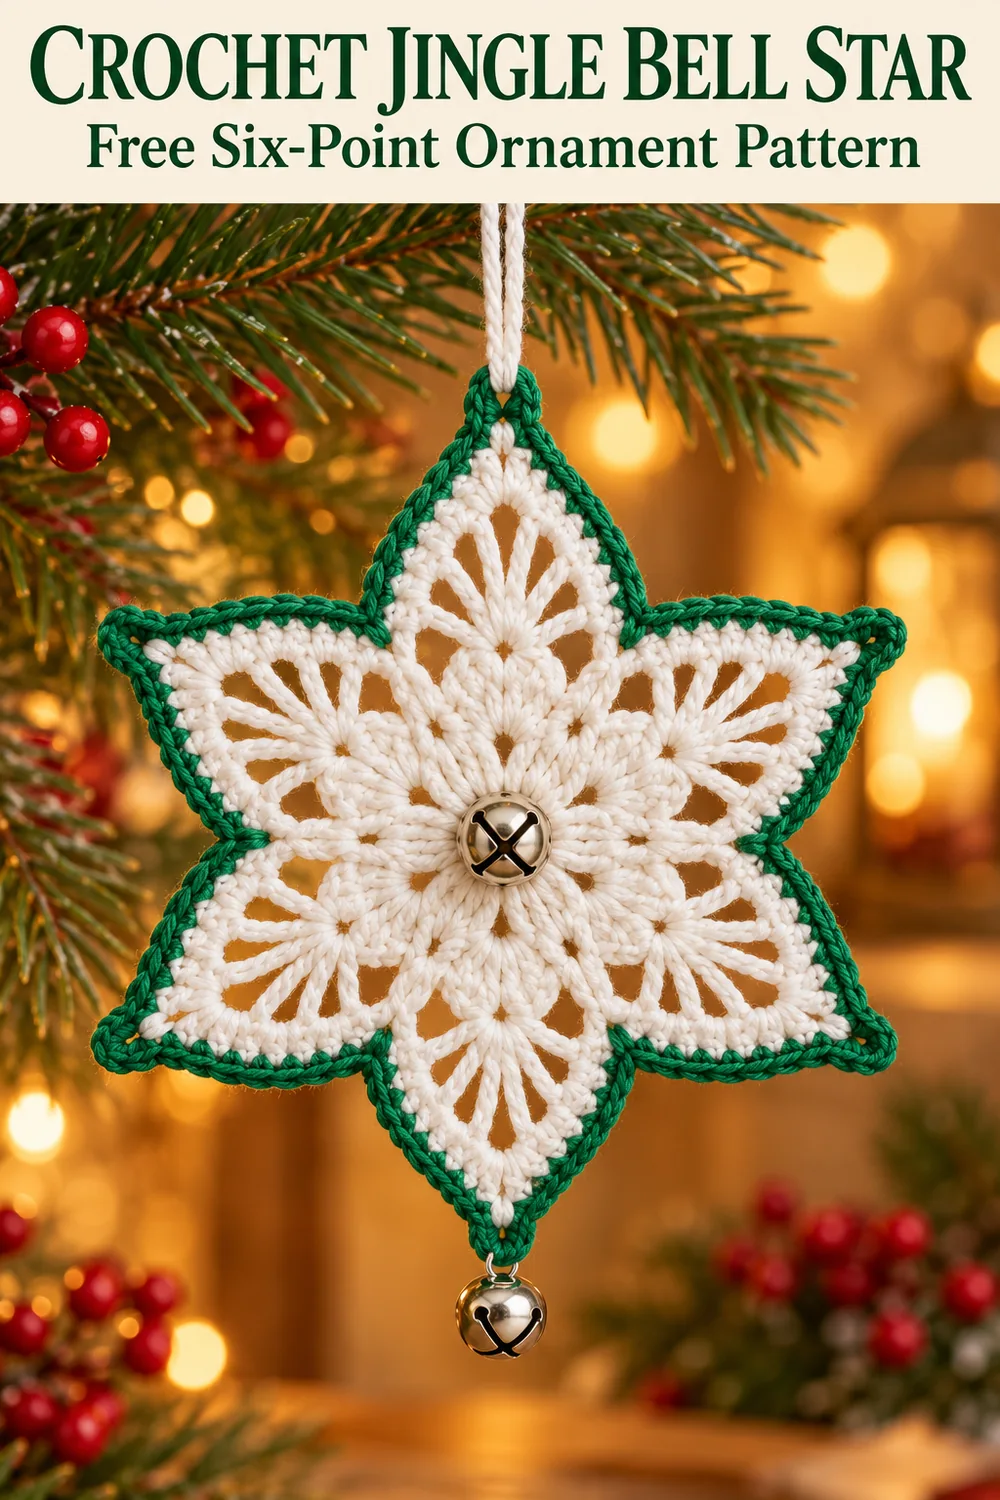
The border adds three stitches at each tip space, not three stitches into every chain separately. Working three sc into each individual chain would add too many stitches and make the points flare unevenly.
Block the star without stretching the openings
Lay the plain finished star flat and compare all six points. Check the counts before shaping. If the cotton label permits wet blocking, dampen the motif gently, press out excess water in a towel and arrange it on the mat.
Pin the middle border sc at each tip. Space the points evenly around the center and ease the valleys inward without pulling the ring open. Let the ornament dry completely before removing the pins. Avoid direct heat on metallic-looking yarn unless its care label explicitly allows it.
If one point refuses to match, compare its two trebles and chain-two space with the others. Blocking can settle small tension differences but cannot correct a missing fan, an extra shell or a skipped stitch in the border.
Sew the bells and hanging loop
Center bell
Choose a lightweight bell that sits over the ring without hiding all the white crochet. Thread a sewing needle with strong matching thread. Anchor it on the back through several solid Round 1 stitches, then pass through the bell’s sewing loop and back through the fabric.
Repeat the attachment several times, sharing the load across neighboring stitches rather than relying on the magic-ring tail. Tie securely on the back and bury the ends. The bell should sit against the star without pulling the center into a deep cup.
Bottom bell
Choose one tip as the top. Count three tips around the six-point motif to find the directly opposite bottom tip. Sew the second bell through several border stitches around that lower tip, keeping it close enough that a long loose thread loop cannot catch easily.
Test the hanging shape before fastening the sewing ends permanently. If the lower bell pulls the point downward, choose a smaller bell or omit it. The crochet remains complete with only a center bell or without bells at all.
Hanging cord
Sew the folded cord ends through several stitches near the top tip, catching the white fabric below the colored border as well. Secure its knot on the back. Lift the ornament by the cord and check that the bells remain upright and the star hangs evenly.
Inspect all bell attachments before displaying the ornament. Small bells and cords make this a decoration to keep away from young children and pets, rather than a toy. For a textile-only version, replace the center bell with embroidery and leave the bottom tip plain.
Solving common problems
There are five or seven shells
Check Round 1 for 12 real dc. In Round 2, each shell uses one center stitch and skips one. A shell accidentally worked into the skipped stitch changes the number of points even if the round still appears circular.
The final point does not line up
Return to the markers in the first dc of each Round 2 shell. Round 3 must use two dc before the space, the space itself and two dc afterward. Do not crochet into the joining slip stitch as an extra dc.
The border is too tight
Check that all six tip spaces received three sc and that no stitch tops were missed. If the count is correct, loosen your tension or try a slightly larger hook for the border alone. Use a contrasting yarn of similar thickness to the white yarn.
The border ruffles
Count 78 sc. Check for three sc worked into each individual chain rather than three into the whole space. Also check that the joining sl st was not treated as another stitch. Correct the border before blocking.
The center sags after adding a bell
Remove the bell and check the motif flat. Use a lighter bell and resew it through a broader group of solid stitches. Do not tighten the ring tail further to compensate for a heavy decoration.
Color choices and storage
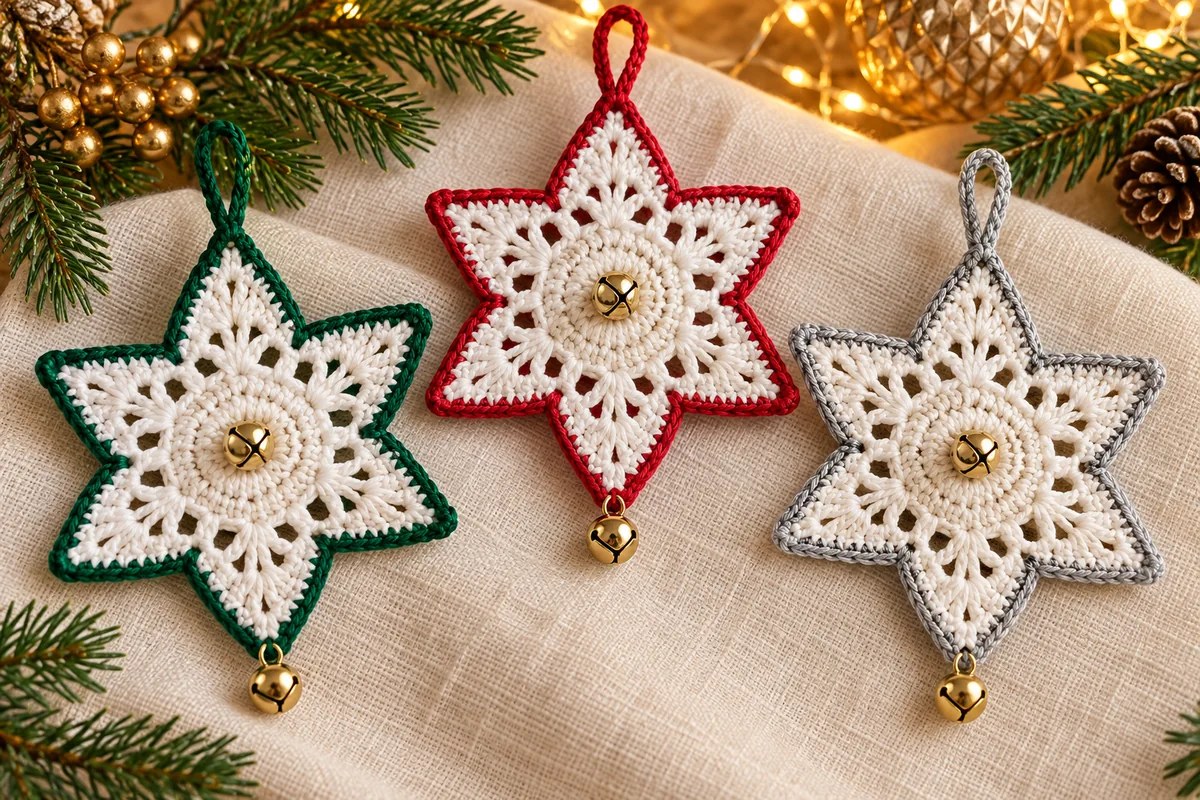
Emerald and red give the white points a traditional Christmas outline. Silver-gray cotton gives a similar cool accent without requiring a stiff metallic thread. Make a first border before committing to a full matching set, especially when combining yarns with different textures.
For a coordinated display, pair the stars with the spiral crochet Christmas tree. If you prefer a six-point design with individually shaped lace points, see the crochet lace star ornament, which uses a different method.
Store the stars flat with tissue between them so the bells do not catch neighboring stitches. Follow the yarn and bell manufacturers’ care instructions; remove metal decorations before washing when their finish is not washable. Allow every part to dry completely before storing.
Crochet jingle bell star: pins and diagram guides
The first three images show festive styling ideas. The final three explain the six-sector layout, the Round 3 point repeat and the border with bell placement. The overall symbol schematic deliberately omits stitches and is not a complete tested chart. Use the written rounds and count table for the full construction; photograph details illustrate the design idea rather than a physically tested sample.