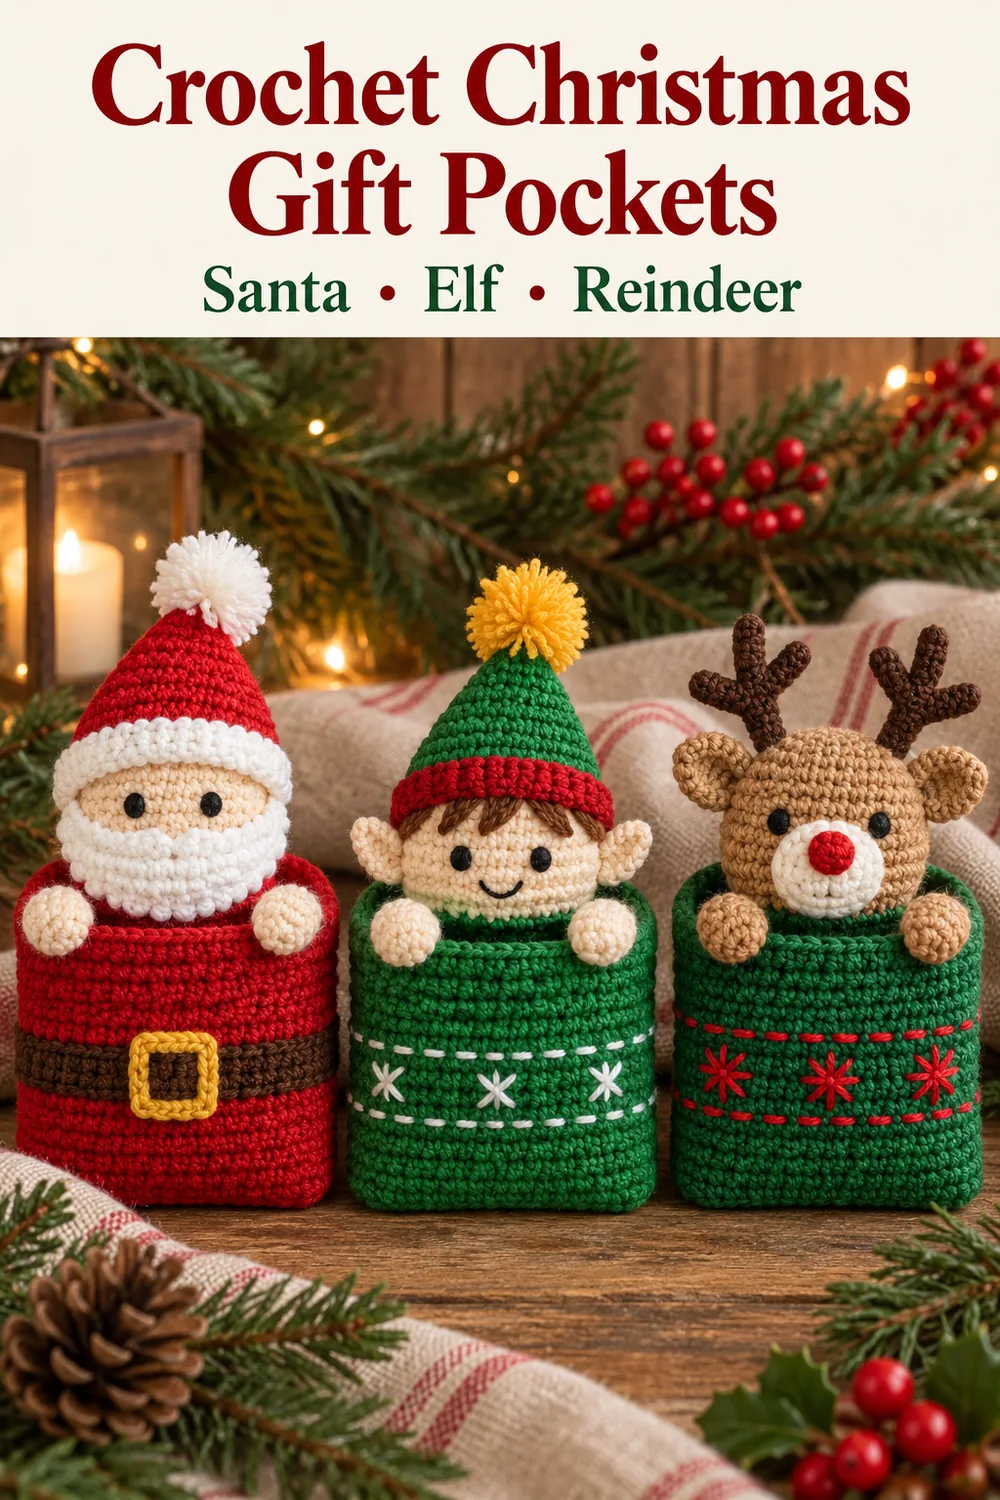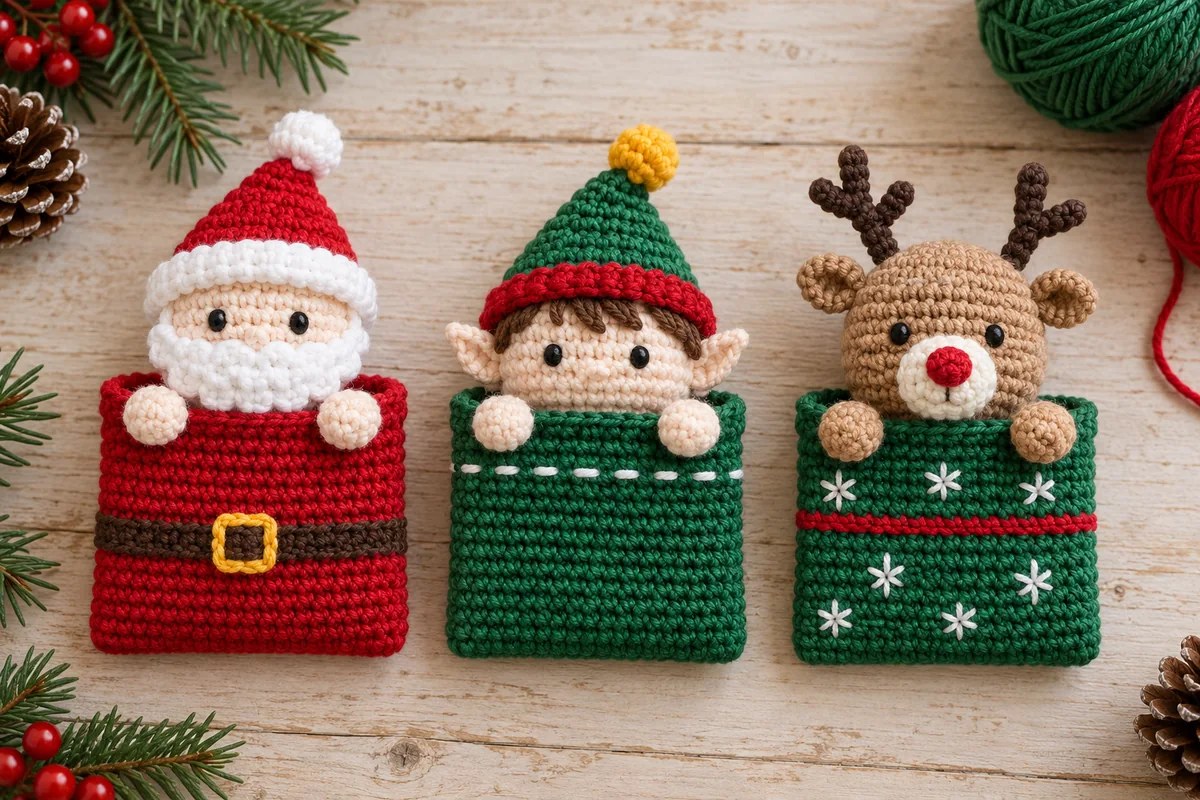
For an optional yarn pom, wind a small bundle of white yarn for Santa or yellow yarn for the elf. Tie the center firmly with a separate strand, cut the loops and trim the ends into a small tuft. Sew through the center tie several times to secure it to the hat tip. This is a yarn-made finishing detail, not an extra crochet piece.
Santa: semicircle beard and belt
With white, make an MR. Row 1: Ch 2, work 7 dc into the ring. Do not join; tighten the ring to form a half-circle and turn. Row 2: Ch 1, work 2 sc in each of the 7 dc. 14 sc. Fasten off with a sewing tail. The beginning ch 2 is not an eighth dc.
Place the straight edge below the eyes, with the curved sc edge facing down. Sew the straight edge and both upper corners to the head, leaving the lower curve free. Add a few cream embroidery passes at the middle of the straight edge for an optional nose. Set the hat above the eyes and sew its band around the upper head without catching the beard.
Embroider a brown belt across the front of the red pocket with several parallel straight stitches. Keep it on the front layer only. Outline a small yellow square over the center of the belt for a buckle. These stitched details do not change the pocket’s crochet count.
Elf: ears and embroidered fringe
For each ear, use cream: MR, ch 1, 4 sc, then join with a sl st to the first sc and fasten off. Make two. Pinch the base slightly and sew one ear to each side of the head near Rounds 5–6. Leave the outer edge free.
Embroider several short brown straight stitches across the upper forehead for a fringe, keeping them above the eyes. Sew on the green hat with its red band covering the fringe’s upper ends. Add a loose white running-stitch band across the pocket front; keep the needle out of the back layer so the pouch still opens.
Reindeer: muzzle, ears and forked cord antlers
Flat cream muzzle
Round 1: MR, ch 1, 6 sc. Round 2: Inc in each st, making 12 sc. Join with a sl st to the first sc of Round 2 and fasten off with a sewing tail. Leave the muzzle unstuffed. Embroider a red nose on its upper half and, if desired, a short brown line below.
Center the muzzle below the eyes and sew its outside edge to the tan head. Use small stitches spread around the circle so the disk lies smoothly. Make two tan ears using the same four-sc ear instructions as the elf, and sew them to the sides of the head.
Two simple antlers
For each main stem with brown, ch 7, then sl st in the second chain from the hook and in the next five chains. 6 sl sts. Fasten off. For its branch, ch 4, then sl st in the second chain from the hook and in the next two chains. 3 sl sts. Fasten off.
Sew the base of the branch to the main stem near its third slip stitch, forming a small fork. Make a second stem and branch. Sew the two forked cords to the top of the head, with their branches pointing outward. They are soft, narrow cords; no wire or rigid support is included.
Decorate the green pocket with a red running-stitch band and white embroidered stars. For each star, cross three short straight stitches at one center point. An optional botanical sprig can be made with a white stem stitch line and pairs of small looped lazy-daisy leaves. Keep the embroidery loose enough that the front remains flat.
Assemble the crochet Christmas gift pockets
- Finish the character’s face and accessories while you can hold the head comfortably. Keep the lower head closure accessible.
- Place the head behind the pocket’s back rim, facing forward. Sew the lower back portion of the head to several central stitches of that back rim. Add a second small line of anchoring stitches slightly lower on the back panel. Do not sew through the front panel.
- Position the two hands on the front rim, one toward each side of the face. Sew each closed end firmly to the front panel, spreading the attachment across neighboring stitches. Keep the central opening free.
- Check that the head stays upright when the empty pocket is held vertically. If it tilts, adjust the back attachment rather than tightening one stitch until the panel puckers.
- Weave in tails on the inside of the pocket or back of the head, changing direction before trimming. Slide in your note only after all sewing is finished.
The head is decorative and attached to the back; it is not a removable lid. These crochet Christmas gift pockets are intended for light contents. Their capacity depends on your yarn and the item you want to insert, so check the opening before adding a gift.
Counts and pieces to prepare
| Part | Make for one pal | Counts |
|---|---|---|
| 1 | Ch 13; 12 sc × 16 rows | |
| Head | 1 | 6, 12, 18, 24, 24, 24, 24, 18, 12, 6 |
| Hands | 2 | 6 sc × 3 rounds each |
| Hat | Santa or elf only | 4, 4, 6, 8, 10, 12, 18, 24, 24 |
| Beard | Santa only | 7 dc; 14 sc |
| Ears | 2 for elf or reindeer | 4 sc each, then join |
| Muzzle | Reindeer only | 6 sc, 12 sc; join |
| Antlers | 2 for reindeer | Each: ch-7 stem / 6 sl sts + ch-4 branch / 3 sl sts |
Troubleshooting the shape and opening
The pocket narrows at the top: mark the first and last sc of each row. Every row must have twelve actual stitches, with the turning ch 1 excluded. Missed end stitches make the two halves different widths.
The head has a ridge at the round marker: check that you did not add joining slip stitches or extra starting chains. The shared stuffed pieces are spirals. The chart expands those rounds into rows for reading; that does not mean you turn the fabric.
The filling shows: remove some stuffing first, then assess the fabric. For the next piece, a smaller hook or firmer tension may help. Do not stretch the final six stitches to force more filling into the head or hands.
The hat covers the eyes: place the band higher before sewing and check that its color-change step is at the back. The hat has no extra cuff round to fold upward. Do not pull the sewing tail tightly enough to compress the forehead.
The pocket will not open: inspect the hand attachments, embroidery and head seams. A sewing pass that catches both panels can close the opening or create a hidden divider. Undo that pass and sew into the intended layer only.
Chart and finishing gallery
The complete symbol chart shows the shared pocket, head and both hands once, plus every crochet accessory option. Repeat the shared pieces for each additional character. Chart colors distinguish rows for reading; use the yarn colors specified in the instructions. Every working stitch and foundation or turning chain is drawn; the round rows are expanded for readability and are not turned crochet rows.
The next two guides explain the head’s shaping and the assembly layers. Sewing, facial embroidery and yarn poms are finishing steps rather than crochet stitches. The charts follow the written counts and are not a claim of physical testing.
For more seasonal projects, try the crochet snowman applique or the crochet poinsettia ornament. Both offer a different kind of decoration beside these crochet Christmas gift pockets.