

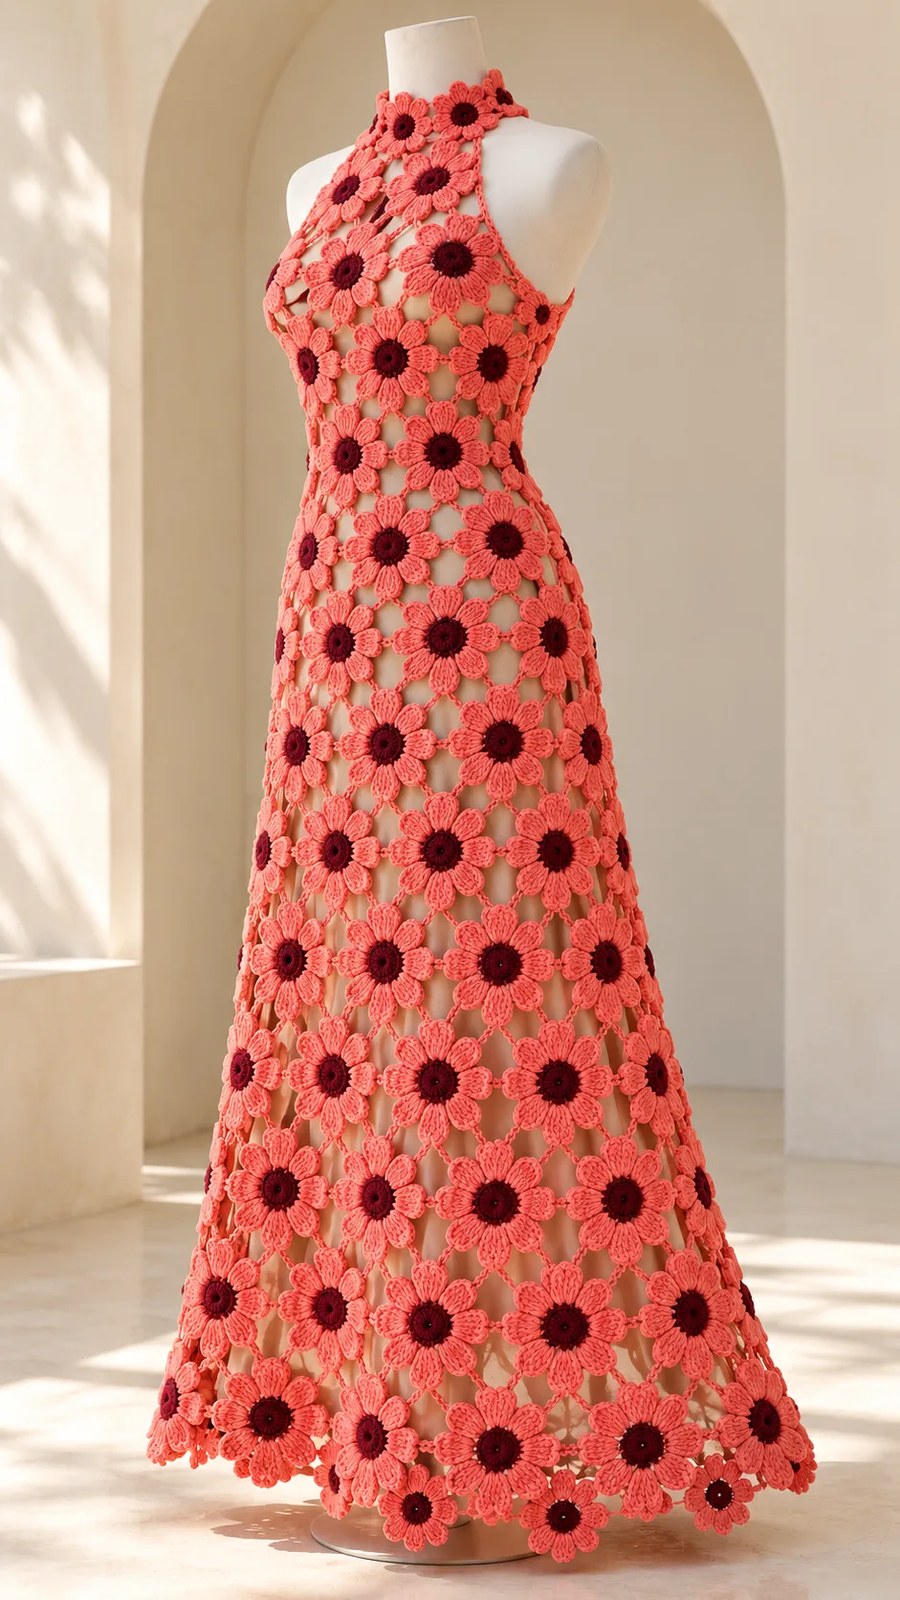
Place each subsequent band below the previous one, aligning all 16 columns. Connect every S (south) tip on the upper band to the corresponding N (north) tip on the lower band with ch 8.
Join Row 1:Connect Band 1 to Band 2.
Join Row 2:Connect Band 2 to Band 3.
Continue this process through Join Row 13, connecting Band 13 to Band 14. You will have 13 join rows total, creating 208 vertical bridges.
Mesh Stabilization
At each space between four flowers, add diagonal stabilization:
- Bridge the SE tip of the upper-left flower to the NW tip of the lower-right flower with ch 10.
- Bridge the SW tip of the upper-right flower to the NE tip of the lower-left flower with ch 5, sl st into the fifth chain of the first bridge, ch 5, and join.
If an intersection pulls or puckers, increase both halves of the diagonal bridge equally until the fabric lies flat.
Section D: Upper Finish
Yoke Row 1: Join 5 flowers side by side with ch 2 bridges. Attach this strip to the center five flowers of the front upper band (Band 1) with ch 4.
Yoke Row 2: Center 4 flowers above Yoke Row 1. Connect adjacent tips with ch 2 and join diagonally to Row 1 with ch 4.
Yoke Row 3: Center 3 flowers above Yoke Row 2 and join in the same way.
Neckband Row 1: Join 6 flowers into an open strip with ch 4 bridges. Sew the central two flowers of this strip to the upper yoke. Leave the ends open at the back neck.
Neckband Row 2: With yarn A, ch 41. Sc in the second ch from hook and across. Make two of these tie straps and sew one to each neckband end.
Fit tip: The neckband should fit with room for two fingers underneath. Transfer garment weight to the slip and underarm stay tape, not solely to the neck ties.
Try the pinned garment over the slip before final assembly. The neckline should sit flat and the shoulders should bear weight without stretching. Use the side opening for dressing; do not force the openwork over the hips.
Assembly
Body Seam and Closure
Join Round 1: Close each body band from Band 7 through Band 14 using that band’s scheduled bridge count (ch 10 for Band 7, ch 12 for Bands 8-14).
Bands 1 through 6 remain open for the zipper.
Join Row 2: Connect the seam-adjacent diagonal mesh below the zipper opening using the same crossed-bridge method described in mesh stabilization.
Sewing Pass 3: Hand sew stay tape along both edges of the upper side opening. Sew the zipper to the tape without catching the teeth.
Checkpoint: Closed bust measures approximately 96 cm. Total shoulder-to-hem length measures approximately 118 cm. The zipper opens smoothly and no joins twist.
Slip and Shoulder Support
Sewing Pass 1: Attach stay tape underneath the straps or halter edges using small catch stitches.
Sewing Pass 2: Tack the crochet layer to the slip at shoulders and both underarms, leaving the skirt layers independent.
Checkpoint: The slip allows comfortable movement and covers all openwork areas intended to be opaque.
Edgings and Details
Neckline and Armholes
Round 1: With yarn A and 3.0 mm hook, sc once in each exposed petal stitch. Work one sc into each chain of each exposed bridge. Do not work across the zipper opening. Record the resulting stitch count (E) separately for each opening.
Round 2: Sl st loosely in every sc. Fasten off.
Checkpoint: Both armholes lie flat. Corresponding edges have matching stitch counts.
Hem
Finishing Pass 1: Secure every bottom-band bridge end with a tapestry needle. Keep the lower petals unattached so they form natural scallops.
Checkpoint: The flower scallops hang evenly without curling.
Finishing
Ends and Blocking
Finishing Pass 1: Weave every yarn end through at least 3 cm of dense stitching in two directions.
Blocking Pass 2: Dampen the entire garment and lay it flat according to the band measurements. Support the full garment weight; do not stretch. Dry completely before lifting.
Final Checkpoint: Length measures approximately 118 cm. Chest measures approximately 96 cm. Each flower measures approximately 5 cm. Hang only briefly for the final fit check.
Care Instructions
Hand wash in cool water with mild detergent. Support the wet dress with both hands when lifting. Roll in towels to remove excess water and dry flat. Do not wring, tumble dry, or suspend while wet. Store folded, not on a hanger.
Secure all closures before storage. Keep long ties and open loops away from machinery, flame, and young children. Always wear the opaque slip underneath. If the hem creates a trip hazard, shorten it before wearing.
Tips for Success
Batch your flowers. Making all 242 motifs before assembly helps maintain consistent tension and allows you to catch gauge drift early. Consider making flowers in groups of 20, checking measurements periodically.
Use stitch markers liberally. Mark the north petal of every flower before joining. This prevents orientation mistakes that become obvious only after several flowers are connected.
Pin before bridging. When joining bands vertically, pin everything in place first. Step back and check alignment before committing to any chain bridges.
Trust the process with the waist shaping. Band 3 will look very gathered compared to Bands 1 and 2. This is intentional. The zero-chain joins create the fitted waist, and subsequent bands release that tension gradually.
Fit as you go. This pattern wisely instructs you to reserve closing bridges until fitting. Take advantage of this by trying the dress over your slip at multiple stages.
Who Will Love This Pattern
This dress suits confident crocheters who enjoy modular construction and have experience with motif joining. The individual flower is beginner-friendly, but the assembly, shaping, and finishing require intermediate to advanced skills and attention to detail.
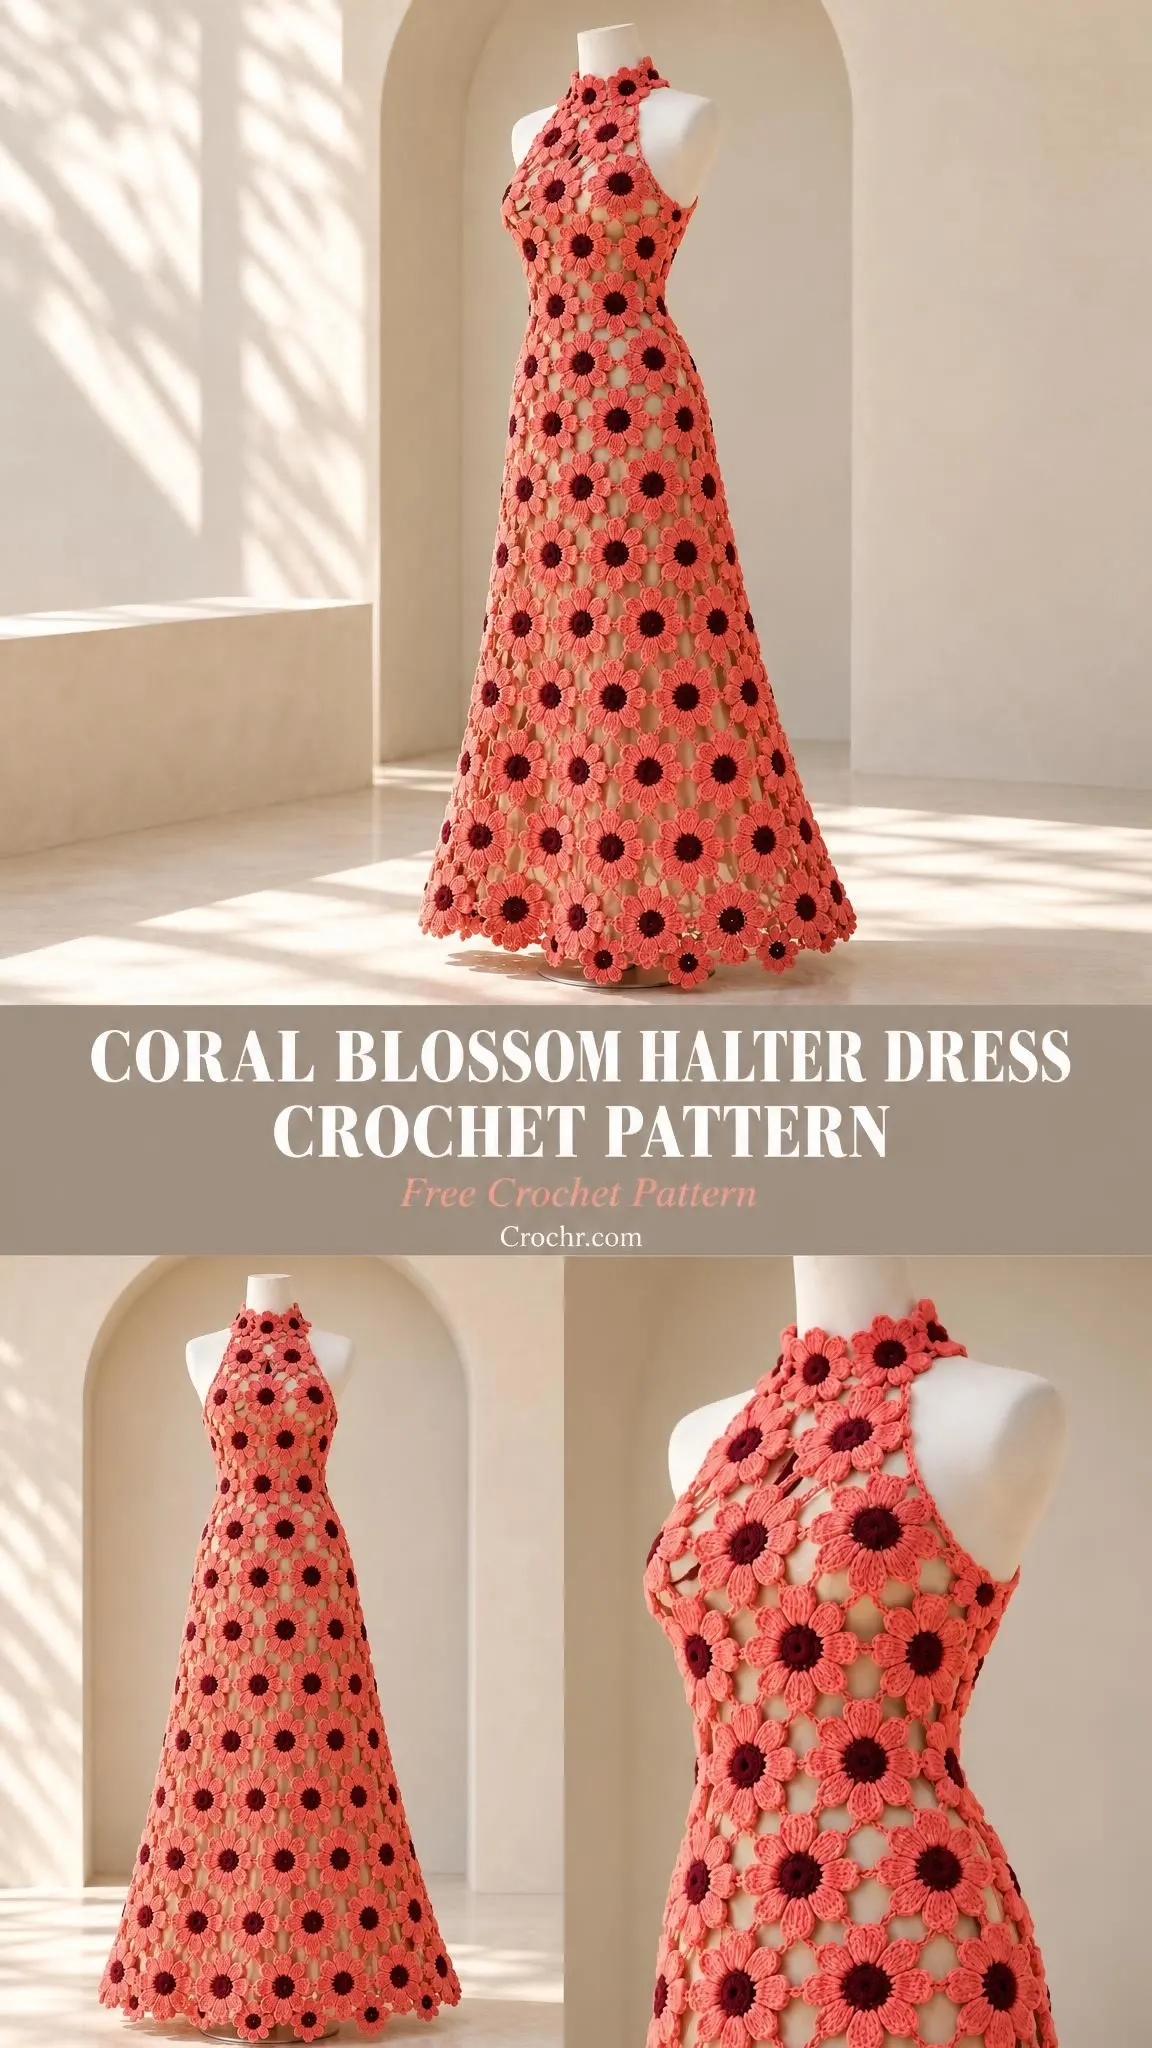
The finished garment makes a stunning statement piece for special occasions, summer events, garden parties, or beach cover-ups over a coordinating slip. The coral and burgundy colorway is cheerful and photogenic, though the design would translate beautifully to other color combinations.
This is a project that will take time, but every flower brings you closer to something truly remarkable. The modular construction means you can tuck a few motifs into your bag and work on them anywhere, making steady progress even in small moments.
Thank you for choosing this pattern for your creative journey. When you finish your Coral Blossom Halter Dress, please share photos on Instagram or Facebook. Seeing your interpretations and color choices is genuinely wonderful. Happy crocheting!
If this pattern has you excited to start, save it to your Pinterest boards so you can find it easily when you’re ready to cast on. And if you make one, please come back and leave a comment below. Hearing about your projects makes my day!
You Might Also Like
- Blue Shark Baby Cocoon Wrap Free Crochet Pattern
- Mint Garden Granny Square Bag Free Crochet Pattern
- Blue Hydrangea Shawl Crochet Pattern
- Lemon Sorbet Candy Bolster Pillow Free Crochet Pattern
CONTENT END 1
