Choose a Round 3 ch-1 space and call it space 1. Count around in the direction of work and mark spaces 1, 4, 7 and 10. These four evenly spaced gaps will become corners. There are two unmarked spaces between neighboring markers.
Attach white in the first marked space and ch 2. Repeat the following section four times: (3 tr, ch 2, 3 tr) in marked space, ch 1, 3 dc in next space, ch 1, 3 dc in next space, ch 1. After the fourth section, join to the first tr and fasten off. 24 tr and 24 dc, 12 side ch-1 spaces and 4 corner ch-2 spaces.
Each corner has six tr; each of the eight unmarked spaces has three dc. That gives 24 tr + 24 dc = 48 working stitches. The taller corner stitches help bridge the diagonal distance from the round center. Do not place another corner in the first space when closing the round.
Round 5: white granny frame
Attach white in any corner ch-2 space and ch 2. Repeat four times: (3 dc, ch 2, 3 dc) in corner space; ch 1; (3 dc in next side ch-1 space, ch 1) three times. Join to the first dc and fasten off. 60 dc, 16 side ch-1 spaces and 4 corner ch-2 spaces.
There are three side spaces to fill between each pair of corners. The ch 1 after the final side group separates that group from the next corner. Leave the stitch tops from Round 4 unworked; all new groups go into chain spaces.
Round 6: red border
Attach red in any corner ch-2 space and ch 2. Repeat four times: (3 dc, ch 2, 3 dc) in corner space; ch 1; (3 dc in next side ch-1 space, ch 1) four times. Join to the first dc, fasten off and weave in the tails. 72 dc, 20 side ch-1 spaces and 4 corner ch-2 spaces.
Round 6 fills four side gaps per side. Its four corners remain ch-2 spaces, so the red border keeps the square outline without adding a separate solid edging round.
Round counts to check before finishing
| Round | Working stitches | Spaces |
|---|---|---|
| 1 | 12 dc | None |
| 2 | 12 clusters | 12 ch-2 |
| 3 | 36 dc / 12 groups | 12 ch-1 |
| 4 | 24 tr + 24 dc / 16 groups | 12 side ch-1 + 4 corner ch-2 |
| 5 | 60 dc / 20 groups | 16 side ch-1 + 4 corner ch-2 |
| 6 | 72 dc / 24 groups | 20 side ch-1 + 4 corner ch-2 |
Add the wreath berries and yarn bow
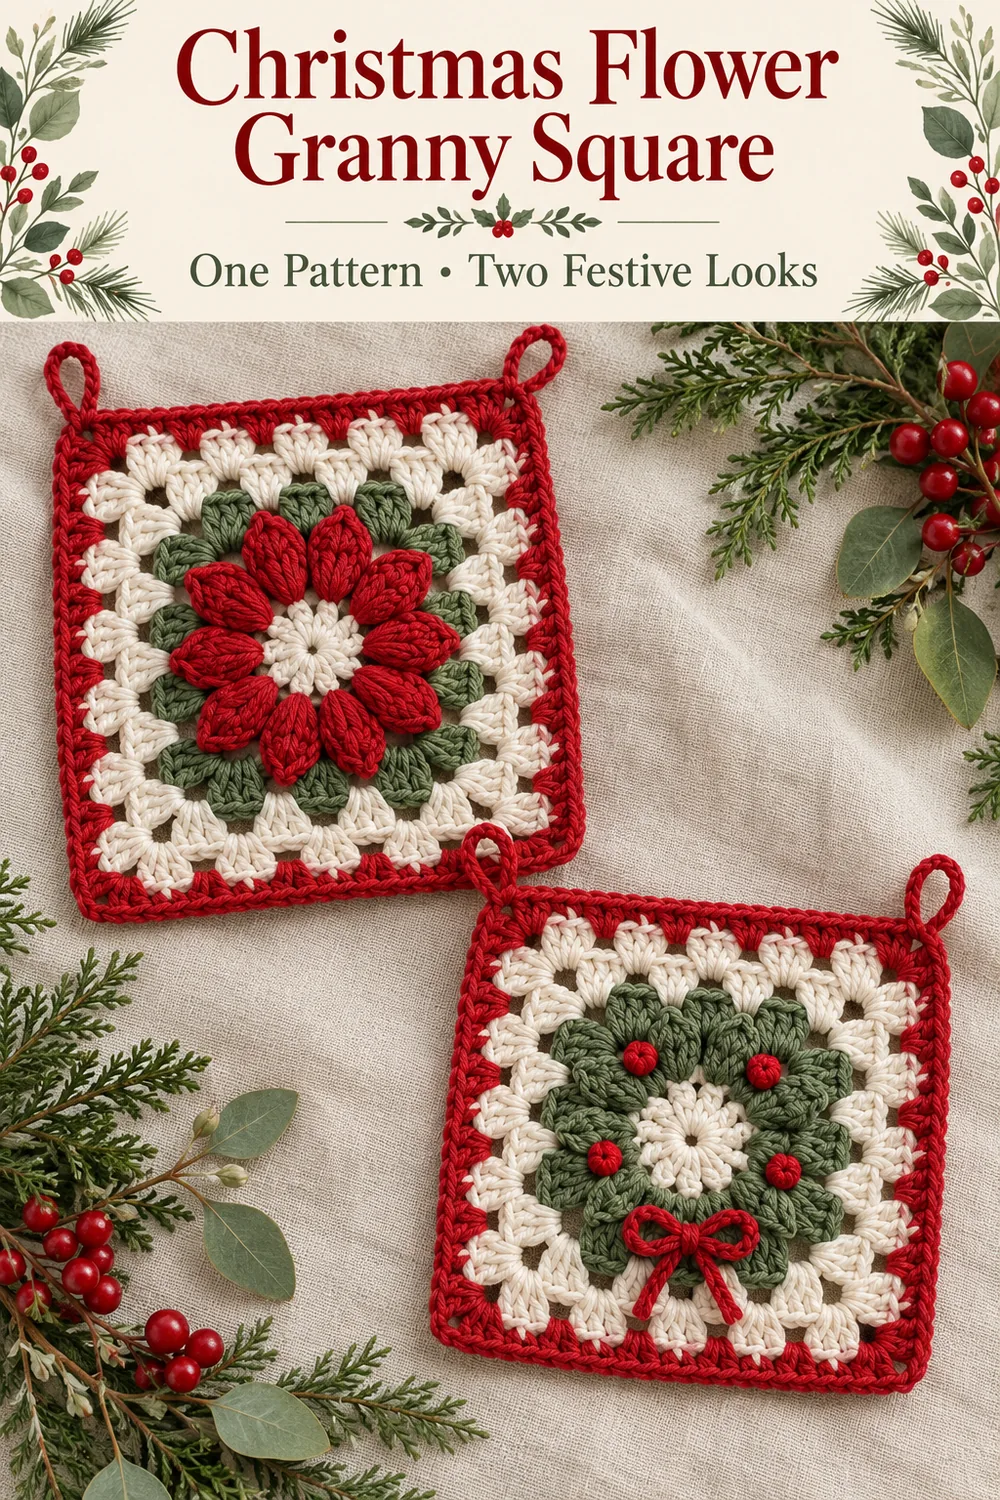
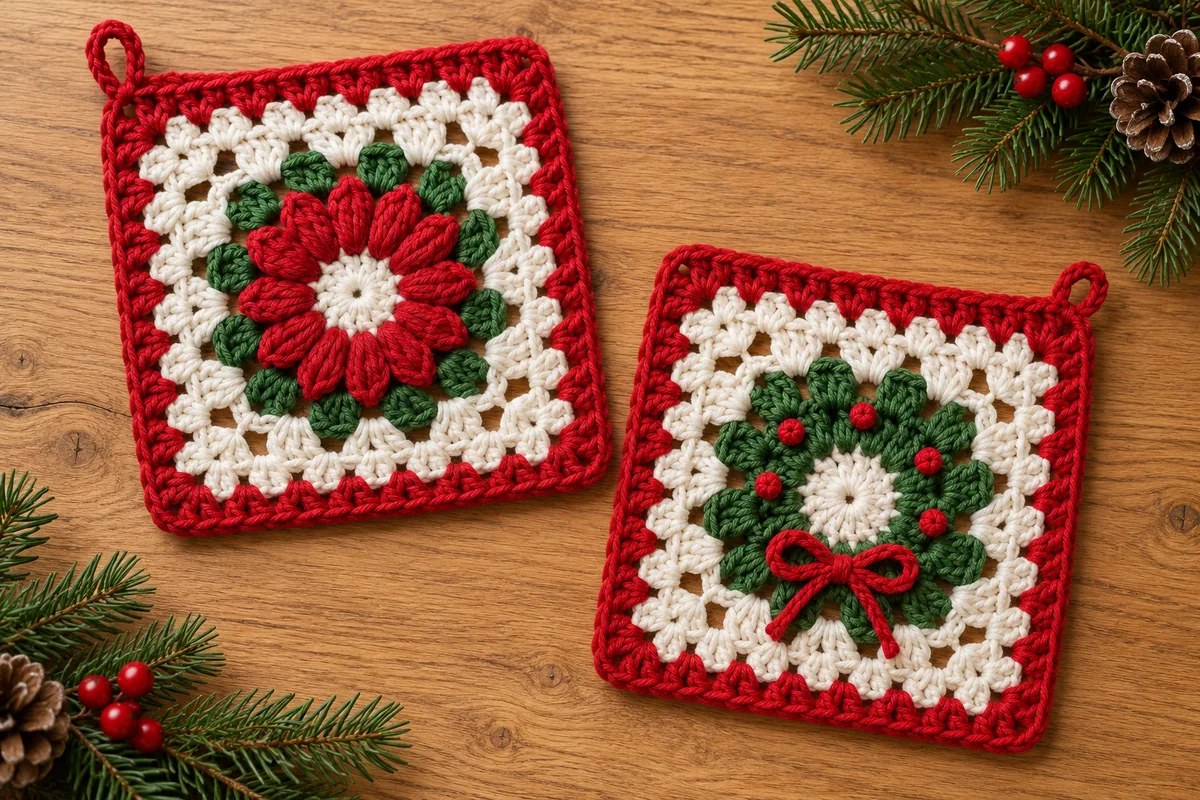
For the green wreath version, embroider one small red French knot on every other Round 2 cluster, making six berries. Bring the needle up through the body of a cluster, wrap the strand twice around the needle, and insert beside the exit point while holding the wraps gently. Draw the yarn through without pulling the knot into the fabric. Keep the intervening chain spaces open.
Tie a short length of red yarn into a small bow. Sew through its center knot several times onto the lower green area, catching firm crochet fabric on the back. Trim the tails only after the knot is secured. Rotate the square first if you intend to hang it as a diamond, then position the bow at the visual bottom.
The berries and bow are optional surface details. They do not add crochet rounds or change any count in the table. Leave them off the red flower version to keep its raised petals unobstructed.
Block the square and add a hanger
Weave each tail through the backs of several same-color stitches, changing direction before trimming. Block according to the yarn label, pinning the four corners into a square without forcing the center flat. The cluster tops should retain their raised shape.
For an optional hanger, use red to ch 16 and fasten off with a tail at each end. Fold the chain into a loop and sew both ends to the back of one red corner. Pass through several nearby stitches so the weight is distributed beyond the corner chains. The separate loop is shown in the complete chart.
If the square twists or the border ripples
The center has fewer than twelve petals: check that each Round 1 dc received one cluster and that no beginning ch 2 was counted as a stitch. Count the cluster tops separately from the spaces before starting the green round.
One side is longer: recheck the first four corner markers. They belong in every third Round 3 space. Uneven corner placement cannot be corrected by pulling the border into shape during blocking.
The white frame waves: count groups and side spaces. Round 4 has two ordinary groups between corners, Round 5 has three and Round 6 has four. Extra groups in stitch tops add fabric that the written round does not allow.
The center cups: first check that every Round 2 cluster is followed by ch 2 and every Round 3 group by ch 1. If counts and spaces are correct, assess yarn tension and hook choice before repeating the motif. Blocking should refine the outline, not rescue omitted spaces.
Use the Christmas flower granny square
Make the two color versions as a coordinated pair, or repeat one palette for a garland. For a different square with stitched greenery, try the evergreen sprig granny square. The crochet poinsettia ornament gives you a separate-petal flower for the same seasonal display.
The first diagram shows every stitch and chain for the six-round square and its optional hanger. Change only Round 2 from red to green for the wreath. The detail guides explain cluster closure, corner spacing and finishing. The chart follows the written counts and is not a claim of physical testing.