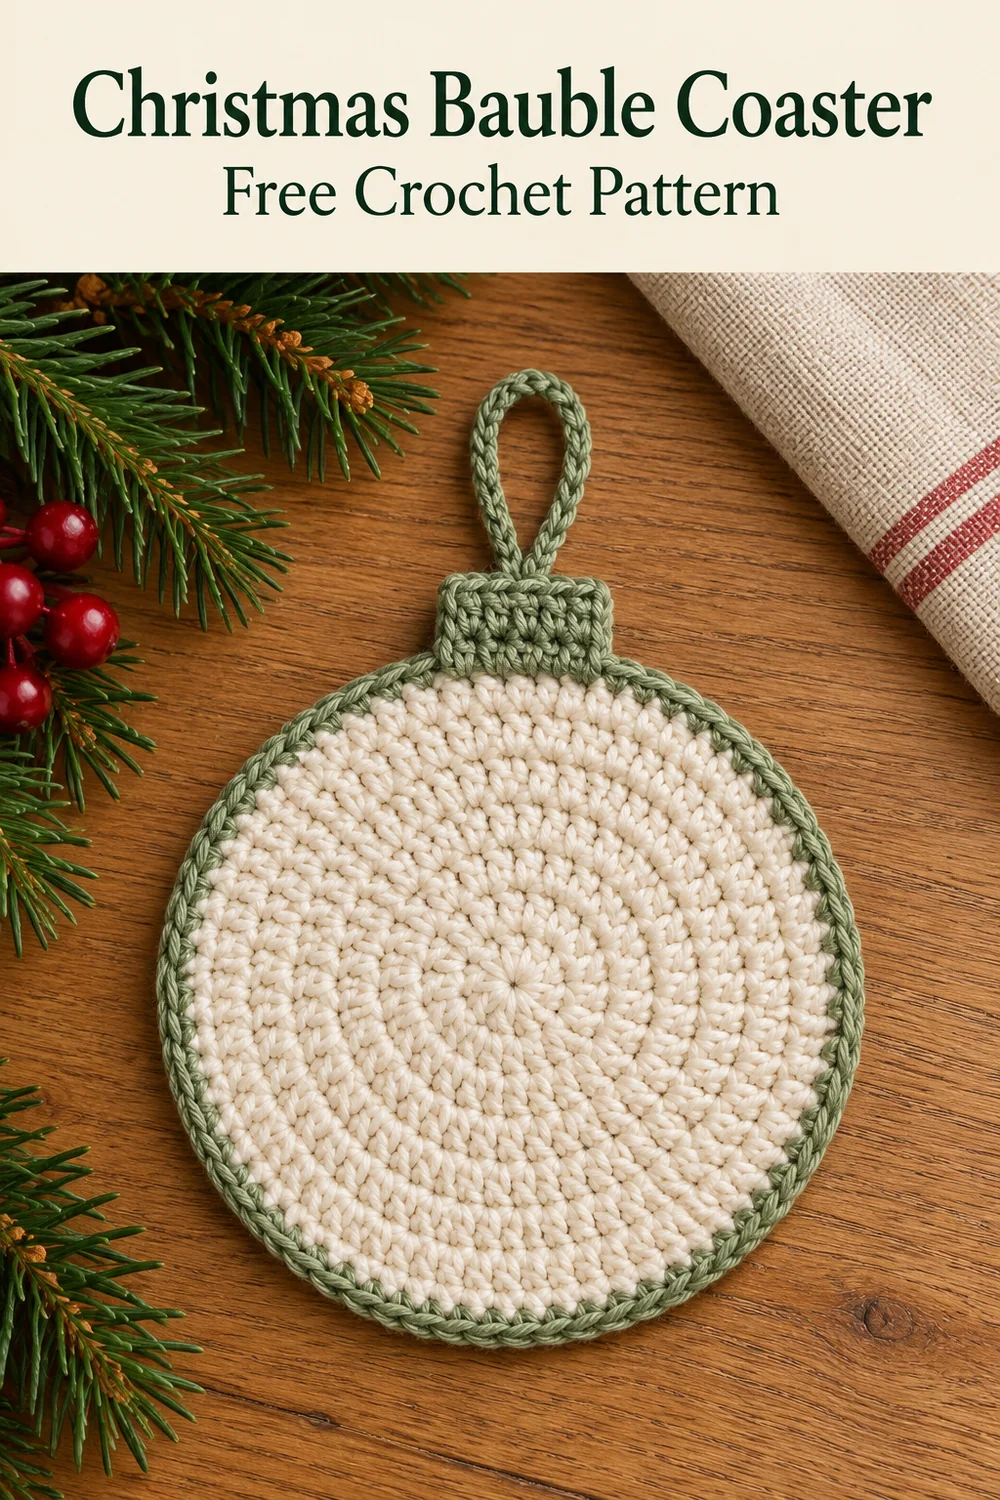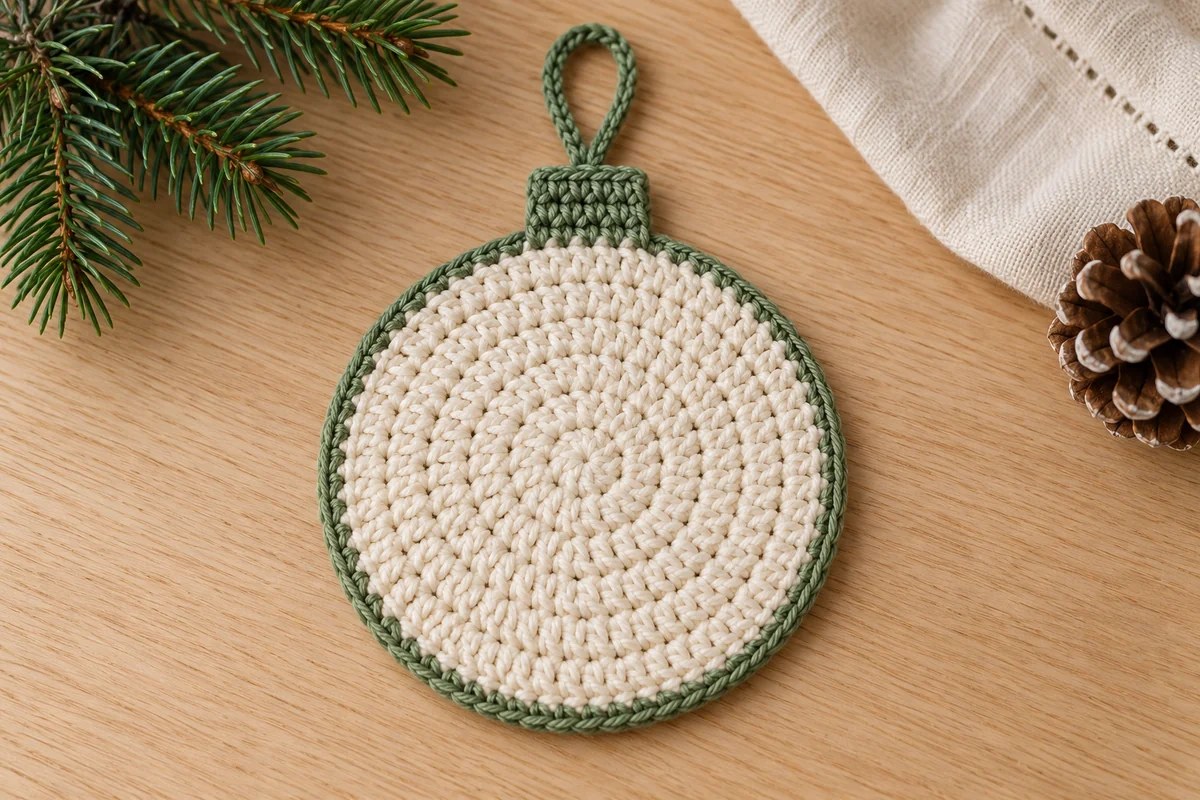
The full disk sequence is 8, 16, 24, 32, 40 and 48. Each round after the center adds eight stitches. If the disk cups strongly or ripples, check these counts before adding the border.
Sage green border
Attach sage green with a sl st in any cream hdc. Ch 1 without counting it. Starting in that same stitch, work 1 sc in each of the 48 hdc. Join to the first green sc and fasten off.
Count: 48 sc. No increases are added in the border. Work into stitch tops, not between hdc posts. The border should outline the cream rather than squeeze it into a bowl.
Work the cap directly onto the border
Choose six consecutive green border stitches at the top of the circle. Mark the first and sixth. Keep the coaster’s front facing you for Row 1. The cap is worked through both top loops of those six stitches.
Cap Row 1
Attach green with a sl st in the first marked border stitch. Ch 1. Sc in that same stitch and in each of the next five border stitches. Count: 6 sc. Stop at the sixth marked stitch rather than continuing around the border.
Cap Rows 2–4
Ch 1 and turn. Sc in each of the six stitches across. Repeat for three rows total after Row 1. Fasten off after Row 4. Count: 6 sc per row, 24 sc across the cap.
There are four height chains: the first ch 1 after attachment and three turning chains. None counts as a sc. Keep the first and last stitch of each row visible; dropping an end stitch makes a tapered cap instead of a small rectangle.
Make and sew the loop
With sage green, make a separate chain of 16. Fasten off with sewing tails at both ends. There is no crochet joining stitch in this strand.
Fold the chain into a loop. Sew one end to the back of cap stitch 3 in Row 4, then sew the other end to the back of cap stitch 4. Pass each tail through several cap stitches, change direction and secure it without pulling the cap together. Keep knots and loose tails out of the disk center.
Count check for the Christmas bauble coaster
| Section | Finished count |
|---|---|
| Cream rounds 1–6 | 8, 16, 24, 32, 40, 48 hdc |
| Green border | 48 sc |
| Cap rows 1–4 | 6 sc each row; 24 sc total |
| Separate loop | 16 chains |
The complete chart shows every working stitch, beginning chain and join. Chart inks separate the cream rounds for readability; they do not instruct extra yarn colors. Only the outer sc round, cap and loop are green.
Finish flat and check the cup area
Weave cream ends through cream stitches and green ends through green stitches, changing direction before trimming. Secure the center ring tail carefully. Avoid a bulky knot underneath the center where it could make a cup rock.
If the yarn care label permits damp blocking, dampen the coaster lightly and arrange the disk into an even circle. Shape the cap as a short rectangle and leave the loop relaxed above it. Let the piece dry fully before using it.
Place your intended cup on the dry cream disk and check that it stands steadily. Its base should fit inside the plain area, clear of the cap and loop. If the cup rocks or reaches beyond the usable center, choose a different coaster or use this piece decoratively. Heat resistance has not been tested; this is not a tested trivet for cookware.
Troubleshooting
The circle has a raised ridge at the join
Check that each beginning ch 1 is left unworked and the join goes into the first real hdc. Adding a hdc in the slip stitch at every round makes extra stitches and a lump at the seam. Mark the first stitch before moving on.
The edge pulls inward
Count forty-eight green sc, with one in every cream hdc. A missed stitch makes the border shorter. If the count is correct, loosen the green tension or use a hook adjustment suitable for your yarn on a new attempt. Do not stretch the loop to flatten the disk.
The cap loses a stitch
Count six sc at the end of each cap row. The first sc after turning goes into the stitch directly beneath the turning chain, while the final sc goes into the last real sc of the previous row. Do not work into the turning chain.
Build a quiet Christmas table set
Keep cream and sage for a softer palette, or replace sage with burgundy while retaining the counts. Make one complete Christmas bauble coaster first so you can check the usable cup area and how the cap sits with your yarn.
For a more decorative border, try the holly crochet coaster. The crochet wreath coaster adds a red bow to another festive table option. Store these cotton motifs flat and follow the yarn label for washing.
Photos and complete stitch guides
The three Pin layouts are followed by a complete chart on a paper sheet beside the finished coaster on the same table. The other two diagrams enlarge the eight-increase disk rhythm and the attached cap with its separate loop. Read each guide with the written counts; this is an original interpretation without a physically tested sample.