

This is a plush amigurumi owl designed to hold back your curtains. It uses basic single crochet, increases, decreases, and a few puff stitches for texture. The finished owl stands about 20 cm tall with a 28 cm wingspan.
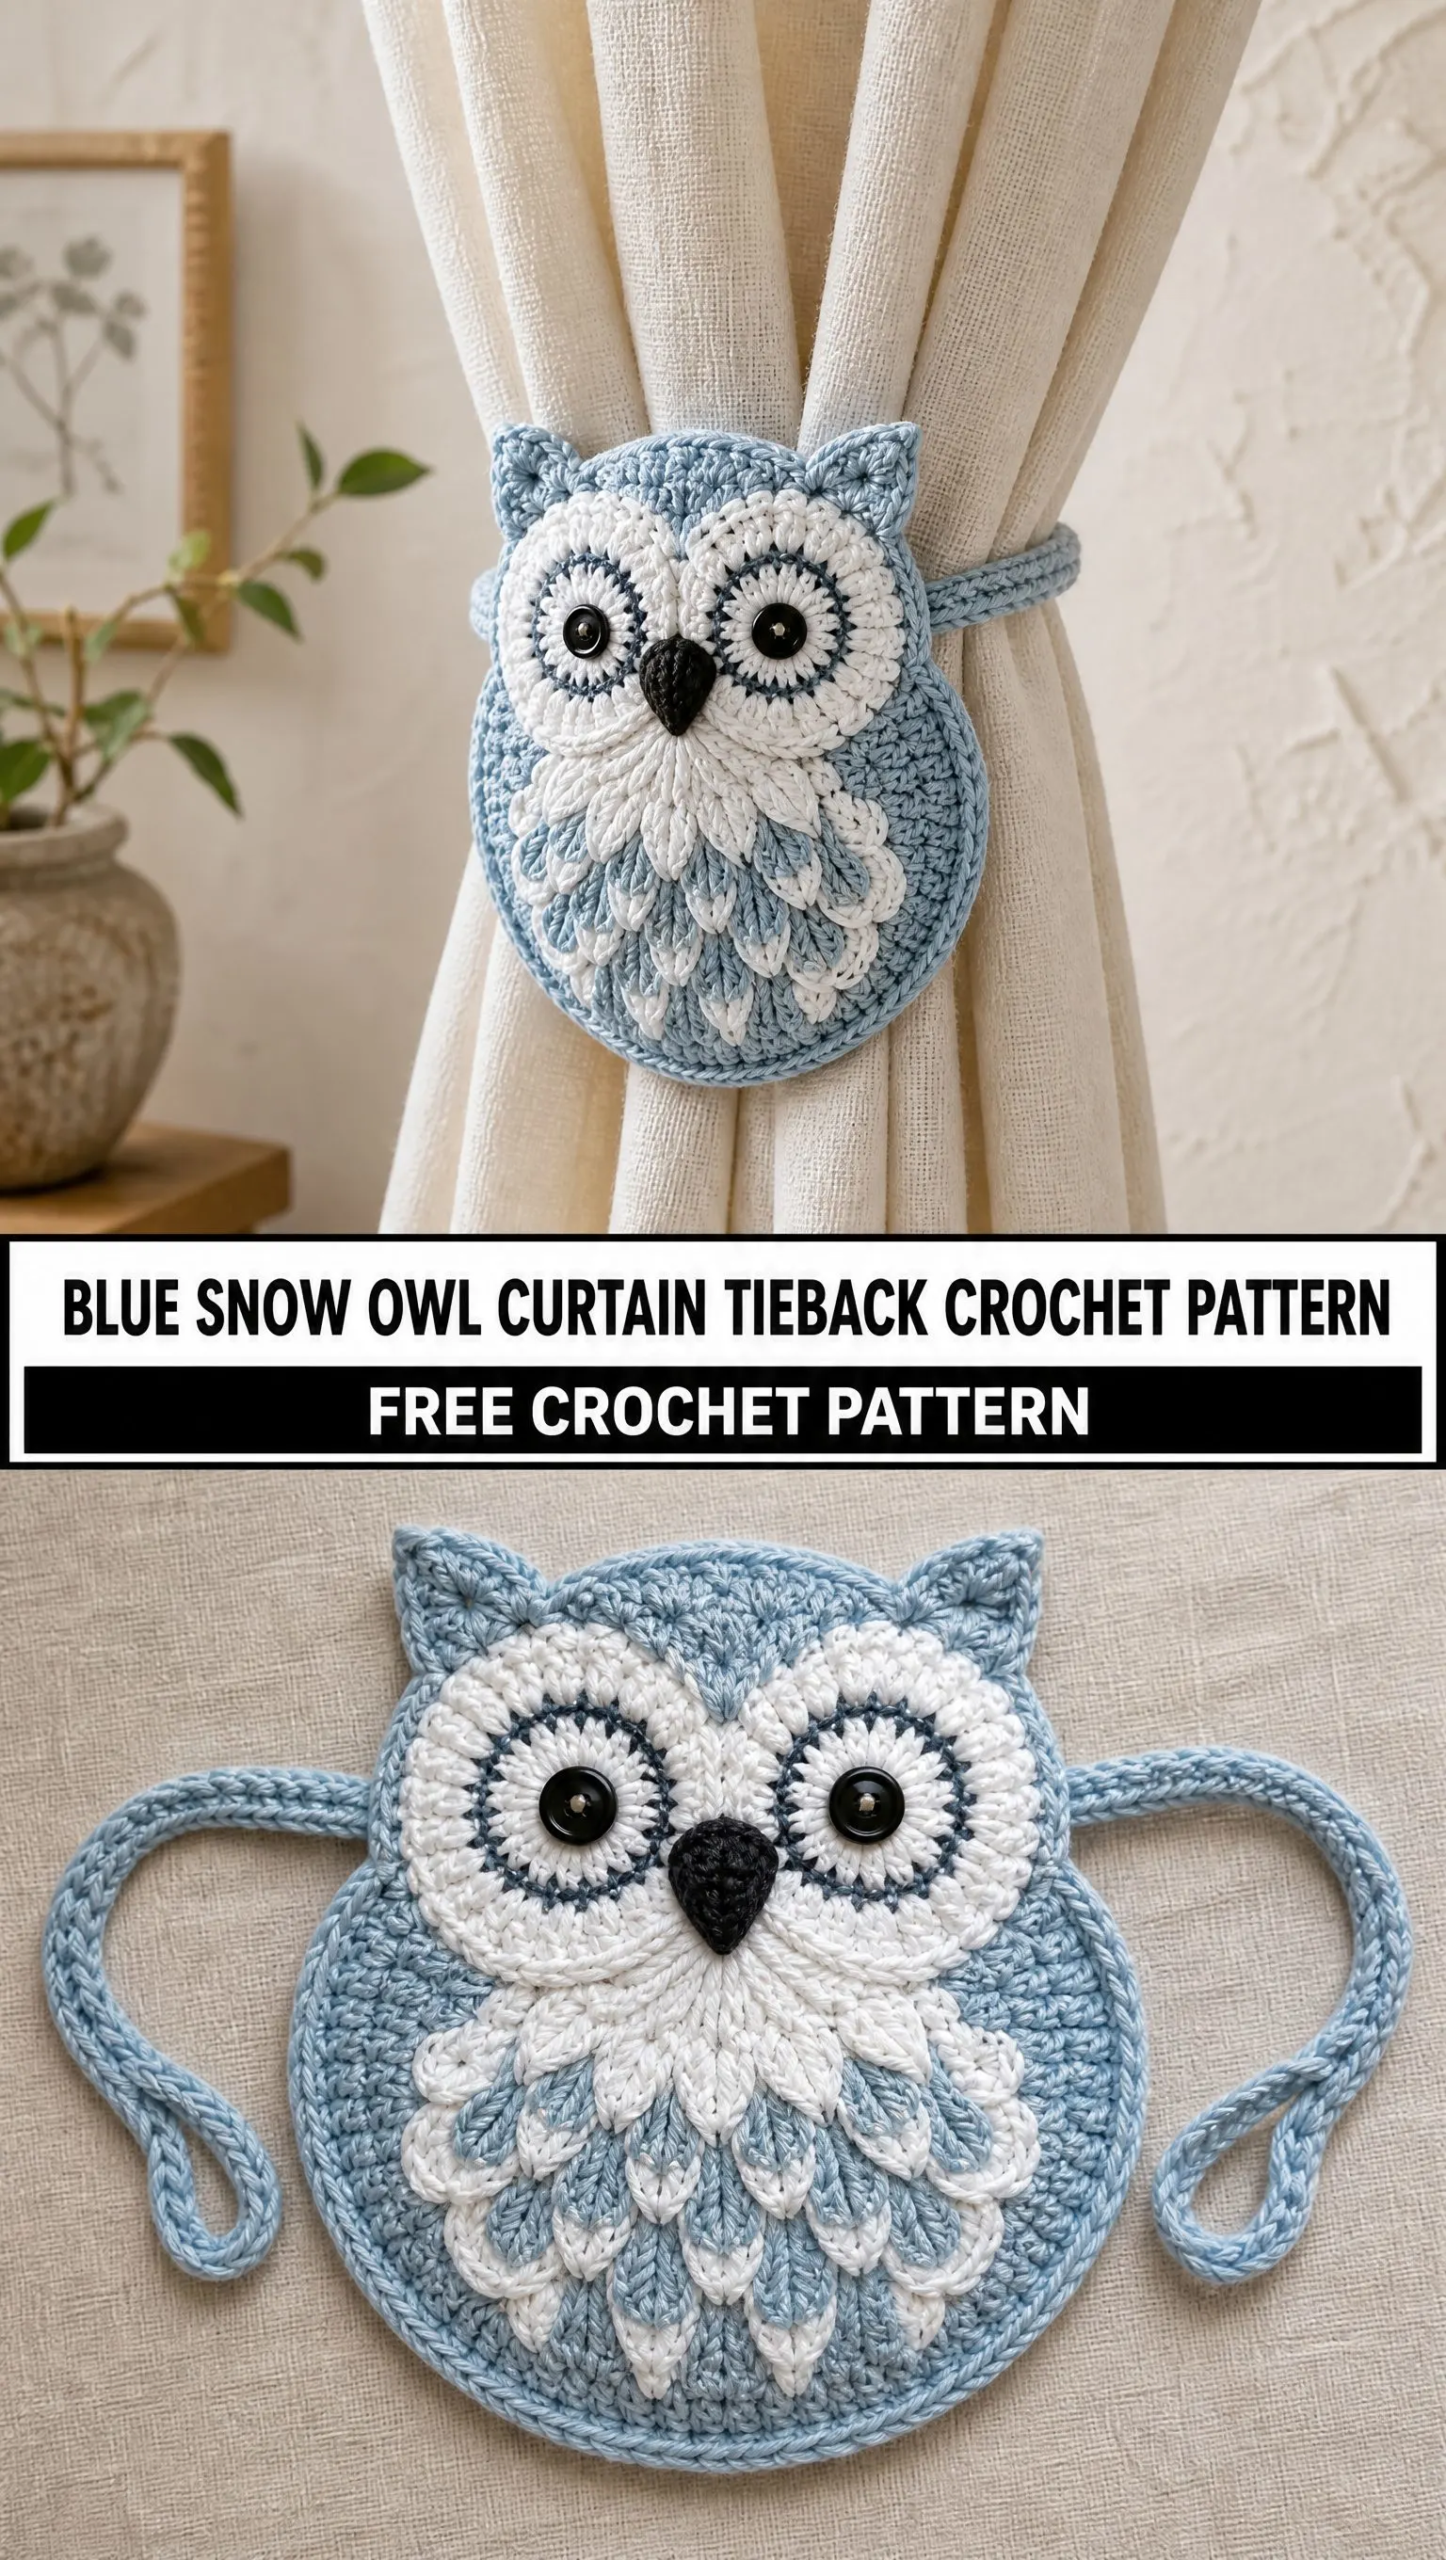
If you love adding handmade touches to your home, this little snow owl brings instant charm to any window. The pale blue and powder white color palette gives it a soft winter woodland feel without being too seasonal.
This pattern is rated intermediate, but confident beginners who have made a few amigurumi projects before will do just fine. Let me walk you through everything you need to know.
Why You Will Love This Blue Snow Owl Curtain Tieback
I adore functional crochet projects that double as decor. This owl tieback checks both boxes beautifully. It holds your curtains in place while looking absolutely adorable perched on your window frame.
The construction is straightforward once you break it down. You are essentially making a stuffed body, two flat facial disks, a tiny beak, two textured wings, and a hidden strap that wraps around your curtain fabric. Each piece is simple on its own. The magic happens when you assemble them together.
The dimensional feather details on the wings really make this project special. Those little puff stitch clusters and white picot tips create realistic texture that catches the light. Your guests will definitely notice this little guy.
Materials You Will Need
Before you start, gather these supplies. Having everything ready makes the project flow smoothly.
Yarn:
Tools:
A note on gauge: The fabric should be firm enough that stuffing does not show through. If you can see white polyester peeking between your stitches, go down a hook size. This is especially important for amigurumi projects where a tight fabric keeps everything looking clean and professional.
Stitch Abbreviations and Definitions
Let me define every stitch before we begin. Even if you know these well, a quick refresher never hurts.
MR (magic ring): A technique for starting rounds that creates a tight, closed center with no hole. You wrap yarn around your fingers, pull up a loop, and work your first stitches into that adjustable ring.
ch (chain): The foundation stitch. Yarn over, pull through the loop on your hook. One chain made.
sc (single crochet): Insert hook into stitch, yarn over and pull up a loop (two loops on hook), yarn over and pull through both loops. This is your main stitch for this project.
hdc (half double crochet): Yarn over, insert hook into stitch, yarn over and pull up a loop (three loops on hook), yarn over and pull through all three loops.
dc (double crochet): Yarn over, insert hook into stitch, yarn over and pull up a loop, yarn over and pull through two loops, yarn over and pull through remaining two loops.
sl st (slip stitch): Insert hook into stitch, yarn over and pull through both the stitch and the loop on your hook in one motion. Used for joining and creating tiny stitches.
inc (increase): Work two single crochet stitches into the same stitch. This adds one stitch to your count.
dec (decrease): Insert hook into next stitch and pull up a loop, insert hook into following stitch and pull up a loop (three loops on hook), yarn over and pull through all three. This removes one stitch from your count.
puff (puff stitch): A cluster of half double crochets worked into the same stitch that creates a puffy, textured bump. Yarn over, insert hook, pull up a loop, repeat two to three more times in the same stitch, then yarn over and pull through all loops.
st (stitch): A single stitch.
Pattern Overview
The owl is made from six separate components:
1. Plush rounded body
2. Two circular facial disks
3. Embroidered eyes
4. Small beak
5. Two tapered feather wings
6. Rear crocheted curtain closure
You will crochet each piece separately, then assemble them into your finished tieback. I recommend making the body first since it forms the foundation for everything else.
Body Instructions
Using pale blue chunky cotton yarn, create the main body of your owl.
Round 1: Make a magic ring. Crochet 6 single crochet into the ring. (6 sts)
Round 2: Increase in each stitch around. (12 sts)
Round 3: Single crochet in first stitch, increase in next stitch. Repeat around. (18 sts)
Round 4: Single crochet in first 2 stitches, increase in next stitch. Repeat around. (24 sts)
Rounds 5 through 12: Single crochet in each stitch around. (24 sts)
This creates the main body of your owl. You are working in a continuous spiral, so use a stitch marker to track the beginning of each round.
Round 13: Single crochet in first 2 stitches, decrease. Repeat around. (18 sts)
Begin stuffing firmly at this point. You want the body to feel plump and hold its shape well.
Round 14: Single crochet in first stitch, decrease. Repeat around. (12 sts)
Round 15: Decrease around until the opening is closed.
Fasten off and weave in your ends securely. Give the body a gentle squeeze to distribute the stuffing evenly.
Facial Disks Instructions
Make two of these circular pieces using powder white cotton yarn. They form the distinctive owl face.
Round 1: Make a magic ring. Work 6 single crochet into the ring. (6 sts)
Round 2: Increase in each stitch around. (12 sts)
