

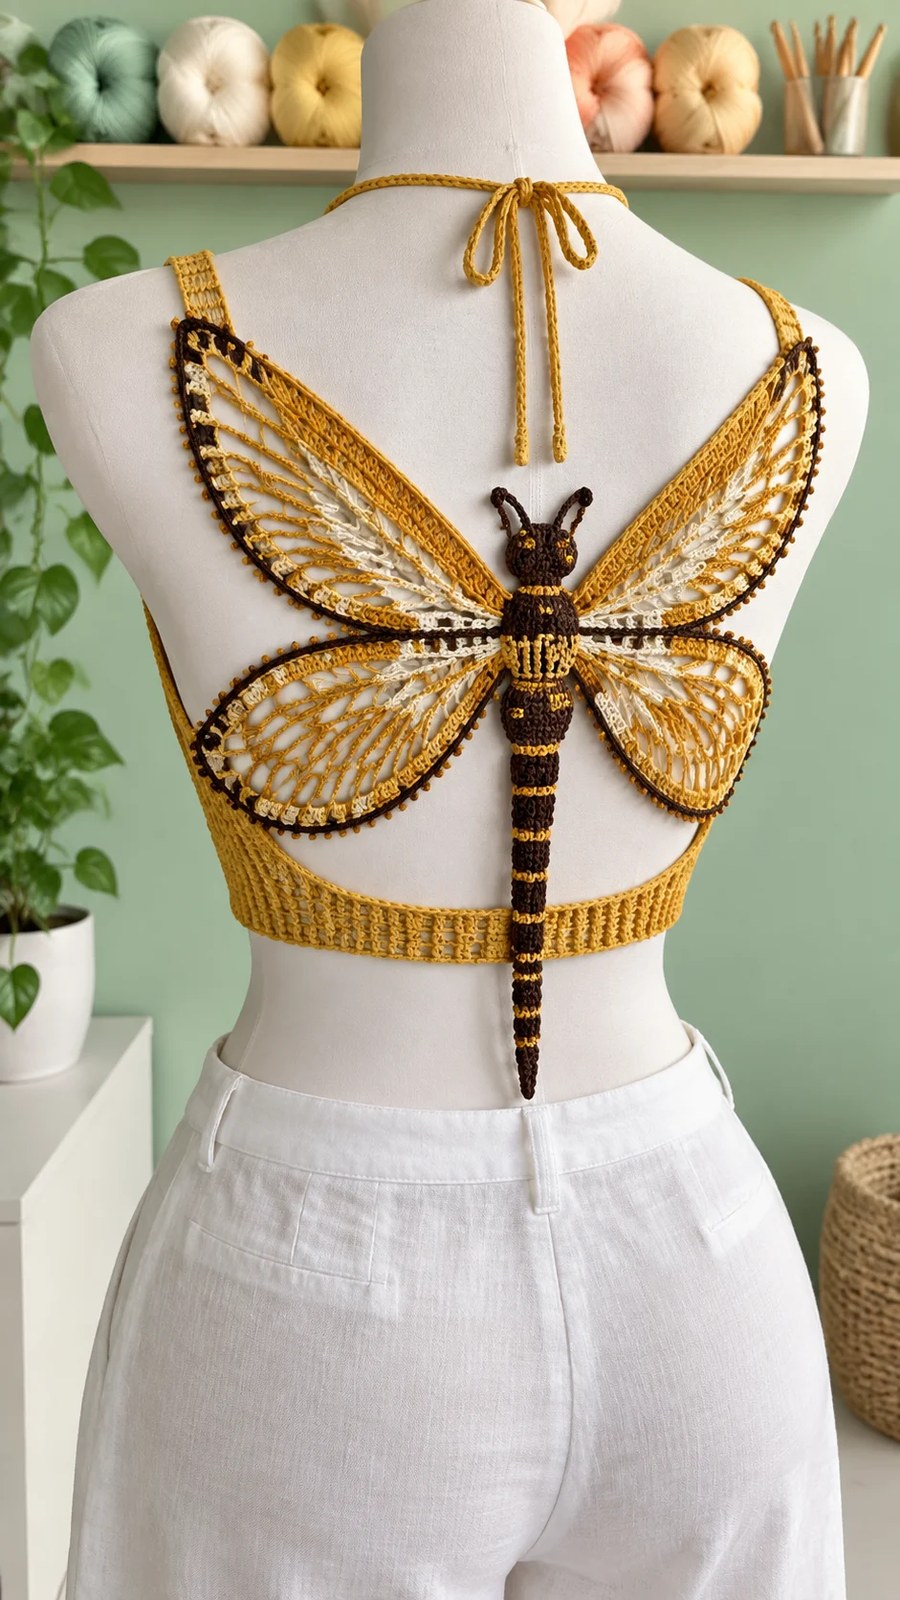
Let me guess. You saw this dragonfly back design somewhere and thought, “That looks incredible, but I could never make that.” I hear you. Lace wings, color changes, mirrored motifs, garment construction. It sounds like a lot.
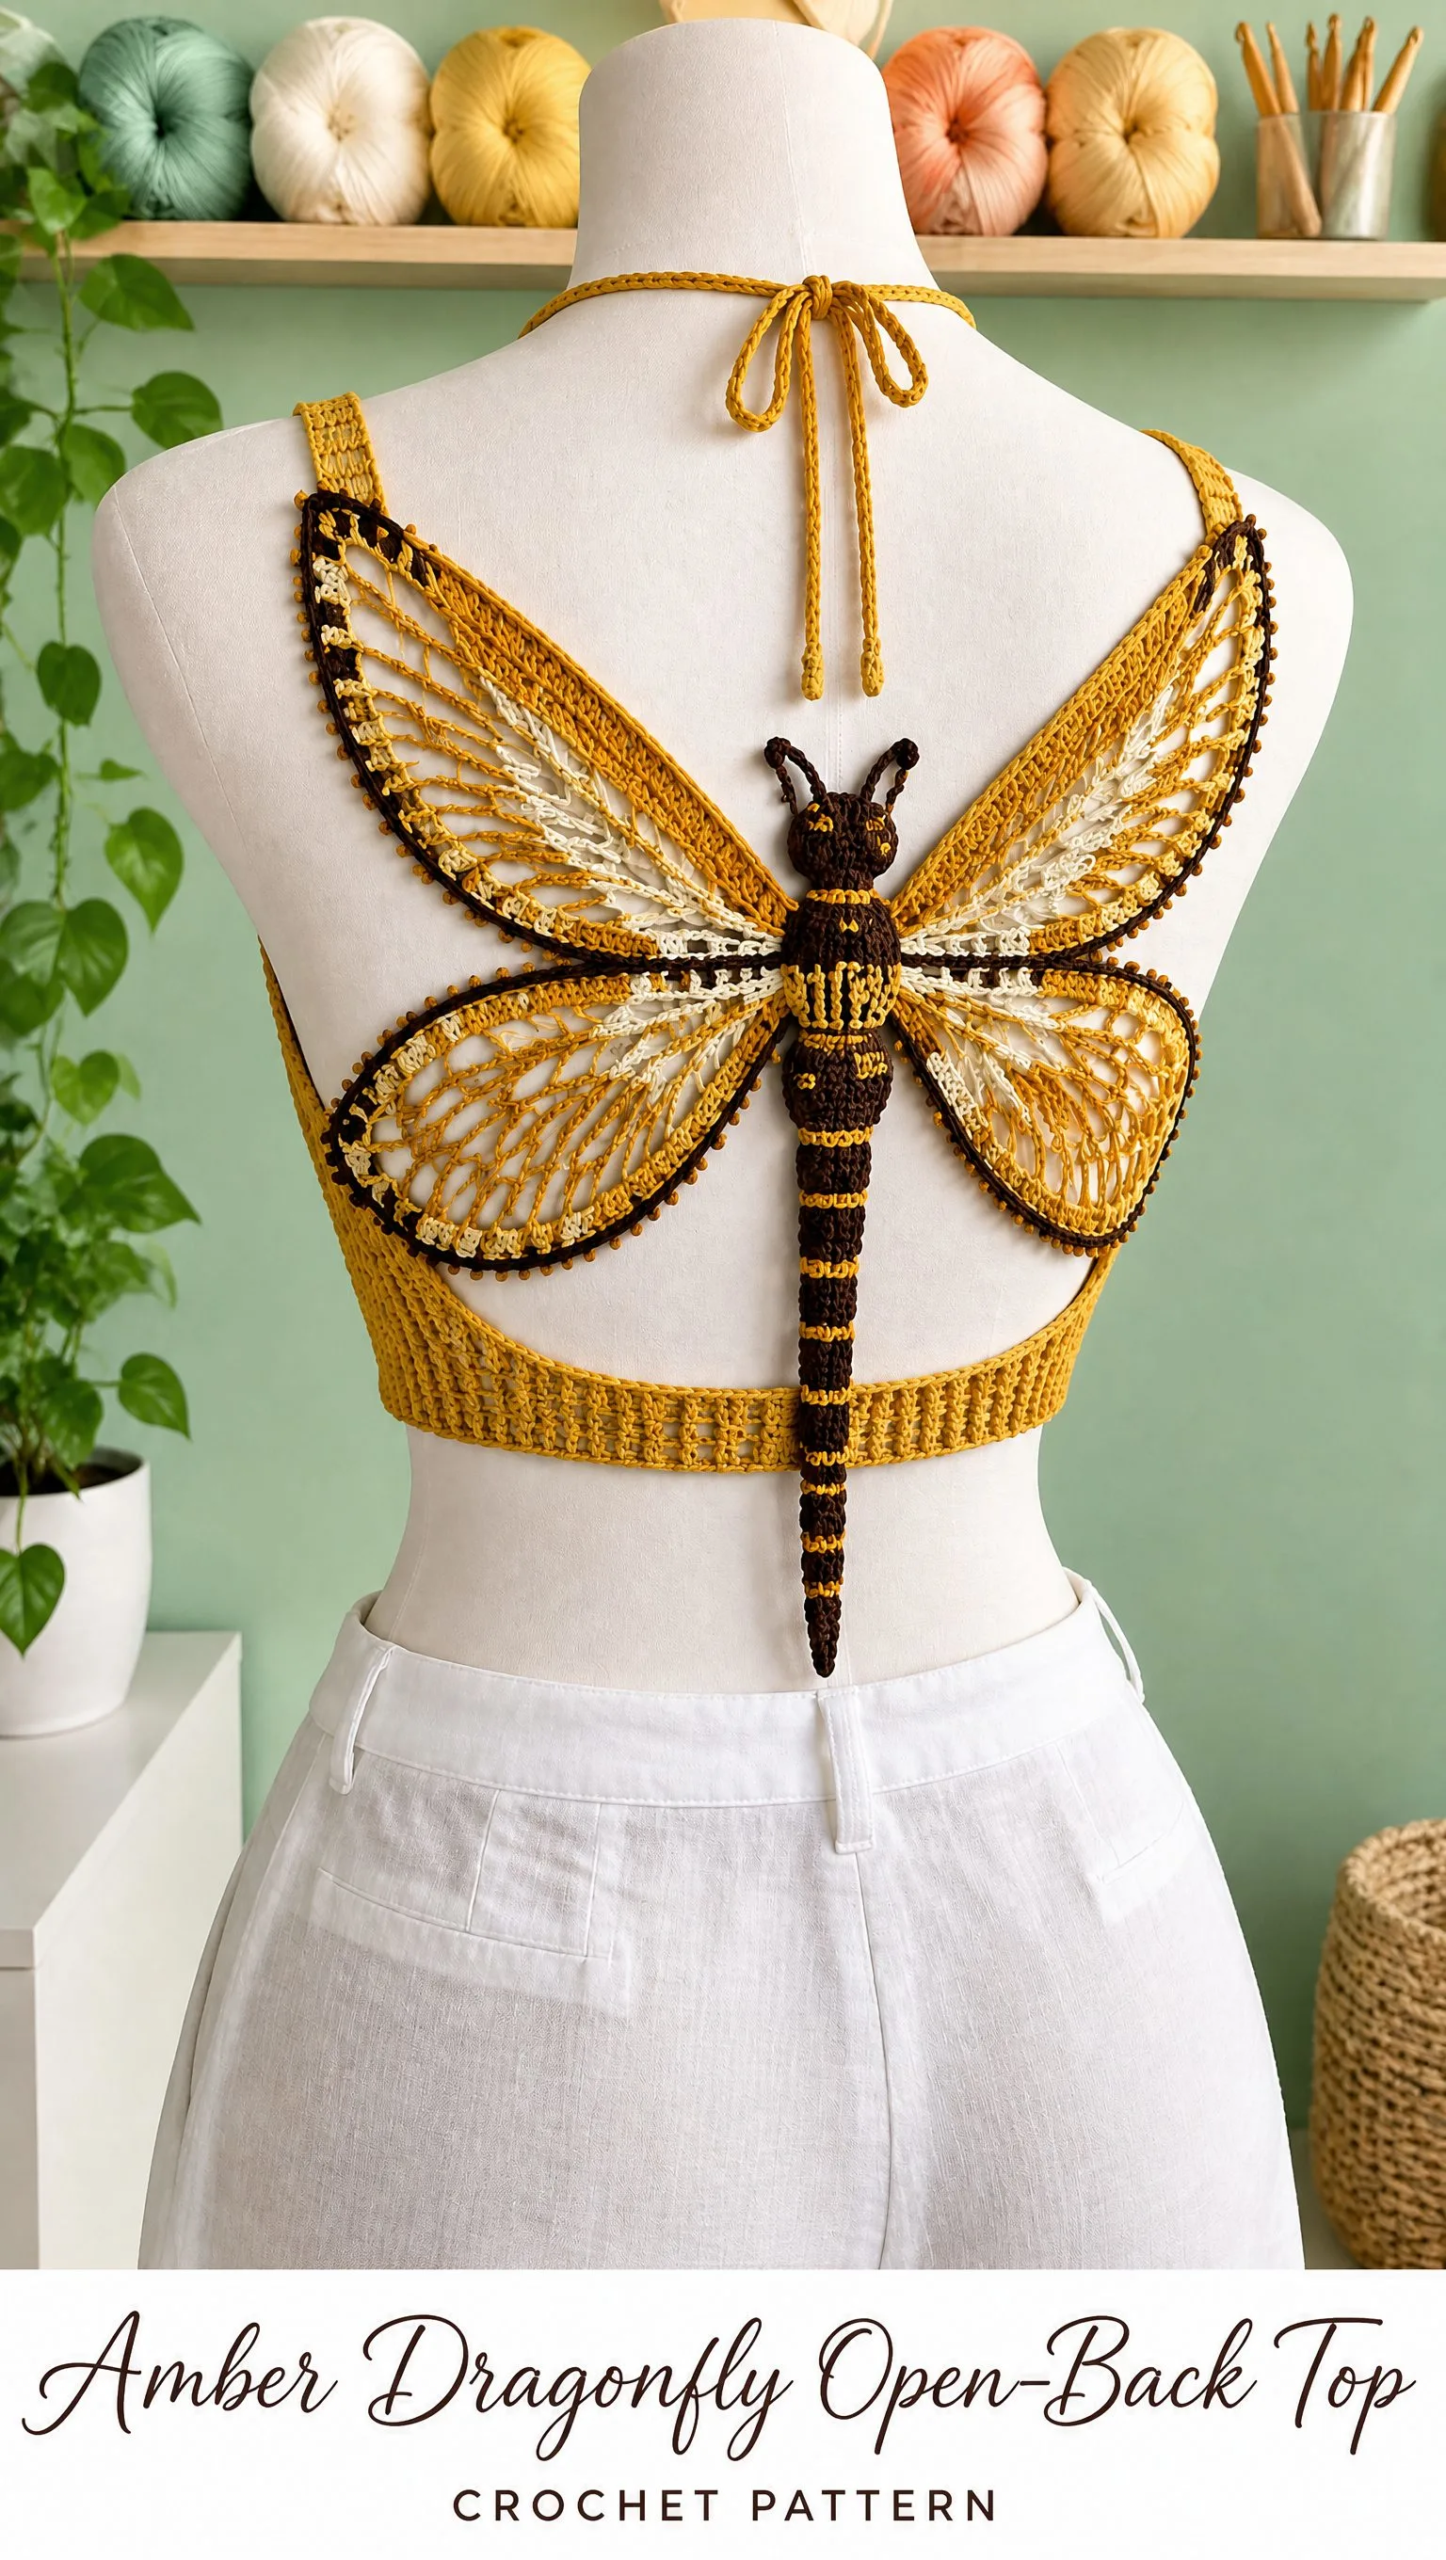
But here’s the thing. This top breaks down into simple, manageable pieces. You’re not crocheting magic. You’re crocheting a body, then some wings, then connecting everything to a band. Each section uses stitches you probably already know. Single crochet. Double crochet. Treble crochet. Chain spaces. That’s really it.
Whether you’re an adventurous intermediate crocheter ready to level up or an experienced maker looking for a stunning summer project, this pattern meets you where you are. I’ll walk you through every step, explain the tricky bits, and help you create a wearable piece of art.
Why This Dragonfly Top Is Worth Your Time
This open-back crop top isn’t just another garment pattern. It’s a statement piece that showcases your skills while remaining completely wearable. The large symmetrical dragonfly motif spans the entire back, with amber-gold lace wings catching the light, cream chain windows adding airiness, and chocolate-brown body segments creating bold contrast.
The botanical aesthetic works beautifully for summer festivals, beach cover-ups, or layered over a simple tank for everyday wear. And because it uses ties at the neck and back, the fit adjusts across multiple sizes without complicated shaping.
Materials You’ll Need
Gather these supplies before you begin:
Yarn (Sport Weight Cotton)
Tools
Yarn Selection Tips
Your yarn choice affects the finished look significantly. Mercerized cotton gives crisp stitch definition, which is perfect for showing off the lace wing details. Bamboo-cotton blends create a softer drape that moves beautifully when worn. Egyptian cotton produces a refined sheen that elevates the whole piece.
Any sport-weight yarn that matches gauge will work. Just make sure to swatch first.
Gauge
24 double crochet stitches x 12 rows = 4 x 4 inches (10 x 10 cm)
Gauge matters here. This is a fitted garment, and the lace sections need to open properly. If your gauge is too tight, the wings will look cramped. Too loose, and the whole piece becomes floppy. Take time to swatch and adjust your hook size if needed.
Finished Sizes
This pattern is adjustable from XS to XL using the neck and back ties. The waist band measurements are:
Skill Level
This pattern is rated Advanced Intermediate to Advanced. You’ll work with lace shaping, mirrored motifs, color changes, garment fitting, and careful finishing. If you’ve successfully completed lace projects and feel comfortable reading patterns, you’re ready for this.
Abbreviations and Stitch Definitions
Let me define every stitch you’ll use:
ch (chain): Yarn over, pull through the loop on your hook. This creates the foundation for most crochet work.
sl st (slip stitch): Insert hook, yarn over, pull through both the stitch and the loop on your hook in one motion. Used for joining and creating flat surface details.
sc (single crochet): Insert hook, yarn over, pull up a loop (2 loops on hook), yarn over, pull through both loops. The shortest and densest basic stitch.
hdc (half double crochet): Yarn over, insert hook, yarn over, pull up a loop (3 loops on hook), yarn over, pull through all 3 loops. Slightly taller than single crochet with a bit more drape.
dc (double crochet): Yarn over, insert hook, yarn over, pull up a loop (3 loops on hook), yarn over, pull through 2 loops, yarn over, pull through remaining 2 loops. A versatile medium-height stitch that forms the backbone of this pattern.
tr (treble crochet): Yarn over twice, insert hook, yarn over, pull up a loop (4 loops on hook), then yarn over and pull through 2 loops three times until one loop remains. The tallest stitch in this pattern, used to create height in the wing ribs.
Pattern Instructions
Step 1: Waist Band
The waist band anchors your entire garment. Getting this right sets you up for success.
Using amber yarn, chain a length matching your underbust measurement. Check your size in the finished measurements above and chain accordingly.
Row 1: Double crochet (dc) across the entire chain.
Rows 2 through 8: Alternate between dc ribbing rows and chain-window rows. The ribbing creates structure while the chain windows add visual interest and breathability.
Join the band into a circle, but leave the back center open for the dragonfly motif. This opening is where all the magic happens.
Quick tip: Use stitch markers to mark the exact center back. You’ll reference this point constantly as you build the motif.
Step 2: Dragonfly Body
Now we’re getting to the fun part. The body is the central spine of your dragonfly, and everything else attaches to it.
Switch to chocolate brown yarn.
Chain 18 for the center body.
Work tightly packed single crochet rounds to create a raised oval body. The tight tension here is intentional. You want the body to have dimension and stand out from the lacy wings.
