

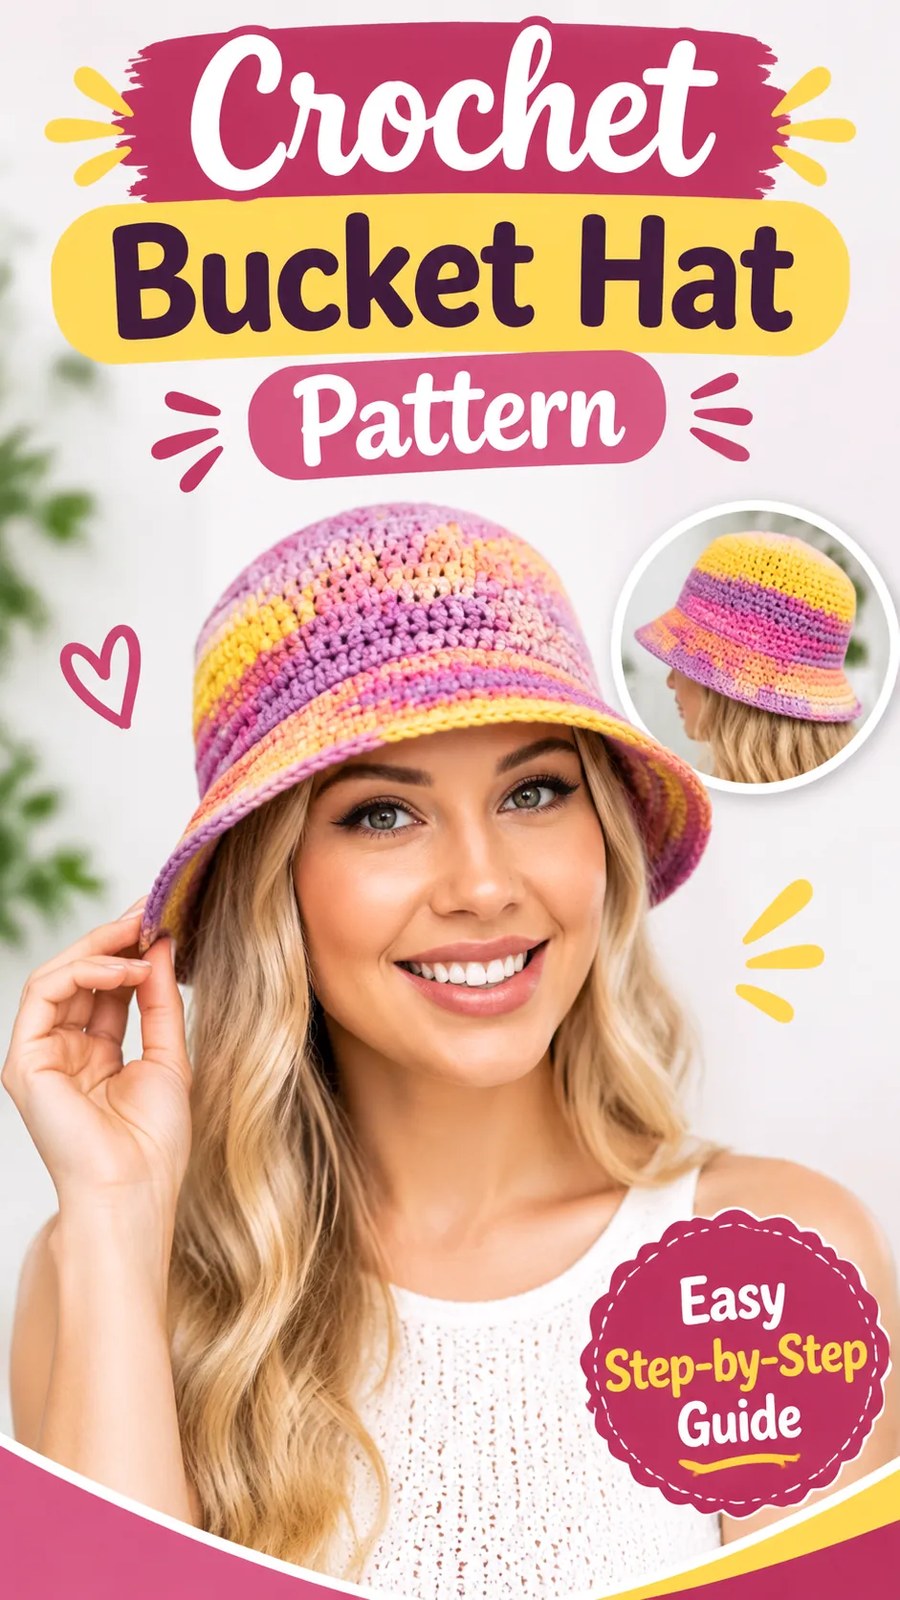
Bring a little color and handmade charm to your summer wardrobe with this easy crochet bucket hat free pattern! This cheerful accessory features a classic rounded crown, gently sloping sides, and a softly flared brim. Its beautiful blend of pink, golden yellow, and purple creates a playful, colorful look that makes the hat stand out while remaining easy to style.
This original crochet bucket hat pattern is designed for crocheters who enjoy practical projects with a fashionable finish. The hat is worked from the top down in continuous rounds, beginning with a flat circular crown. The sides are then crocheted without increases before the brim is shaped with evenly spaced stitches. The construction is straightforward, making it a lovely project for confident beginners and intermediate crocheters.
For a similar colorful appearance, choose a self-striping or variegated yarn that gradually blends different shades. Alternatively, combine several coordinating solid colors to create your own unique design. With simple single crochet stitches, basic increases, and a comfortable fit, this handmade bucket hat is a wonderful addition to your collection of summer crochet projects.
Key Takeaways
Key Takeaways
- Project type: Colorful handmade crochet bucket hat with a rounded crown and gently flared brim.
- Skill level: Easy to confident beginner, using basic crochet stitches and increases.
- Main technique: Top-down construction in continuous rounds using single crochet.
- Suggested yarn: Lightweight worsted cotton or a cotton blend with good stitch definition.
- Customization: Easily adjustable for children, teenagers, and adults.
- Best use: A lightweight everyday accessory for spring, summer, beach trips, and casual outfits.
About This Colorful Crochet Bucket Hat
A crochet bucket hat is a timeless accessory that combines practical coverage with relaxed handmade style. Its defining features are a rounded top, a cylindrical or slightly tapered body, and a brim that extends outward around the head. This particular style looks especially attractive when made with colorful yarn because the gradual color changes highlight the circular construction.
The suggested design uses soft shades of pink, yellow, and purple, creating a cheerful appearance without requiring complicated colorwork. The colors can blend naturally through variegated yarn or be introduced in deliberate sections using separate yarn colors.
Shape and Design Features
The hat consists of three main sections:
- Rounded crown: A flat circular section worked with regularly spaced increases. It creates the top of the hat and determines its overall width.
- Hat body: A straight section worked without additional increases. It creates enough depth to sit comfortably around the head.
- Flared brim: A slightly wider section formed by increasing the stitch count in two rounds. The remaining rounds are worked evenly to create a soft, wearable edge.
The finished shape is casual rather than stiff. The brim has enough width to frame the face and provide some shade while retaining a soft crocheted appearance.
Visible Crochet Texture
The closest practical stitch choice for recreating this appearance is single crochet. It produces a dense, compact fabric with small, closely spaced stitches. This texture is particularly suitable for hats because it helps the fabric maintain its rounded shape.
Working in continuous rounds creates subtle horizontal stitch lines. Using a slightly smaller hook than you might choose for a loose summer accessory helps the hat retain its structure without making it uncomfortable.
The original color arrangement can be approximated with a variegated yarn featuring pink, golden yellow, and purple sections. A smooth color transition gives the finished hat a playful handmade appearance.
Crochet Construction and Stitch Analysis
Why Top-Down Construction Works Well
For this original crochet bucket hat pattern, the most practical construction method is to begin at the center of the crown and work outward. The circular shape is built by adding six stitches evenly during each increase round.
Once the crown reaches the desired circumference, the increases stop. Working several rounds with the same stitch count allows the fabric to turn downward and form the sides of the hat.
The brim is created by gradually increasing the stitch count again. These additional stitches allow the lower edge to spread outward rather than continuing straight down.
Recommended Yarn and Hook
A medium-weight yarn is a practical choice for this design. Cotton and cotton-blend fibers are especially useful because they provide stitch definition, breathability, and a comfortable feel against the skin.
Acrylic or cotton-acrylic blends can also work well, particularly when you want a soft fabric with plenty of color choices. Avoid yarn that is excessively fluffy because it can make the individual stitches difficult to see.
A 4.5 mm crochet hook is the suggested starting size. However, your personal tension matters. If the fabric feels too loose or floppy, try a smaller hook. If it feels rigid and difficult to work, move up slightly.
Crochet Insight: Creating a Smooth Crown
The secret to a smooth circular crown is distributing increases evenly. Adding six stitches in every increase round creates a balanced circle. If the increases are placed directly above one another, the crown may develop visible corners. Slightly shifting the increase positions can help create a more rounded appearance.
Free Crochet Pattern: Colorful Summer Bucket Hat
Free Crochet Pattern
Pattern name: Colorful Summer Crochet Bucket Hat
This original interpretation uses a simple single crochet fabric, a circular crown, straight sides, and a gently flared brim. The pattern is designed around an adult medium size, with additional guidance for smaller and larger sizes.
Pattern Specifications
| Specification | Details |
|---|---|
| Skill level | Easy to confident beginner |
| Construction | Top-down, continuous rounds |
| Finished circumference | Approximately 22.4 inches (57 cm) |
| Crown diameter | Approximately 7.1 inches (18 cm) |
| Body depth | Approximately 4 inches (10 cm) |
| Brim depth | Approximately 2.25 inches (5.7 cm) |
| Yarn category | Category 4, medium weight |
| Yarn quantity | Approximately 180 to 220 yards (165 to 201 meters) |
| Hook | 4.5 mm (US 7) |
| Gauge | 15 sc x 16 rounds = 4 inches (10 cm) |
| Terminology | US crochet terms |
| Finished size | Adult medium |
Materials Needed
- Approximately 180 to 220 yards (165 to 201 meters) of medium-weight category 4 yarn.
- One 4.5 mm (US 7) crochet hook.
- Stitch marker for identifying the beginning of each round.
- Yarn needle for weaving in ends.
- Scissors.
- Flexible measuring tape.
Suggested color palette: Choose a variegated yarn that combines golden yellow, soft pink, and purple. If working with separate colors, prepare approximately equal amounts of your chosen shades and change colors every two or three rounds, depending on the desired stripe arrangement.
Abbreviations
- MR: Magic ring
- ch: Chain
- sc: Single crochet
- inc: Increase, meaning 2 single crochet stitches worked into the same stitch
- sl st: Slip stitch
- st: Stitch
- sts: Stitches
- rep: Repeat
- rnd: Round
- PM: Place marker
Terminology note: All instructions use US crochet terminology. The US single crochet is called double crochet in UK terminology.
Special Stitch Instructions
Single crochet increase (inc): Work 2 single crochet stitches into the same stitch. This adds one stitch to the round.
Invisible single crochet increase (optional): Insert the hook through the front loop of the next stitch, then through the front loop of the following stitch. Yarn over and pull through both loops, yarn over again and pull through the remaining loops. This creates a neater increase, although the standard increase is perfectly suitable for the pattern.
Magic ring: Create an adjustable loop, work the required stitches into the loop, and pull the yarn tail to close the center.
Construction Notes Before Starting
- The hat is worked from the center of the crown toward the brim.
- All rounds are worked continuously without joining.
- Do not turn your work between rounds.
- Place a stitch marker in the first stitch of each round and move it upward as you work.
- The turning chain is not used because the pattern is worked in continuous single crochet rounds.
- Slip stitches are not used to join rounds and do not count as stitches.
- Keep your tension consistent throughout the crown, body, and brim.
Important sizing tip: Measure your head before beginning. The adult medium circumference is approximately 22.4 inches (57 cm). A comfortable hat usually needs a little negative ease, particularly when the yarn has limited stretch. Check your gauge before completing the crown so the hat does not become too tight or oversized.
Part 1: Crochet the Circular Crown
Begin with a magic ring. The crown is worked in continuous rounds, with six evenly distributed increases in every increase round.
- Round 1: Work 6 sc into the magic ring. Pull the ring closed. Place a marker in the first stitch. (6 sts)
- Round 2: Work 2 sc in each stitch around. (12 sts)
- Round 3: Repeat (1 sc, inc) 6 times. (18 sts)
- Round 4: Repeat (2 sc, inc) 6 times. (24 sts)
- Round 5: Repeat (3 sc, inc) 6 times. (30 sts)
- Round 6: Repeat (4 sc, inc) 6 times. (36 sts)
- Round 7: Repeat (5 sc, inc) 6 times. (42 sts)
- Round 8: Repeat (6 sc, inc) 6 times. (48 sts)
- Round 9: Repeat (7 sc, inc) 6 times. (54 sts)
- Round 10: Repeat (8 sc, inc) 6 times. (60 sts)
- Round 11: Repeat (9 sc, inc) 6 times. (66 sts)
- Round 12: Repeat (10 sc, inc) 6 times. (72 sts)
- Round 13: Repeat (11 sc, inc) 6 times. (78 sts)
- Round 14: Repeat (12 sc, inc) 6 times. (84 sts)
After Round 14, the crown should measure approximately 7.1 inches (18 cm) across when worked to the suggested gauge. Lay the piece flat to check that it forms a reasonably smooth circle.
If the crown begins to curl upward, the fabric may need more increases or a slightly larger hook. If it develops waves, check that you have not accidentally added extra stitches.
Part 2: Crochet the Straight Hat Body
Once the crown reaches the desired diameter, stop increasing. Continue working one single crochet into every stitch around.
- Round 15: Sc in each stitch around. (84 sts)
- Round 16: Sc in each stitch around. (84 sts)
- Round 17: Sc in each stitch around. (84 sts)
- Round 18: Sc in each stitch around. (84 sts)
- Round 19: Sc in each stitch around. (84 sts)
- Round 20: Sc in each stitch around. (84 sts)
- Round 21: Sc in each stitch around. (84 sts)
- Round 22: Sc in each stitch around. (84 sts)
- Round 23: Sc in each stitch around. (84 sts)
- Round 24: Sc in each stitch around. (84 sts)
- Round 25: Sc in each stitch around. (84 sts)
- Round 26: Sc in each stitch around. (84 sts)
- Round 27: Sc in each stitch around. (84 sts)
- Round 28: Sc in each stitch around. (84 sts)
- Round 29: Sc in each stitch around. (84 sts)
- Round 30: Sc in each stitch around. (84 sts)
At the end of Round 30, the hat body should measure approximately 4 inches (10 cm) from the outer edge of the crown to the bottom edge of the body, measured along the side of the hat.
For a slightly shorter bucket hat, remove two or four body rounds. For a deeper design, add two or four rounds before beginning the brim.
Part 3: Shape the Flared Brim
The brim gives the bucket hat its recognizable silhouette. Two increase rounds gradually widen the fabric, followed by even rounds that create a neat and comfortable edge.
- Round 31: Repeat (6 sc, inc) 12 times around. (96 sts)
- Round 32: Sc in each stitch around. (96 sts)
- Round 33: Repeat (7 sc, inc) 12 times around. (108 sts)
- Round 34: Sc in each stitch around. (108 sts)
- Round 35: Sc in each stitch around. (108 sts)
- Round 36: Sc in each stitch around. (108 sts)
- Round 37: Sc in each stitch around. (108 sts)
- Round 38: Sc in each stitch around. (108 sts)
- Round 39: Sc in each stitch around. (108 sts)
The brim should spread outward gently, creating a soft curved shape. If you prefer a narrower brim, finish after Round 35 or 36. For a wider brim, add extra even rounds without additional increases.
When you finish the final round, work a slip stitch into the next stitch only if needed to smooth the finishing point. This slip stitch is not part of the stitch count. Fasten off, leaving a yarn tail of approximately 6 inches (15 cm).
Part 4: Optional Structured Brim Edge
For a slightly firmer brim, you can add a final round of slip stitches. This optional finish creates a defined edge without changing the brim circumference.
- Join the yarn at the beginning of the final brim round if you have already fastened off.
- Work one slip stitch into each of the 108 stitches around.
- Keep the slip stitches relaxed so the brim does not become too tight or begin to curl.
- Join the finishing point neatly, fasten off, and weave in the yarn end.
This extra edging is optional. If your yarn already produces a firm fabric, the original single crochet edge may be sufficient.
Part 5: Color Changes for a Multicolored Hat
To achieve a colorful look similar to the suggested design, use a variegated yarn containing pink, yellow, and purple. The color transitions will appear naturally as the hat grows.
If using separate solid colors, follow this simple arrangement:
- Color A: Golden yellow for the center crown.
- Color B: Soft pink for the middle crown and upper body.
- Color C: Purple for selected body rounds and the brim edge.
You can change colors at the end of any round. For a clean transition, begin the final single crochet of the old color and stop when two loops remain on the hook. Yarn over with the new color and pull through both loops to complete the stitch. Continue using the new color.
For an attractive blended effect, alternate the colors gradually rather than making every stripe the same width. Always keep the yarn ends on the inside of the hat and weave them in securely.
Finishing the Crochet Bucket Hat
- Check the final brim for skipped stitches or accidental increases.
- Fasten off securely after the final round.
- Thread the yarn tail onto a yarn needle.
- Weave the tail through several stitches on the inside of the hat, changing direction to secure it.
- Trim excess yarn without cutting through the finished stitches.
- Check the crown and sides for any uneven areas.
- Shape the hat gently using your hands.
