

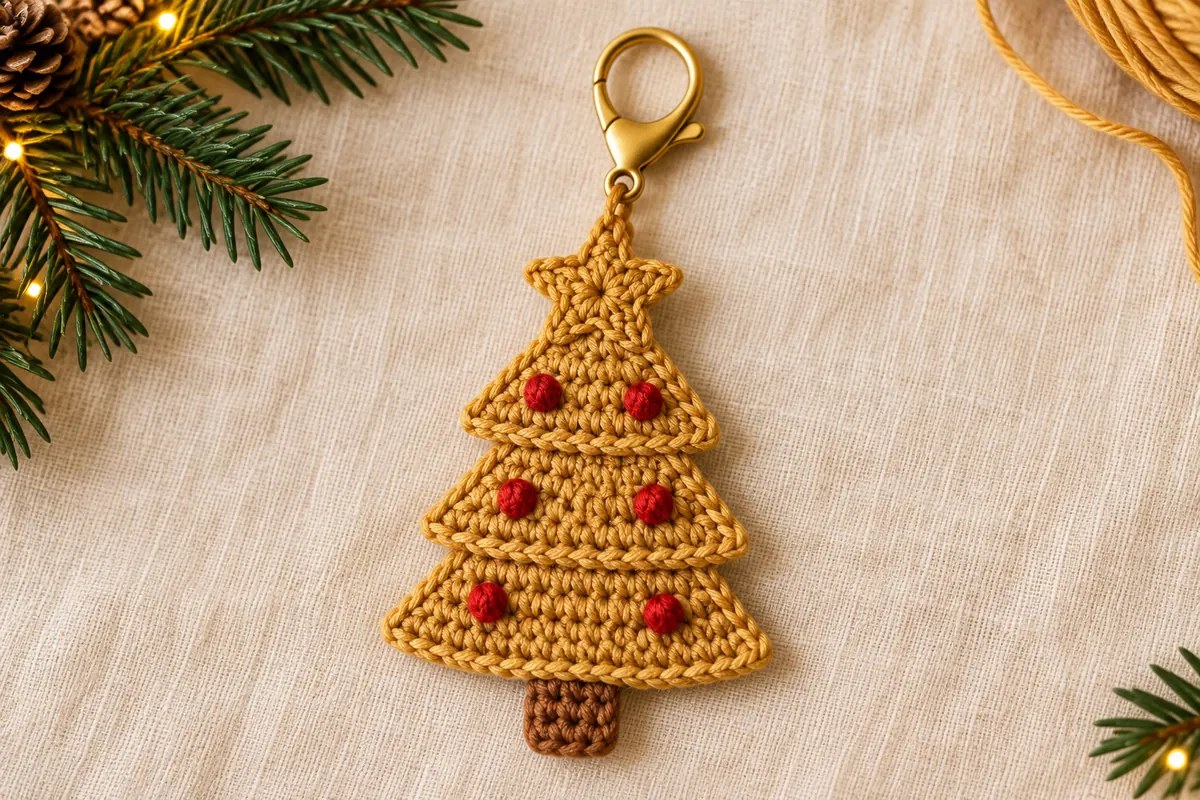
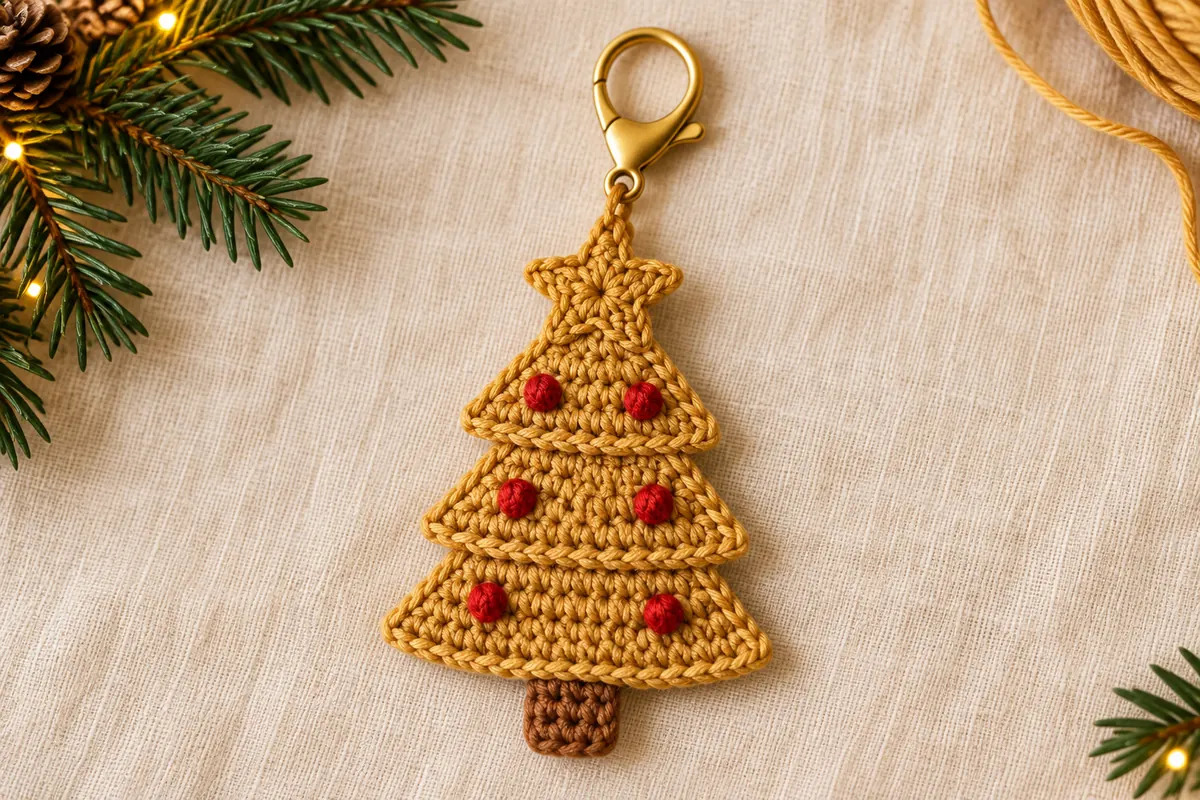
This crochet Christmas tree keychain takes its inspiration from a golden tree with three layered branches, tiny red ornaments and a star at the top. A brown trunk and a gold clasp complete the small holiday accessory.
The version below builds the tree from three separate single crochet triangles. Sewing them with a small overlap creates the tiered silhouette, while a slip stitch line along each lower edge gives the branches a little definition.
Make it as a decorative bag charm or a small addition to a wrapped gift. If you enjoy using tree motifs in holiday projects, the Christmas tree granny square offers another way to explore the same theme.
About this crochet Christmas tree keychain
Pattern note: This is an original interpretation of the reference, not a transcription of its exact stitches. The row counts have been checked mathematically, but the design has not been physically crocheted or tested. The AI-generated styling images show the intended look; follow the written counts and construction diagrams for this version.
- Level: Confident beginner, with basic sewing and embroidery.
- Terms: US crochet terminology.
- Construction: Three flat triangles, one trunk and one five-point star, sewn together.
- Size: No measured finished size is available. Yarn thickness, hook and overlap affect the final height and width.
- Use: A decorative keychain or bag charm; keep the attachment lightweight.
Materials and yarn choice
- Sport-weight cotton yarn in golden ochre, plus small amounts of brown and red.
- A 2.5 mm crochet hook as a starting point, adjusted to your yarn.
- A small lobster clasp or key ring with a smooth attachment opening.
- A blunt yarn needle, scissors and stitch markers.
- Optional blocking pins, if suitable for the yarn.
Choose a smooth yarn so you can see both loops of the single crochet stitches. Cotton with a firm twist gives the small shapes definition. Use the same yarn weight for the triangles and star; thinner red yarn can be useful for the embroidered ornaments.
Begin with a small triangle to check the fabric. It should feel firm enough to hold its outline without making the hook difficult to insert. A loose fabric may stretch at the hanging loop, while an overly tight fabric can make the seams bulky.
Abbreviations and stitches
ch = chain; sc = single crochet; hdc = half double crochet; sl st = slip stitch; st/sts = stitch/stitches; MR = magic ring. For standard terminology, see the Craft Yarn Council crochet abbreviation guide.
Single crochet increase
Work two sc into the same stitch. From Row 3 onward, the triangles have one increase in the first stitch and another in the last stitch. These two increases add two stitches to every row.
Half double crochet
Yarn over, insert the hook into the indicated chain, yarn over and pull up a loop. Yarn over and pull through all three loops. This stitch is used on the short return chain of each star point.
Triangle counts at a glance
| Row | SC count | Use |
|---|---|---|
| 1 | 1 | All three triangles |
| 2 | 3 | All three triangles |
| 3 | 5 | All three triangles |
| 4 | 7 | All three triangles |
| 5 | 9 | Finish top triangle here |
| 6 | 11 | Middle and bottom triangles |
| 7 | 13 | Finish middle triangle here |
| 8 | 15 | Bottom triangle only |
| 9 | 17 | Finish bottom triangle here |
Turning ch 1 never counts as a stitch. Work through both loops unless stated otherwise. Turn after each triangle row. The lower-edge slip stitches are a finishing pass and are not an additional row of single crochet.
Crochet Christmas tree keychain pattern
Make the three golden triangles
Use golden ochre yarn for each piece. Every triangle begins at its narrow top and grows toward its wide base. Make one triangle through Row 5, one through Row 7 and one through Row 9.
Row 1: Ch 2. Sc in the second chain from the hook. Turn. 1 sc.
Row 2: Ch 1. Work 3 sc into the only stitch. Turn. 3 sc. This is a special starting increase; do not work two separate increases into that same stitch.
Row 3: Ch 1. Work 2 sc in the first stitch, sc in the next stitch, and 2 sc in the last stitch. Turn. 5 sc.
Row 4: Ch 1. Work 2 sc in the first stitch, sc in the next 3 stitches, and 2 sc in the last stitch. Turn. 7 sc.
Row 5: Ch 1. Work 2 sc in the first stitch, sc in the next 5 stitches, and 2 sc in the last stitch. Turn. 9 sc. Stop here for the top triangle and add its lower edge as described below.
Row 6: Ch 1. Work 2 sc in the first stitch, sc in the next 7 stitches, and 2 sc in the last stitch. Turn. 11 sc.
Row 7: Ch 1. Work 2 sc in the first stitch, sc in the next 9 stitches, and 2 sc in the last stitch. Turn. 13 sc. Stop here for the middle triangle and add its lower edge.
Row 8: Ch 1. Work 2 sc in the first stitch, sc in the next 11 stitches, and 2 sc in the last stitch. Turn. 15 sc.
Row 9: Ch 1. Work 2 sc in the first stitch, sc in the next 13 stitches, and 2 sc in the last stitch. Turn. 17 sc. Stop here for the bottom triangle.
Finish the lower edge of each tier
After turning at the end of that triangle’s final row, ch 1 and sl st loosely in each sc across the base. Work 9 sl sts for the top piece, 13 for the middle and 17 for the bottom. Fasten off, leaving a sewing tail of about 25 cm.
Do not pull these slip stitches tight. Their purpose is to define the lower edge, not shorten it. If the base curls inward, undo the finishing pass and remake it with larger loops.
Make the brown trunk
With brown yarn, ch 5. Row 1: Sc in the second chain from the hook and in the next three chains. Turn. 4 sc.
