

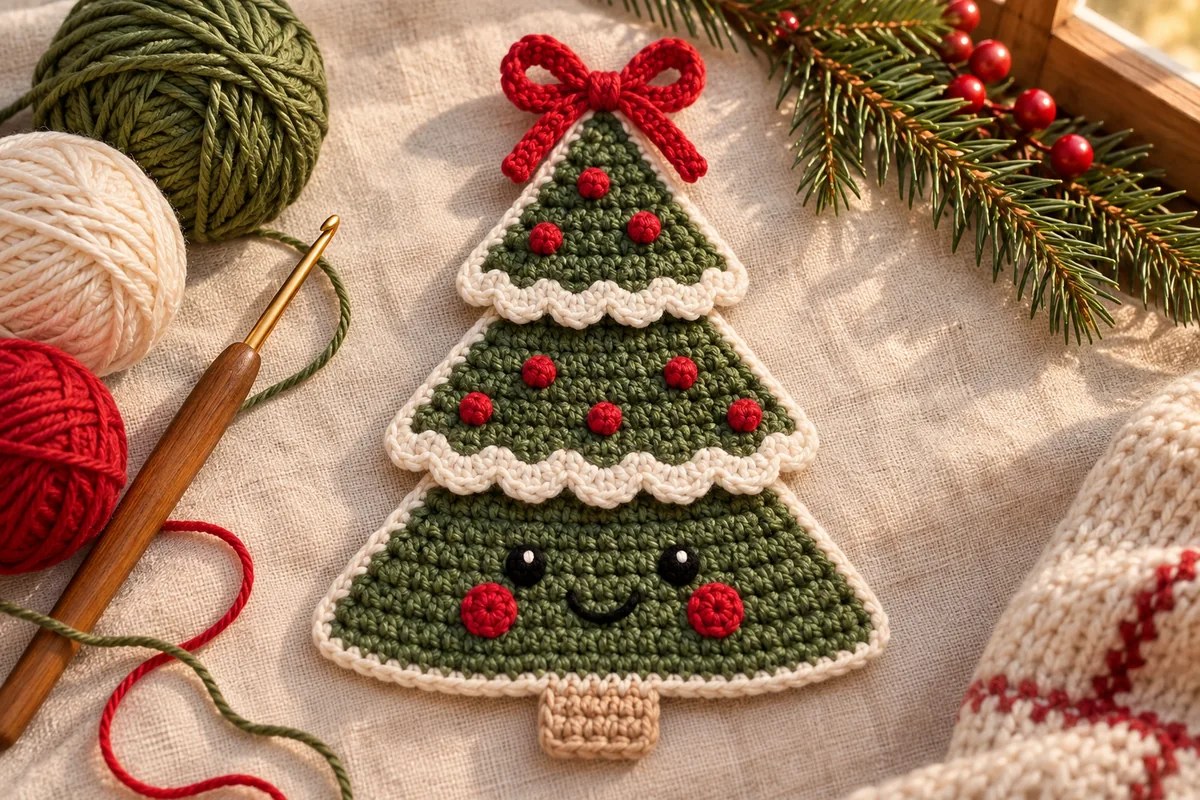
This smiling crochet Christmas tree is a flat applique built from three green triangles. White outlines separate the tiers, two small scalloped bands suggest snow, and a red bow sits above the friendly face on the largest triangle.
The pattern is an original interpretation inspired by the reference photograph, rather than its exact recipe. The stitch arithmetic has been reviewed, but the design has not been physically crocheted or tested. Make one set of triangles and pin the pieces together before deciding on the final overlap.
Each green tier starts at its point and grows downward. The same row sequence makes all three sizes: stop after Row 5 for the top, Row 8 for the middle and Row 11 for the base. Add the outlines and face before sewing the tiers together, while the backs are easy to reach.
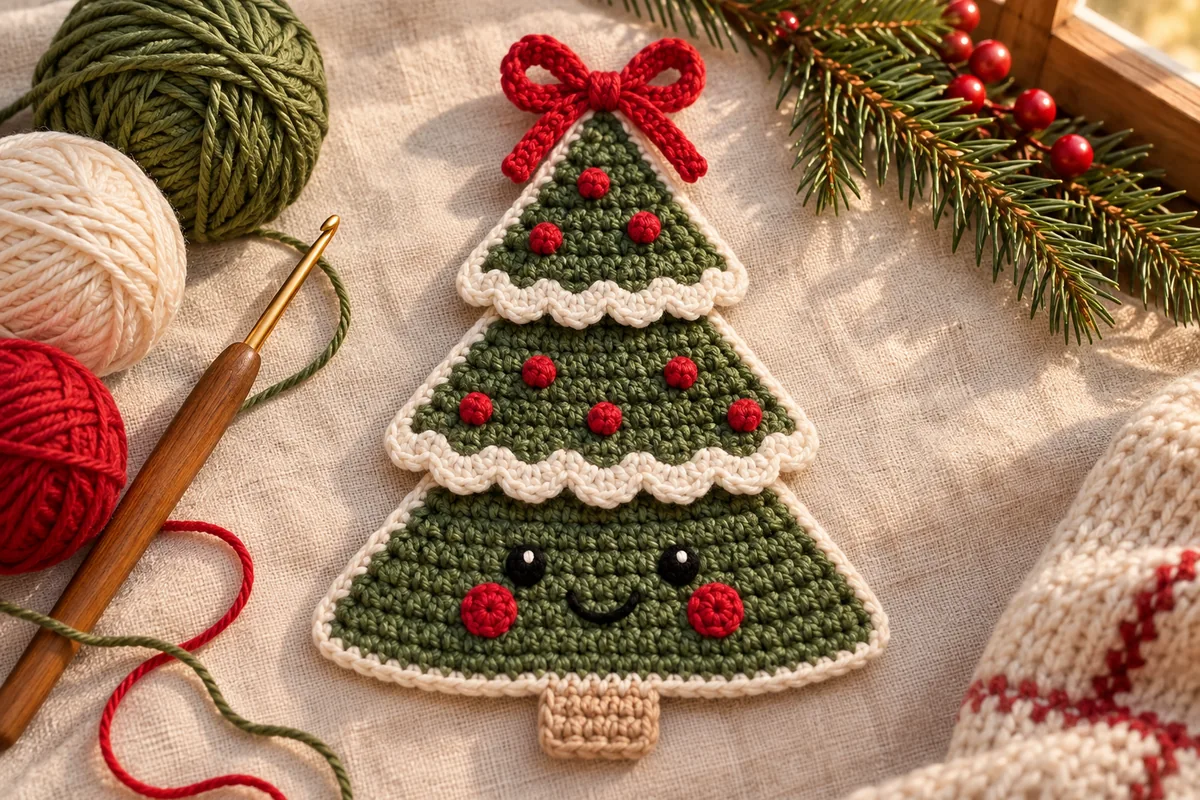
Materials for a smiling crochet Christmas tree
- Smooth DK cotton in moss green, white or ivory, red and beige.
- Black yarn for the eye circles and smile; a slightly finer black strand is an option if DK eyes feel too large on your own triangle.
- A 3 mm hook as a starting point, adjusted to your yarn for a firm, flexible fabric.
- A yarn needle, scissors, removable markers and pins or clips for assembly.
- Optional separate cord if you want to use the applique as a hanging decoration.
The applique is made without stuffing. No measured gauge, finished dimensions or yarn consumption is available for this untested version. Make the first tree before planning a batch or choosing a bag, card or fabric panel to decorate.
All four colored yarns should be close in thickness. White that is much heavier than the green can make the border curl, while very fine white may disappear between the tier edges. Keep the hook and green yarn consistent across the three triangles.
US abbreviations and stitch notes
ch = chain; sl st = slip stitch; sc = single crochet; hdc = half double crochet; st/sts = stitch/stitches; MR = magic ring; inc = 2 sc in one stitch. The Craft Yarn Council crochet abbreviations guide provides the standard US names.
Half double crochet: yarn over, insert the hook, yarn over and draw up a loop, yarn over and pull through all three loops. Three hdc worked in one stitch make one small snow scallop.
Turn after each triangle row except the final row for that size. Ch 1 before the next row; this turning chain never counts as a stitch. Work the first stitch in the first sc, not in the turning chain. The eye and cheek circles are joined rounds, while the triangles, trunk, bow and snow bands are worked in rows.
Smiling crochet Christmas tree: three green tiers
Make three separate triangles in green. Begin every triangle with the same first row and use the stopping points below. Leave a sewing tail when fastening off.
- Row 1: Ch 2, sc in the second chain from the hook. 1 sc. Turn.
- Row 2: Ch 1, inc in the only stitch. 2 sc. Turn.
- Row 3: Ch 1, inc in both stitches. 4 sc. Turn.
- Row 4: Ch 1, inc in the first stitch, sc in the next 2 stitches, inc in the last stitch. 6 sc. Turn.
- Row 5: Ch 1, inc in the first stitch, sc in the next 4 stitches, inc in the last stitch. 8 sc. Stop here for the top tier.
- Row 6: Ch 1, inc in the first stitch, sc in the next 6 stitches, inc in the last stitch. 10 sc.
- Row 7: Ch 1, inc in the first stitch, sc in the next 8 stitches, inc in the last stitch. 12 sc.
- Row 8: Ch 1, inc in the first stitch, sc in the next 10 stitches, inc in the last stitch. 14 sc. Stop here for the middle tier.
- Row 9: Ch 1, inc in the first stitch, sc in the next 12 stitches, inc in the last stitch. 16 sc.
- Row 10: Ch 1, inc in the first stitch, sc in the next 14 stitches, inc in the last stitch. 18 sc.
- Row 11: Ch 1, inc in the first stitch, sc in the next 16 stitches, inc in the last stitch. 20 sc. Stop here for the base tier.
When continuing beyond Row 5 or Row 8, turn before beginning the following row. From Row 3 onward, the two edge increases add two stitches per row. Row 2 is different because it has only one source stitch to increase.
| Tier | Last row | Green base width |
|---|---|---|
| Top | 5 | 8 sc |
| Middle | 8 | 14 sc |
| Base | 11 | 20 sc |
Outline each triangle in white
Fasten off green before starting the border. Identify the Row 1 apex and both ends of the last green row, which are the lower corners. The outline uses those three locations as its turns.
- Join white at the Row 1 apex stitch with a sl st. Ch 1 and work 3 sc in that apex.
- Work down one sloping side with 1 sc in each side row end from Row 2 through the penultimate row. Do not add a separate side stitch for the last row: its end stitch is the lower corner in the next step.
- Work 3 sc into the first lower-corner stitch of the last green row.
- Sc in every remaining base stitch except the opposite corner, then work 3 sc in that opposite corner.
- Work up the other sloping side, 1 sc per side row end from the penultimate row back through Row 2. Join to the first white sc and fasten off. Do not work the apex again.
Border counts: top 21 sc, middle 33 sc and base 45 sc. For a triangle with k rows and N base stitches, the count is 3 at the apex + 2(k − 2) along the slopes + 6 at the lower corners + (N − 2) across the base. This simplifies to N + 2k + 3.
Count before trimming the tails. The corner stitches are part of the base row, not additional row ends to work twice. Keep the outline flexible; forcing tight stitches into the sloping sides can shorten the triangle.
Make two separate snow bands
These bands are sewn over the lower edges of the top and middle tiers. The base tier keeps its plain white outline in the written version. The styled images explore variations in how full the snow looks; follow these two band instructions for this interpretation.
Top band
Row 1: With white, ch 9. Sc in the second chain from the hook and in each remaining chain. 8 sc. Turn.
