

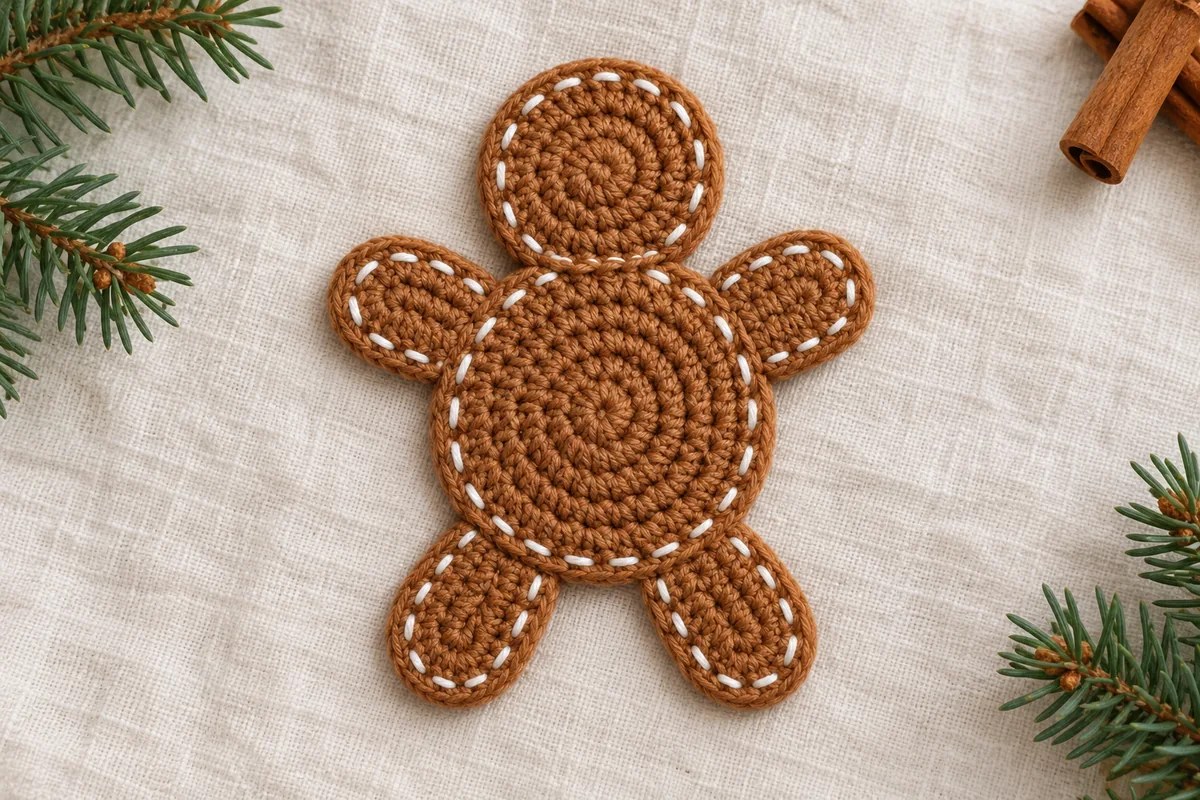
A flat crochet gingerbread man can be made from two circles and four small ovals, with a line of white embroidery to suggest icing. Keeping the face plain lets the caramel yarn and rounded outline do the work.
This version is assembled from six separate pieces. The head stops after two rounds of double crochet, the belly gets a third increasing round, and all four limbs use the same half-double-crochet oval. You can adjust their angles before sewing the figure together.
Use the finished applique on a fabric gift bag, a handmade card or a holiday garland. For another cookie-inspired decoration, the gingerbread crochet star brings the same brown-and-white palette to a pointed shape.
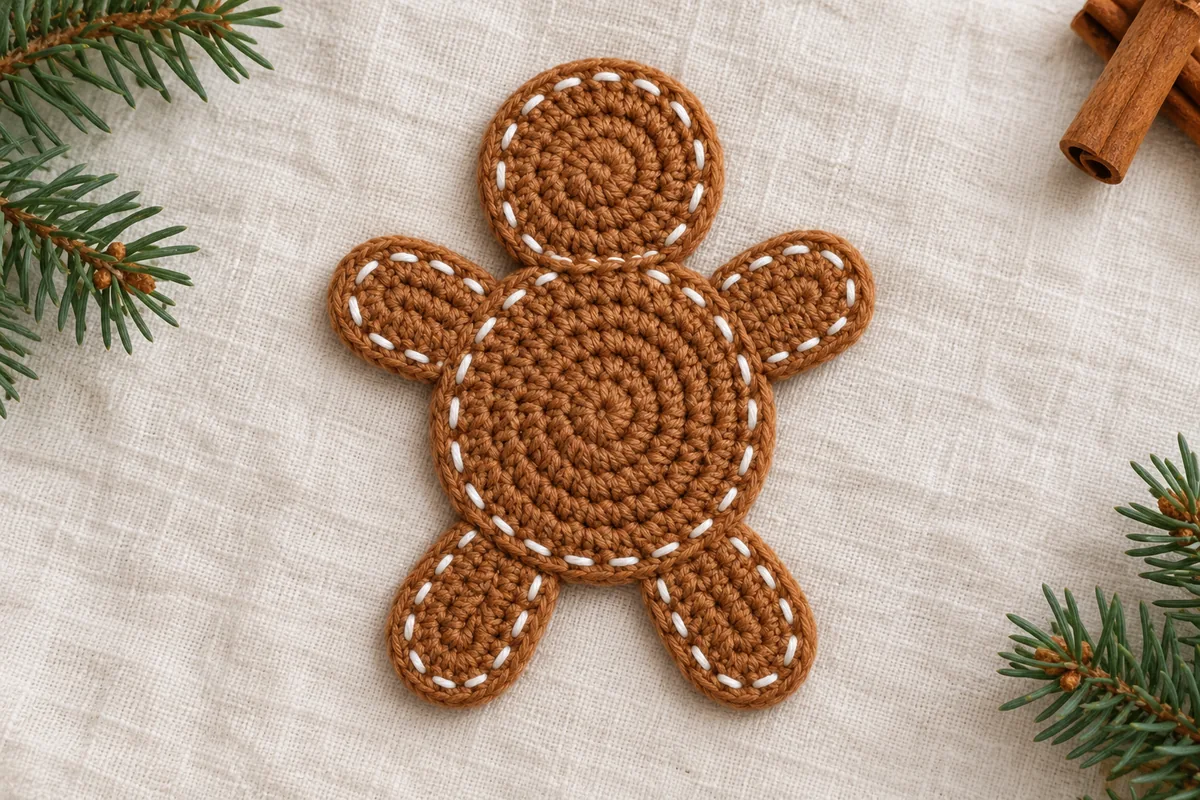
A flat crochet gingerbread man made in separate pieces
This is an original interpretation of the reference silhouette, not the exact pattern behind that photograph. The round belly covers the attachment ends of the head, arms and legs. There is no stuffing, second body panel or joined seam around the full outline.
The stitch arithmetic has been checked, but the design has not been physically tested. No measured gauge, finished size or yarn consumption is supplied. Make the two circles in the same yarn and tension, then check their proportions before sewing. The styling photographs illustrate the intended appearance; the written rounds define the construction.
Materials for a flat crochet gingerbread man
- Smooth caramel or gingerbread-brown yarn and a smaller amount of white yarn for the icing.
- A hook that makes a firm, flexible fabric in your chosen yarn. A 3.5 mm hook is a starting suggestion for light or medium yarn; adjust to the yarn label and fabric.
- A blunt yarn needle, scissors and removable stitch markers.
- A blocking surface and rustproof pins if suitable for your yarn.
- Matching sewing thread for attaching the finished applique to fabric, if desired.
Use the same brown yarn for all six pieces so the head and limbs stay in proportion to the belly. White yarn can be slightly finer if a full-weight strand looks heavy against the edge. Separate sewing and embroidery needles are useful when the icing strand has a different thickness.
US terms and round conventions
ch = chain; dc = double crochet; hdc = half double crochet; sl st = slip stitch; st/sts = stitch/stitches; MR = magic ring. The Craft Yarn Council crochet abbreviation guide is a useful reference for these US names.
The circles use joined rounds. Begin each with ch 2, which does not count as a stitch. Work the first dc into the same stitch as the join, unless you are starting in the magic ring. Finish by slip stitching to the first actual dc, not to the beginning chain.
For hdc, yarn over, insert the hook, yarn over and draw up a loop. Yarn over and draw through all three loops. The limb oval is worked around both sides of a foundation chain in one round. Its beginning skipped chain and final joining slip stitch are excluded from its 14-hdc count.
Head: a two-round circle
With brown, make an MR.
Round 1: Ch 2, work 12 dc into the MR. Tighten the ring and join with a sl st to the first dc. 12 dc.
Round 2: Ch 2, work 2 dc in each of the 12 dc around. Join to the first dc. 24 dc. Fasten off with a sewing tail. Do not add a third round to the head.
Mark the joining area if you want to hide it under the belly during assembly. Weave the ring tail securely through the backs of several stitches before trimming it. A tightly pulled ring alone does not secure that end permanently.
Belly: a three-round circle
With brown, work Rounds 1 and 2 exactly as for the head: 12 dc in the MR, followed by 2 dc in each stitch for 24 dc.
Round 3: Ch 2. Repeat (dc in next st, 2 dc in next st) 12 times. Join to the first dc and fasten off. 36 dc.
Round 3 consumes two existing stitches per repeat and makes three: 12 × 2 = 24 stitches used, and 12 × 3 = 36 stitches made. The belly and head have the same center construction; the extra round creates their size difference without changing yarn or hook.
