

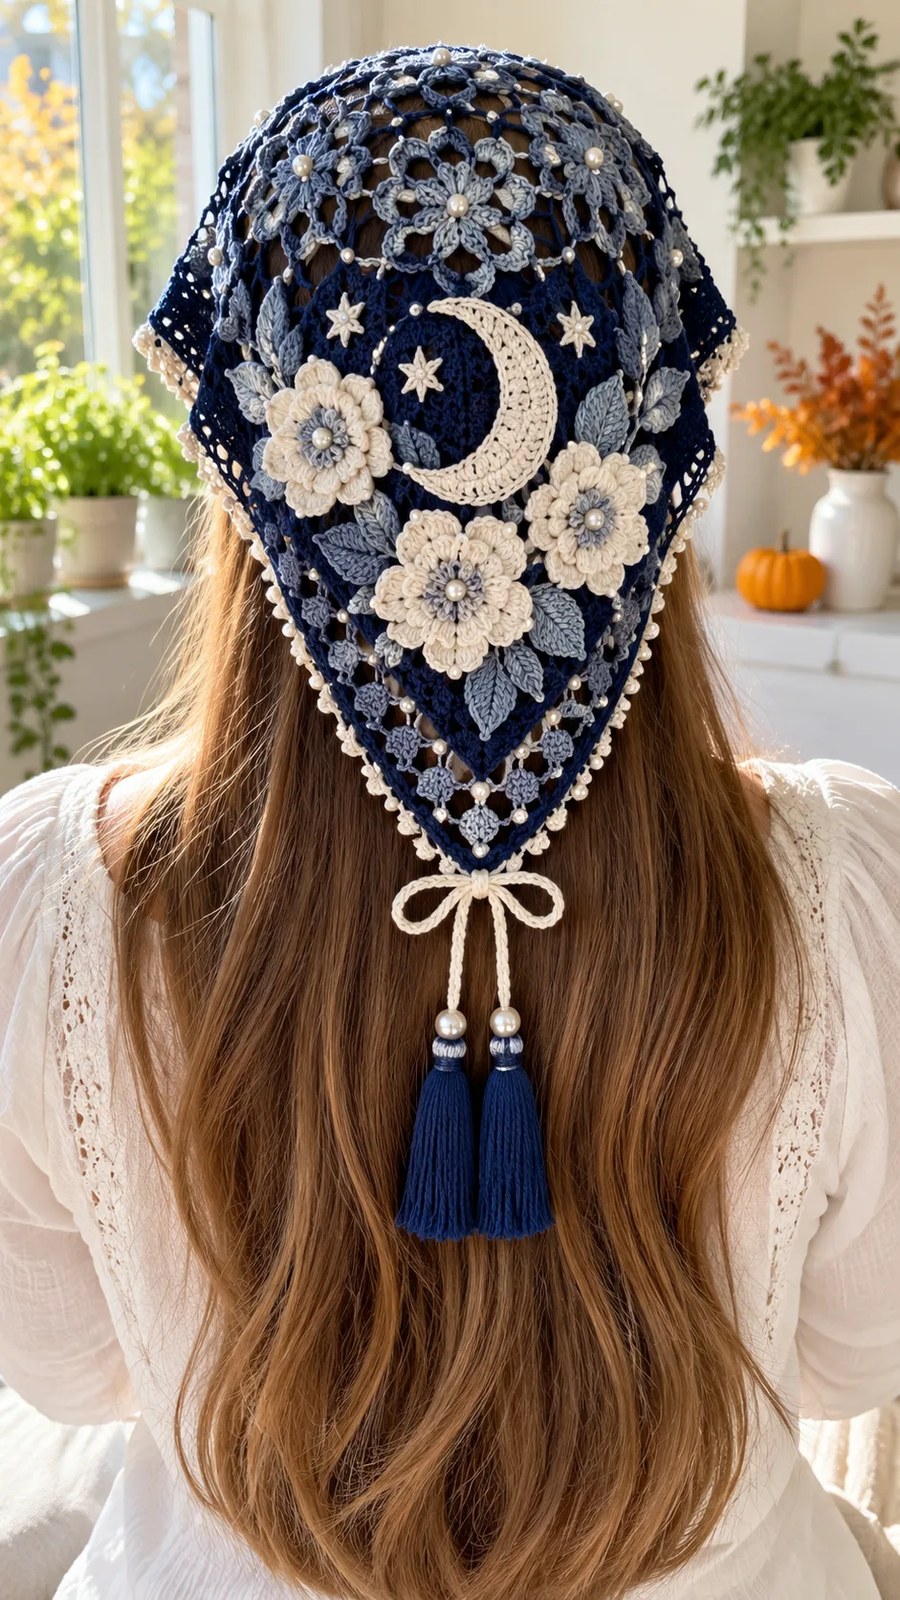
Okay, yarn lovers. This is your sign to dig into that stash and pull out the good stuff. You know the skeins I mean. The midnight navy that’s been waiting for something special. The silvery gray you bought on impulse. That creamy ivory you’ve been saving for “the right project.”
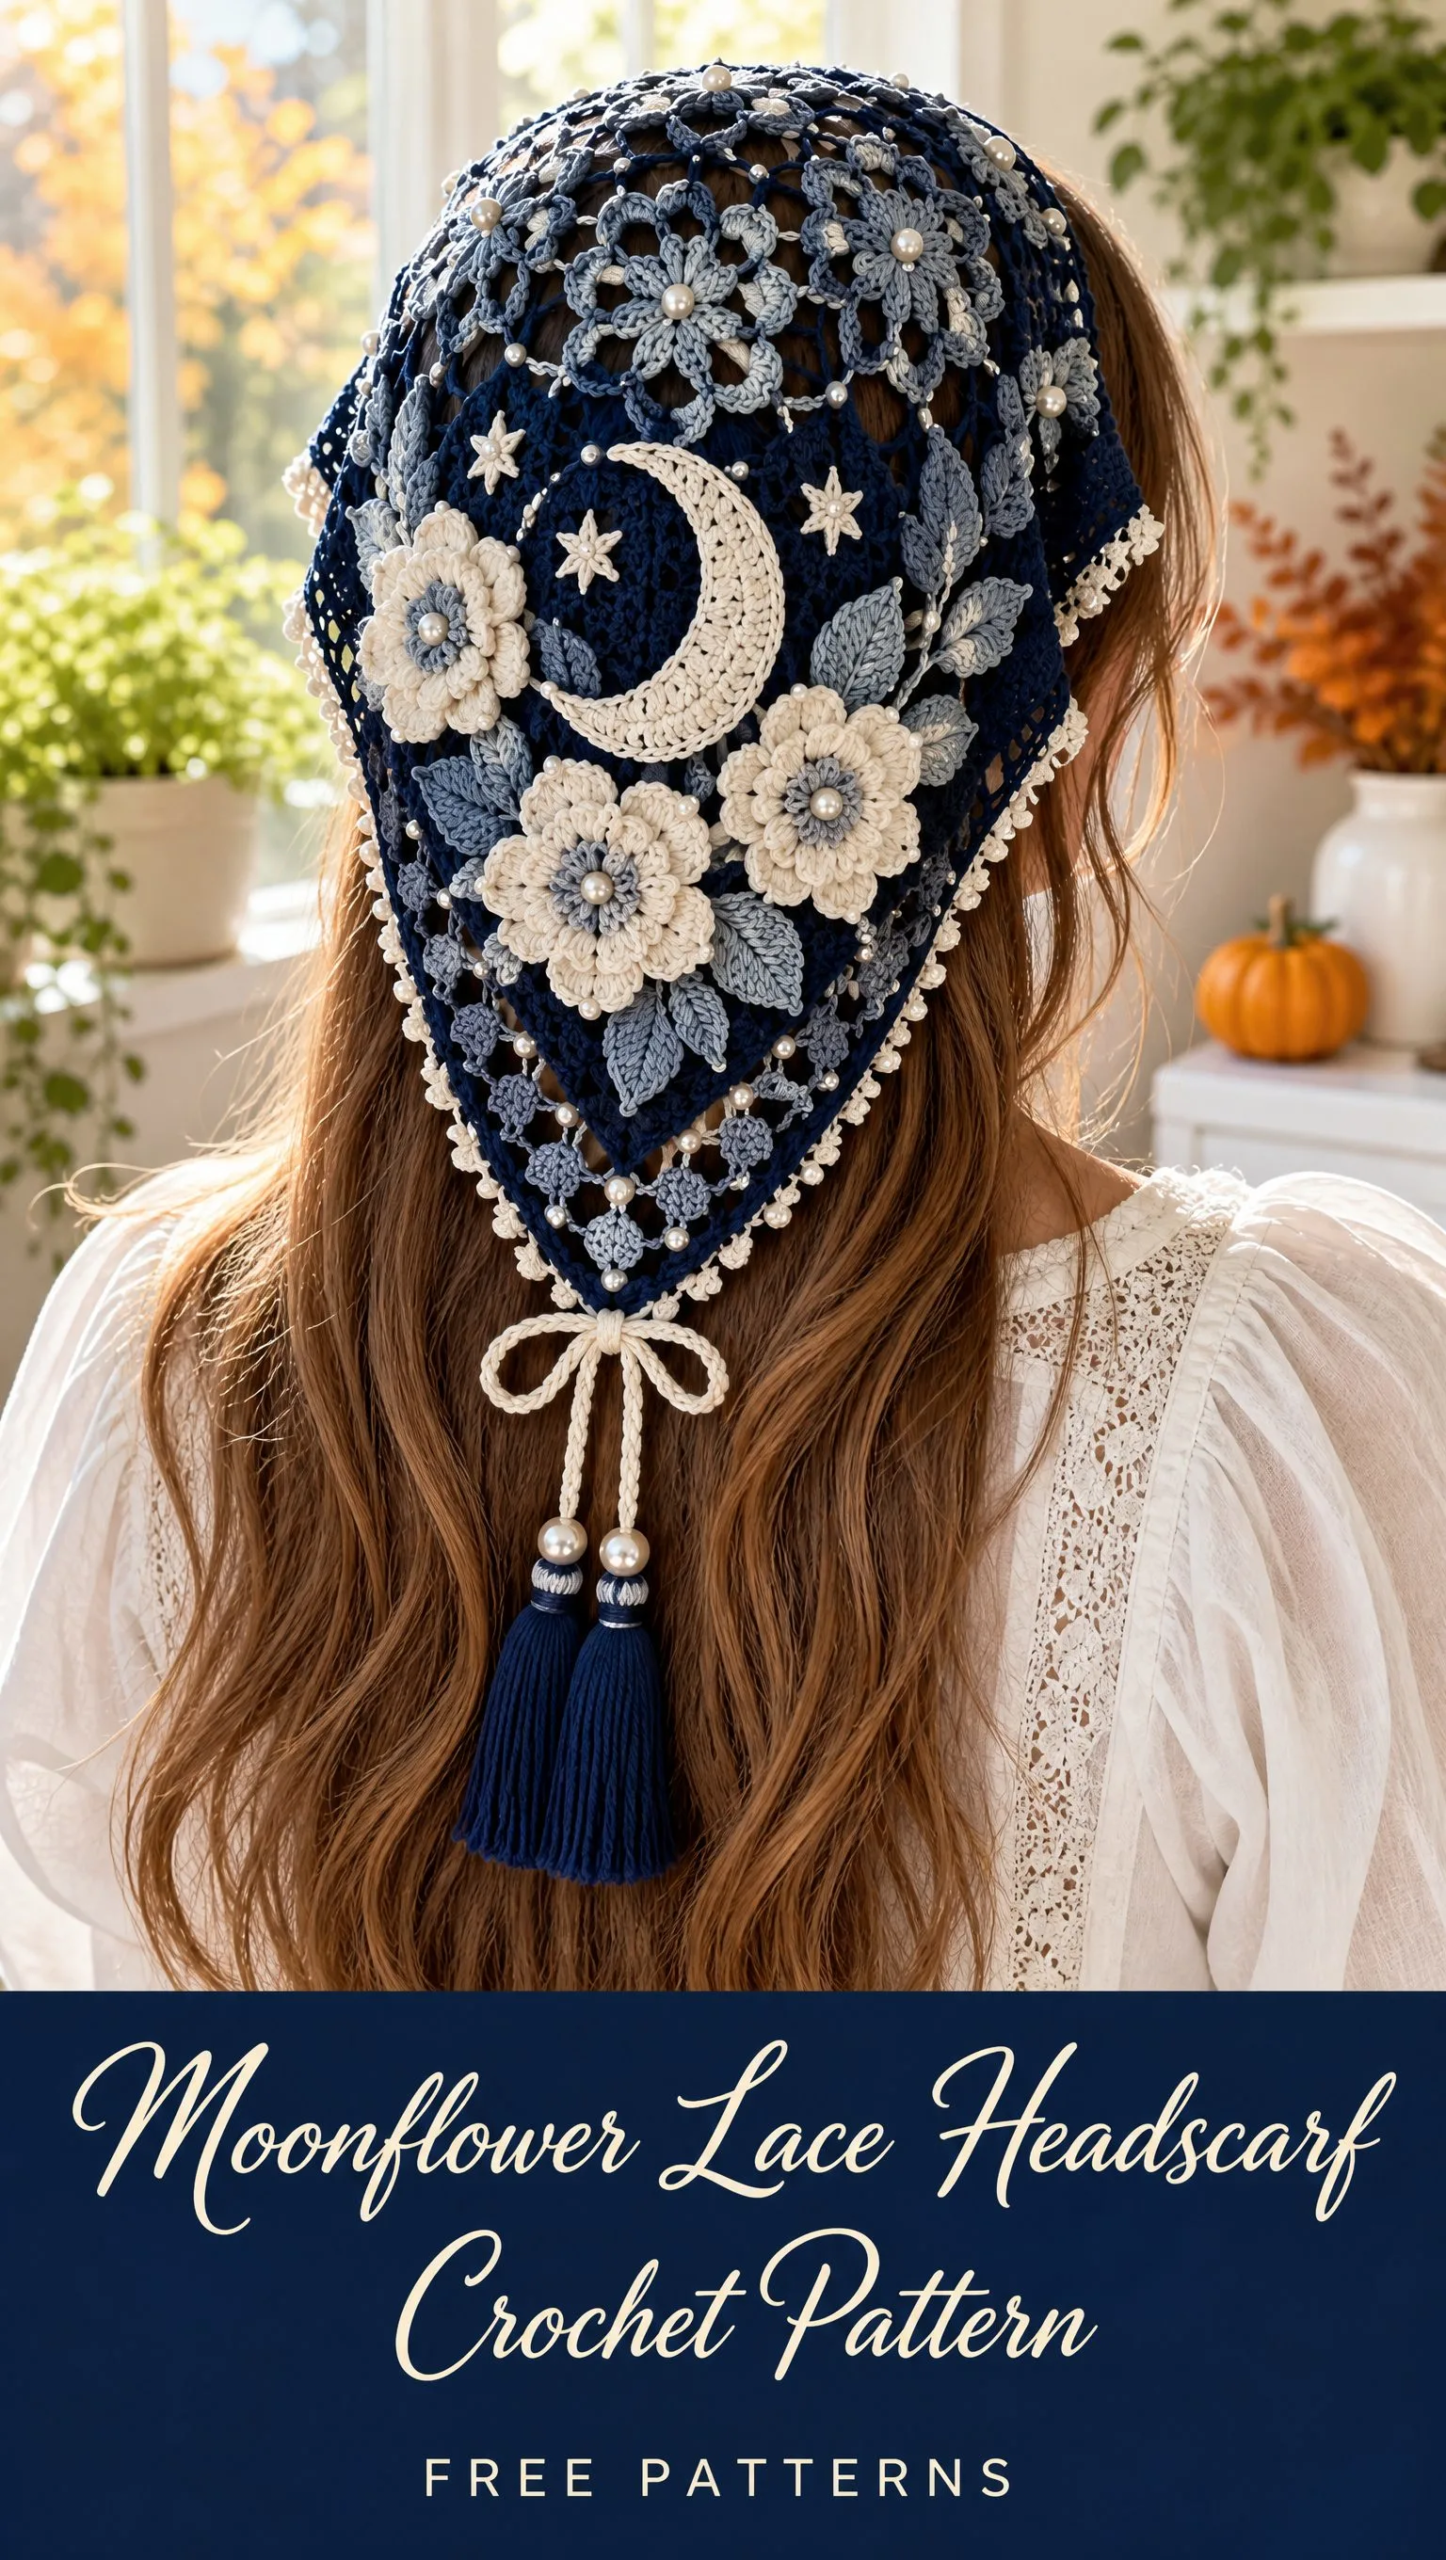
This is the right project.
The Moonflower Lace Headscarf combines modular hexagonal motifs with a flowing triangular lace panel, topped with sculptural appliqués that look incredibly impressive but are totally achievable. I won’t lie to you. This pattern sits firmly in intermediate territory. You’ll be working with multiple techniques: motif construction, join-as-you-go assembly, surface crochet, and three-dimensional flower shaping. But if you’ve made granny squares and feel comfortable reading a pattern, you can absolutely do this. Take it one section at a time, and you’ll create something truly stunning.
What Makes This Headscarf Special
This isn’t your average bandana kerchief. The Moonflower Lace Headscarf features a curved crown made from joined hexagonal flower motifs, a long triangular lower panel worked in open mesh, and gorgeous surface embellishments including a crescent moon, layered moonflowers, pointed leaves, raised stars, and pearl beads.
The construction is modular, which means you can work on small pieces and then bring them all together. If you’ve ever felt overwhelmed by large projects, this approach keeps things manageable. You’ll make your motifs, join them, work the triangle downward, add the border, and then have fun placing all the decorative elements.
The finished piece measures approximately 21 inches across the crown and 20 inches to the tassel bow. It sits beautifully on the back of the head with a softly curved crown rather than a flat rectangle.
Materials You’ll Need
Before you start, gather everything so you’re not hunting for supplies mid-project.
Yarn:
Hook:
Notions:
Gauge and Target Measurements
| Item | Target |
|---|---|
| One hex flower after blocking | 3.0 to 3.25 inches across opposite points |
| Crown band width | 8.5 to 9.5 inches from top center to lower edge |
| Scarf width at temples | 20 to 22 inches |
| Depth to triangular point, excluding tassels | 18 to 20 inches |
| Tassel length | 3.5 to 4 inches |
Important: Treat your first motif as your gauge swatch. Make one hex flower, block it, and measure. If it’s too small, go up a hook size. If it’s too large, go down. This single motif determines your finished crown size more reliably than unblocked gauge alone.
Fit note: If your hair is very thick or you want more crown coverage, add one extra motif to each side of the crown row before beginning the lower triangle.
Abbreviations
Let me walk you through every abbreviation you’ll encounter in this pattern. If you’re newer to crochet patterns, bookmark this section.
Part 1: Hexagonal Crown Flower Motif
Make 11 motifs total: 7 midnight-blue dominant and 4 silver-gray dominant. For a lighter crown, reverse those quantities. Each motif has six petals and six chain-bridge corners so adjacent pieces can be joined neatly.
Color Plan
Navy-dominant motif: Ivory or silver center ring, navy petals, silver-gray bridge/frame.
Silver-dominant motif: Ivory center ring, silver-gray petals, navy bridge/frame.
Optional focal top-center motif: Navy petals with ivory picots added to every second outer single crochet.
Instructions
Round 1: With center color, ch 6 and join with sl st to form a ring. Ch 1, work 12 sc into ring. Join to first sc. Fasten off if changing color.
Round 2 (petal setup): Join petal color in any sc. Ch 5, sk 1 sc, sl st in next sc; rep from around to make 6 ch-5 loops. Join.
Round 3 (tall petals): Into each ch-5 loop work: sc, hdc, 2 dc, 2 tr, 2 dc, hdc, sc. Sl st in the anchoring sl st between petals. Repeat around. You should have 6 pointed oval petals.
Round 4 (bridge round): Working behind petals, join border color in any valley between petals. *Ch 5, sc around the back post/anchor at tip area of next petal, ch 5, sc in next valley; rep around. Adjust each bridge so it lies behind the flower and does not pull the petal inward.
Round 5 (hex frame): In each corner bridge work (2 sc, ch 3, 2 sc). Along each side bridge work 5 sc. Repeat around; join and fasten off. Block each motif to 3.0 to 3.25 inches across.
Part 2: Assemble and Shape the Crown
Lay motifs right side up before sewing. The crown should curve over the back of the head rather than form a flat rectangle. Use mattress stitch through the outer loops of corresponding border stitches, or slip-stitch join on the wrong side.
1. Arrange the first row in a shallow arc of 5 motifs. The center motif sits highest; tilt the two outer motifs slightly downward.
2. Place a second row of 4 motifs below, offset so each motif nests into the gap between two motifs above.
3. Add 1 motif at each lower side to extend coverage toward the ears. You now have 11 motifs total.
4. Sew all touching edges. At three-way intersections, pass the needle through all adjacent corner loops once, then continue normally. Do not knot bulky joins at the intersection.
5. Try the crown on or pin it over a head form. If the lower edge is too wide, take a tiny 1/4 inch dart by overlapping one side junction; if too narrow, add a short 3 to 5 ch bridge between the two lowest side motifs.
Crown Stabilizing Edge
With navy and right side facing, join at one lower side corner. Work sc evenly around the lower crown edge only, placing approximately 2 sc per row-end space and 1 sc in each motif border stitch. At each deep valley work sc2tog (single crochet two together) to smooth the curve. Fasten off. This edge is where the triangular panel will be attached.
Part 3: Triangular Lace Panel
The lower V is worked downward from the stabilized crown edge. The written counts assume roughly 96 sc across the lower crown edge. If your count differs, center the repeats and leave the same number of unused stitches at each side.
Foundation row: With navy and right side facing, join 6 stitches in from the right lower corner. Ch 3 (counts as dc), dc in next st, *ch 2, sk 2 sts, dc in next 2 sts; rep across until 6 sts remain. Turn.
Row 2: Ch 3, dc in next dc, *ch 2, 2 dc in next ch-2 sp; rep across, ending with 2 dc over final dc pair. Turn.
