

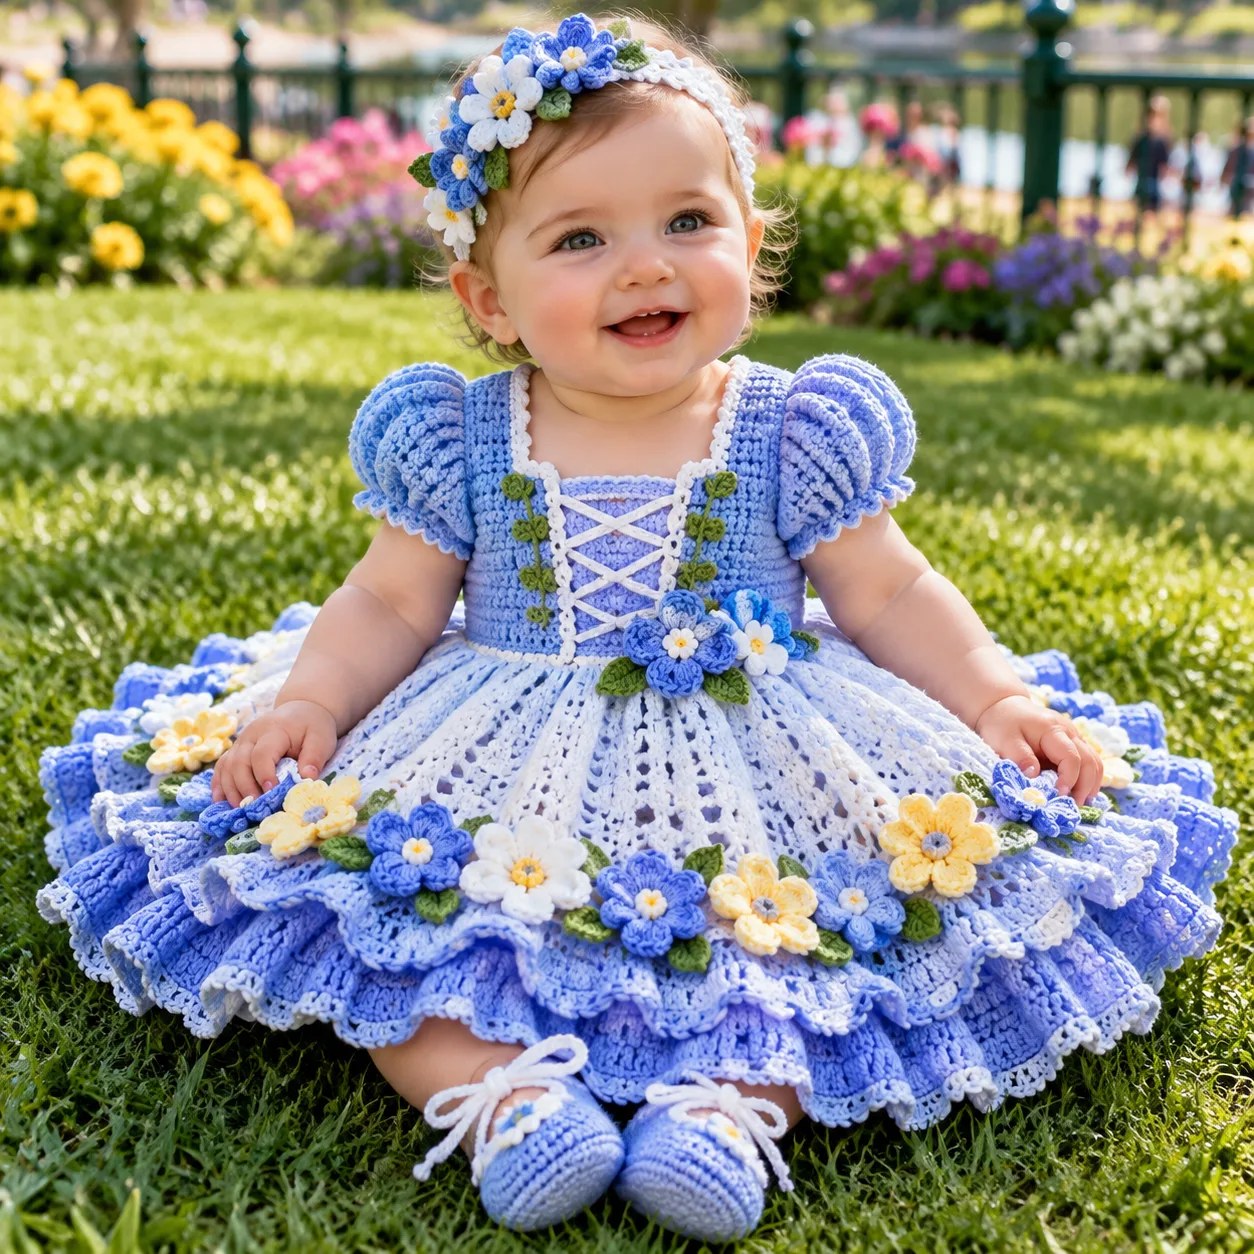
When I sat down to design this dress, I had a clear vision in my head. I wanted something that looked like it belonged in a garden fairy tale, with soft blues and delicate flowers that would make any little one look absolutely precious. The puff sleeves had to be just right, the skirt needed that perfect flare, and those bluebell flowers had to pop against the eyelet lace.
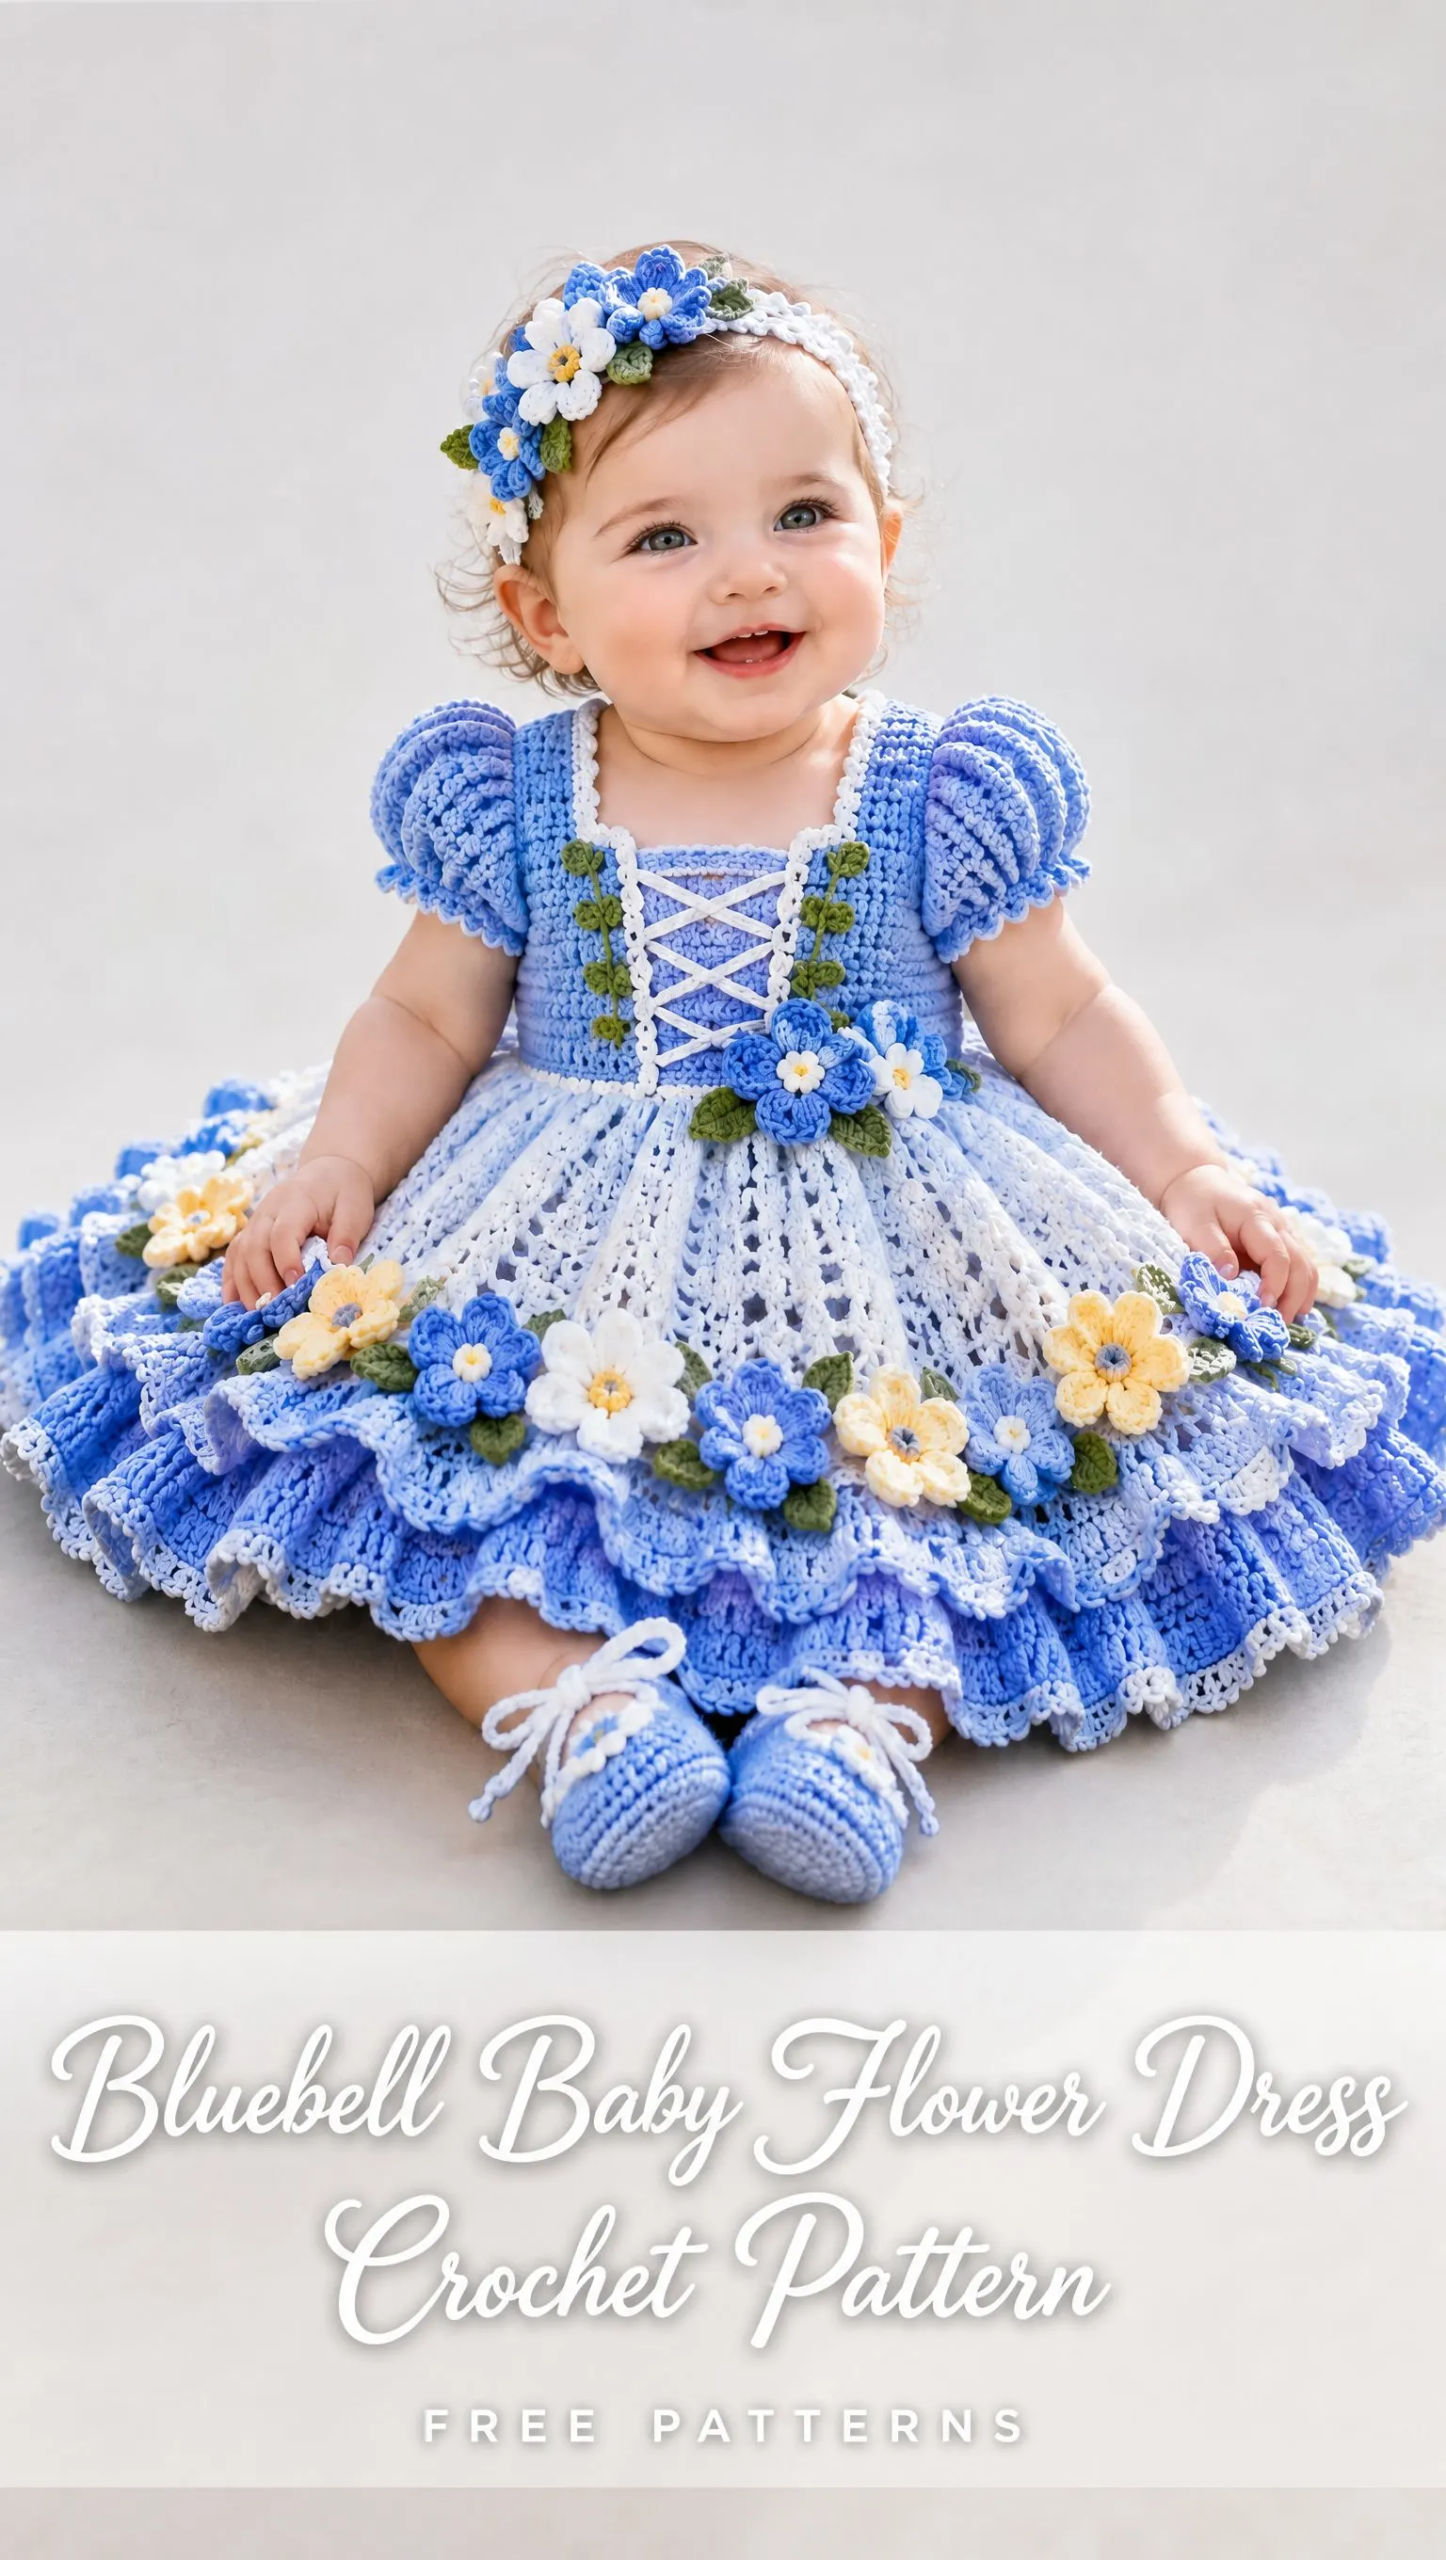
I spent weeks tweaking the bodice ribbing, adjusting the ruffle layers, and perfecting those sweet little flower accents. Every detail matters when you are creating something this special.
And honestly? I am SO thrilled with how this turned out. The Bluebell Baby Flower Dress is everything I hoped it would be, and I cannot wait for you to make one too.
About This Crochet Pattern
This intermediate level crochet pattern creates a stunning baby dress sized for 6 to 12 months, though it is easily adjustable for other sizes. The finished dress measures approximately 18 inches around the chest, 14 inches in length, and the skirt spans about 28 inches in width for that beautiful full circle shape.
The dress features a fitted bodice with half double crochet ribbing, adorable puff sleeves with scalloped edging, a charming lace-up front panel, and a flared eyelet skirt with ruffled layers. The whole piece is decorated with handmade bluebell flowers and leaves. This pattern also includes instructions for a matching headband and booties to complete the set.
Construction method: The dress is worked from the top down. You will start with the bodice, then work your way through the sleeves, skirt, ruffles, and finally add the flower decorations.
Materials You Will Need
Gather these supplies before you begin:
Yarn (DK weight cotton):
Tools:
Cotton yarn works beautifully for baby garments because it is soft against delicate skin, breathable, and holds up well to washing. If you cannot find periwinkle, any soft blue shade will look lovely.
Abbreviations and Stitch Definitions
Let me walk you through each stitch you will use in this pattern:
ch stands for chain. This is your foundation stitch where you yarn over, then pull through the loop on your hook.
sc stands for single crochet. Insert your hook into the stitch, yarn over and pull up a loop (2 loops on hook), yarn over and pull through both loops.
hdc stands for half double crochet. Yarn over, insert hook into stitch, yarn over and pull up a loop (3 loops on hook), yarn over and pull through all 3 loops at once.
dc stands for double crochet. Yarn over, insert hook into stitch, yarn over and pull up a loop (3 loops on hook), yarn over and pull through 2 loops, yarn over and pull through remaining 2 loops.
tr stands for treble crochet. Yarn over twice, insert hook into stitch, yarn over and pull up a loop (4 loops on hook), then yarn over and pull through 2 loops three times.
sl st stands for slip stitch. Insert hook into stitch, yarn over and pull through both the stitch and the loop on your hook in one motion.
st means stitch, inc means increase (working 2 stitches into one stitch), and dec means decrease (working 2 stitches together).
Bodice Pattern Instructions
The bodice forms the fitted top portion of the dress. Take your time here because a well-made bodice sets up the entire garment for success.
Foundation
Chain 60 using your periwinkle blue yarn. Join with a slip stitch to form a ring, making sure the chain is not twisted. This is important! A twisted chain will create a permanent spiral in your work that you cannot fix later. Lay your chain flat on a table and make sure all the bumps face the same direction before joining.
Round 1
Chain 2 (this counts as your first hdc). Work 1 half double crochet in each chain around. Join with a slip stitch to the top of your beginning chain 2.
Rounds 2 through 12
Now you will create the ribbed texture of the bodice. Work hdc ribbing by crocheting in the back loop only of each stitch. This technique creates those lovely horizontal ridges you see in the finished piece.
Continue working in the back loop only until the bodice reaches approximately 4 inches tall. The ribbing gives the bodice a stretchy quality that helps it fit comfortably around baby’s torso.
Sleeve Preparation
Using your stitch markers, mark the stitches for the front section, back section, and both sleeve openings. Leave 10 stitches for each sleeve opening. These 10 stitches will become the base for your puff sleeves.
Join the front and back sections under each arm by working across, skipping the sleeve stitches, and connecting to the other side.
Puff Sleeve Pattern
These sweet little puff sleeves are one of my favorite details on this dress. They add such a romantic, vintage feel.
Attach periwinkle yarn at one sleeve opening.
Round 1: Work single crochet evenly around the sleeve opening.
Round 2: Increase evenly around by working 2 stitches into some of your stitches, spacing them evenly.
Rounds 3 through 6: Work double crochet clusters to create the puff volume. The clusters bunch the fabric together and create that adorable gathered look.
Finishing: Switch to white yarn and finish with a scalloped edging around the bottom of each sleeve.
Repeat for the second sleeve.
Lace-Up Front Panel
This decorative panel adds such a charming cottage-core aesthetic to the dress.
Using white yarn, create a rectangle of single crochet rows approximately 3 inches wide. The panel should be tall enough to cover most of the front bodice.
Sew or crochet the panel onto the front center of the bodice.
Add crossed white chains to create the lace-up detail. This is purely decorative, so make sure you secure the chains firmly.
Using green yarn, add small leaf stitches along both sides of the panel. These leaves frame the lace-up section beautifully and tie into the flower theme.
Skirt Pattern Instructions
The skirt is where this dress really starts to feel magical. The eyelet pattern lets light peek through and creates movement when baby wiggles around.
Round 1
Attach pale blue yarn at the waist where the bodice ends. Work double crochet evenly around the bodice bottom.
Round 2
Begin creating the flare by increasing every 5 stitches. Work 4 double crochets, then work 2 double crochets into the next stitch. Repeat this pattern around.
