


This is hands down one of the MOST gorgeous table setting projects you will ever make! I’m talking a stunning sage green placemat with a delicate daisy halo border that looks like it belongs in a magazine spread. The best part? The techniques are totally manageable for intermediate crocheters, and the finished result will have everyone asking where you bought it.
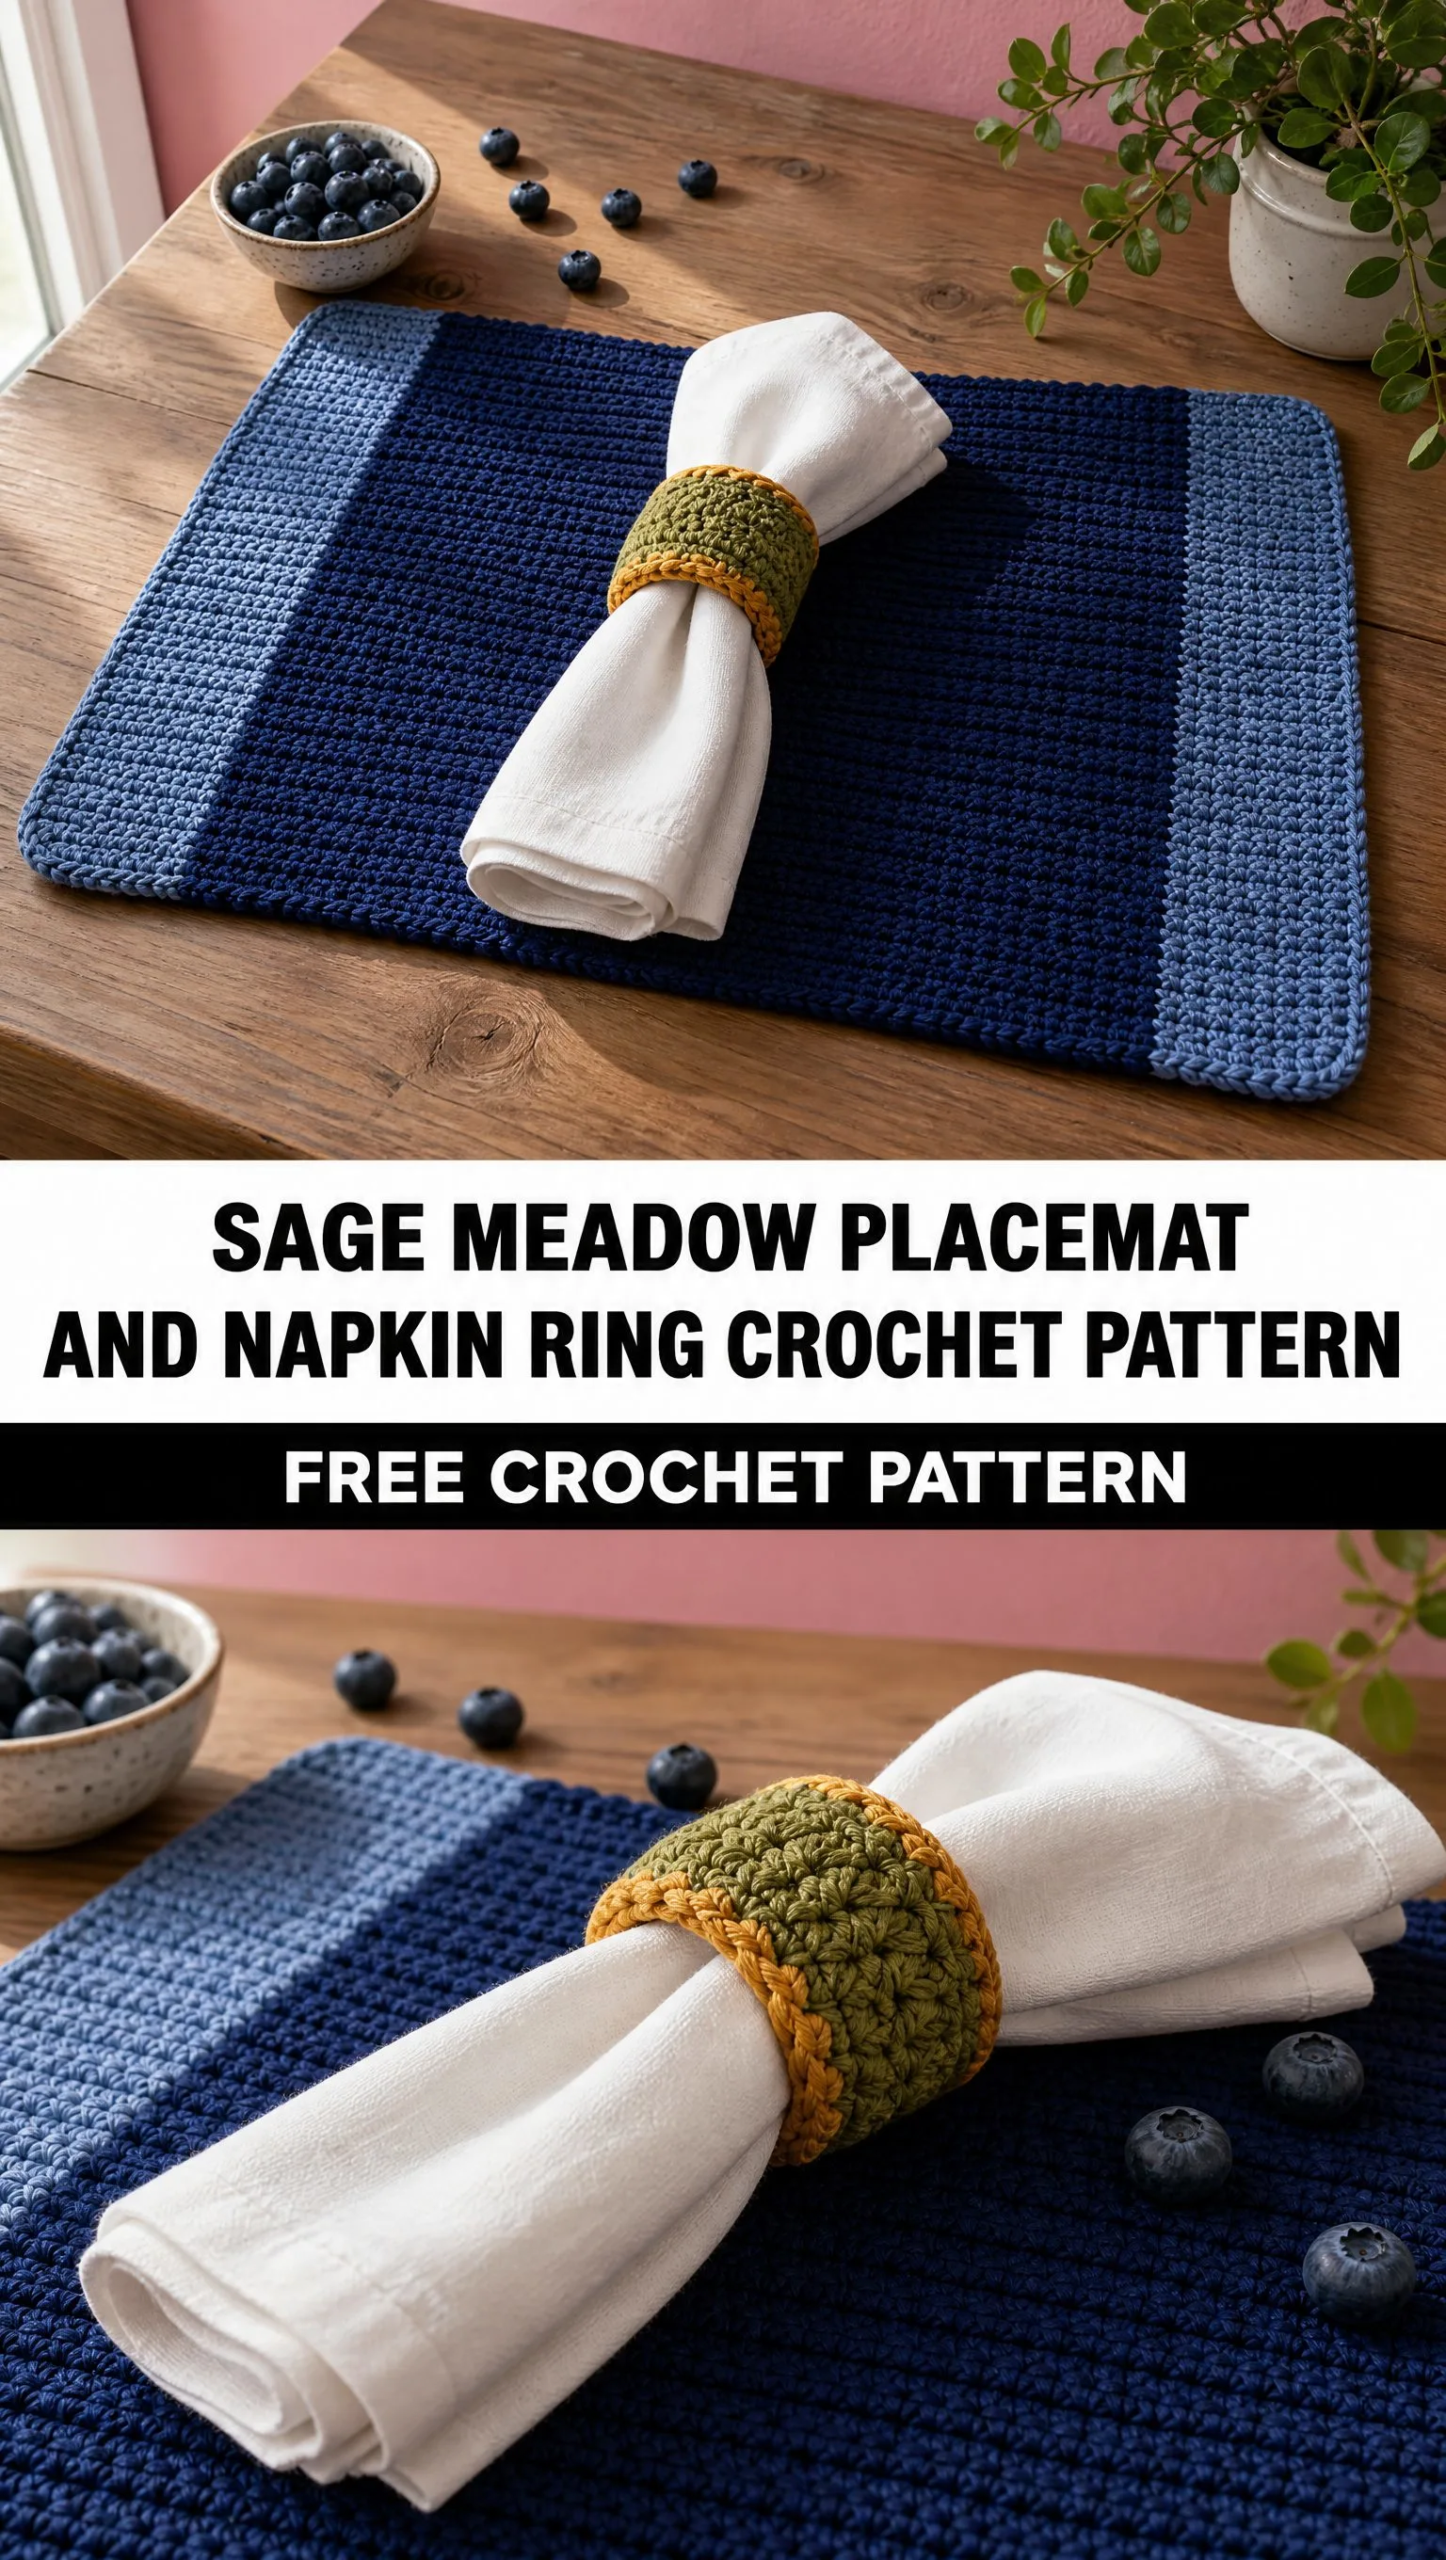
If you’ve been wanting to create something special for your spring table or need an impressive handmade gift for a host, this is your pattern. The coordinating napkin ring with its layered daisy flower ties everything together beautifully.
Trust me when I say this project is worth every stitch. The botanical farmhouse style works for Easter brunch, Mother’s Day dinner, or everyday elegance. Let’s dive in!
About This Crochet Pattern
The Sage Meadow collection features two coordinating pieces that transform any table into a garden party. The circular placemat measures approximately 38 to 42 cm in diameter when finished, providing plenty of space for a full place setting. The matching napkin ring fits standard cloth napkins and features a show-stopping layered daisy with sage leaves.
Skill Level: Intermediate
This pattern uses basic stitches throughout, but the daisy motifs and assembly require some experience with joining pieces and working decorative elements. If you’re comfortable with double crochet in the round and have made a few flowers before, you’re ready for this project.
Style: Botanical, farmhouse, spring table decor
Materials Needed
Having the right supplies makes this crochet tutorial so much smoother. Here’s everything you’ll need:
Yarn:
Hooks:
Other Supplies:
Cotton yarn is essential here. It gives you that crisp stitch definition and firm structure that makes the placemat functional and beautiful. The sage green creates a lovely meadow base, while the ivory and white bring those dreamy daisy vibes.
Abbreviations and Stitch Guide
Before we begin the step by step instructions, let’s define every stitch you’ll encounter:
ch = chain (wrap yarn over hook, pull through loop)
sl st = slip stitch (insert hook, yarn over, pull through stitch and loop on hook in one motion)
sc = single crochet (insert hook, yarn over, pull up loop, yarn over, pull through both loops)
hdc = half double crochet (yarn over, insert hook, yarn over, pull up loop, yarn over, pull through all three loops)
dc = double crochet (yarn over, insert hook, yarn over, pull up loop, yarn over, pull through two loops, yarn over, pull through remaining two loops)
tr = treble crochet (yarn over twice, insert hook, yarn over, pull up loop, then yarn over and pull through two loops three times)
inc = increase (work two stitches into one stitch)
st = stitch
sp = space
Placemat Pattern Instructions
Center Circle
The placemat begins with a magic ring, which creates a tight, hole-free center. If you’ve never made one, simply wrap yarn around your finger twice, insert your hook, and pull up a loop to start chaining.
Round 1:
With sage yarn, make a magic ring. Ch 2, work 12 dc into ring. Join with sl st.
Round 2:
Ch 2. Work 2 dc in each stitch around. Join. (24 dc)
Round 3:
Ch 2. 1 dc in next stitch, 2 dc in next stitch. Repeat around. Join.
Round 4:
Ch 2. 1 dc in next 2 stitches, 2 dc in next stitch. Repeat around.
Continue increasing evenly in this manner until the center measures approximately 30 cm across.
Pro tip: The key to a flat circle is consistent increases. You’re adding the same number of stitches each round, just spreading them out more. If your circle starts cupping or ruffling, check your tension.
Texture Section
Work 5 to 7 additional rounds of tightly packed dc or waistcoat-style single crochet rounds to create the dense sage center. Keep increases smooth so the circle remains flat.
The waistcoat stitch is optional here. It’s worked by inserting your hook into the V of the stitch rather than under the top loops. This creates a knit-like appearance that’s very pretty, but regular sc works beautifully too.
Ivory Border
Now we transition to the elegant ivory edge that frames your sage meadow.
Join ivory yarn.
Round 1:
Work one round of sc evenly around the sage circle.
Round 2:
Work hdc around, keeping tension even.
Round 3:
Work a final decorative sc round. Fasten off.
This simple border creates a clean transition zone between the solid placemat and the delicate daisy halo. Don’t skip it!
Daisy Halo Border
This is where the magic happens. Those sweet little daisies turn a nice placemat into something truly special.
Each Daisy Motif
Center:
With pale yellow yarn, make a magic ring.
Round 1: 10 sc into ring. Join.
Petals:
Join white yarn.
