

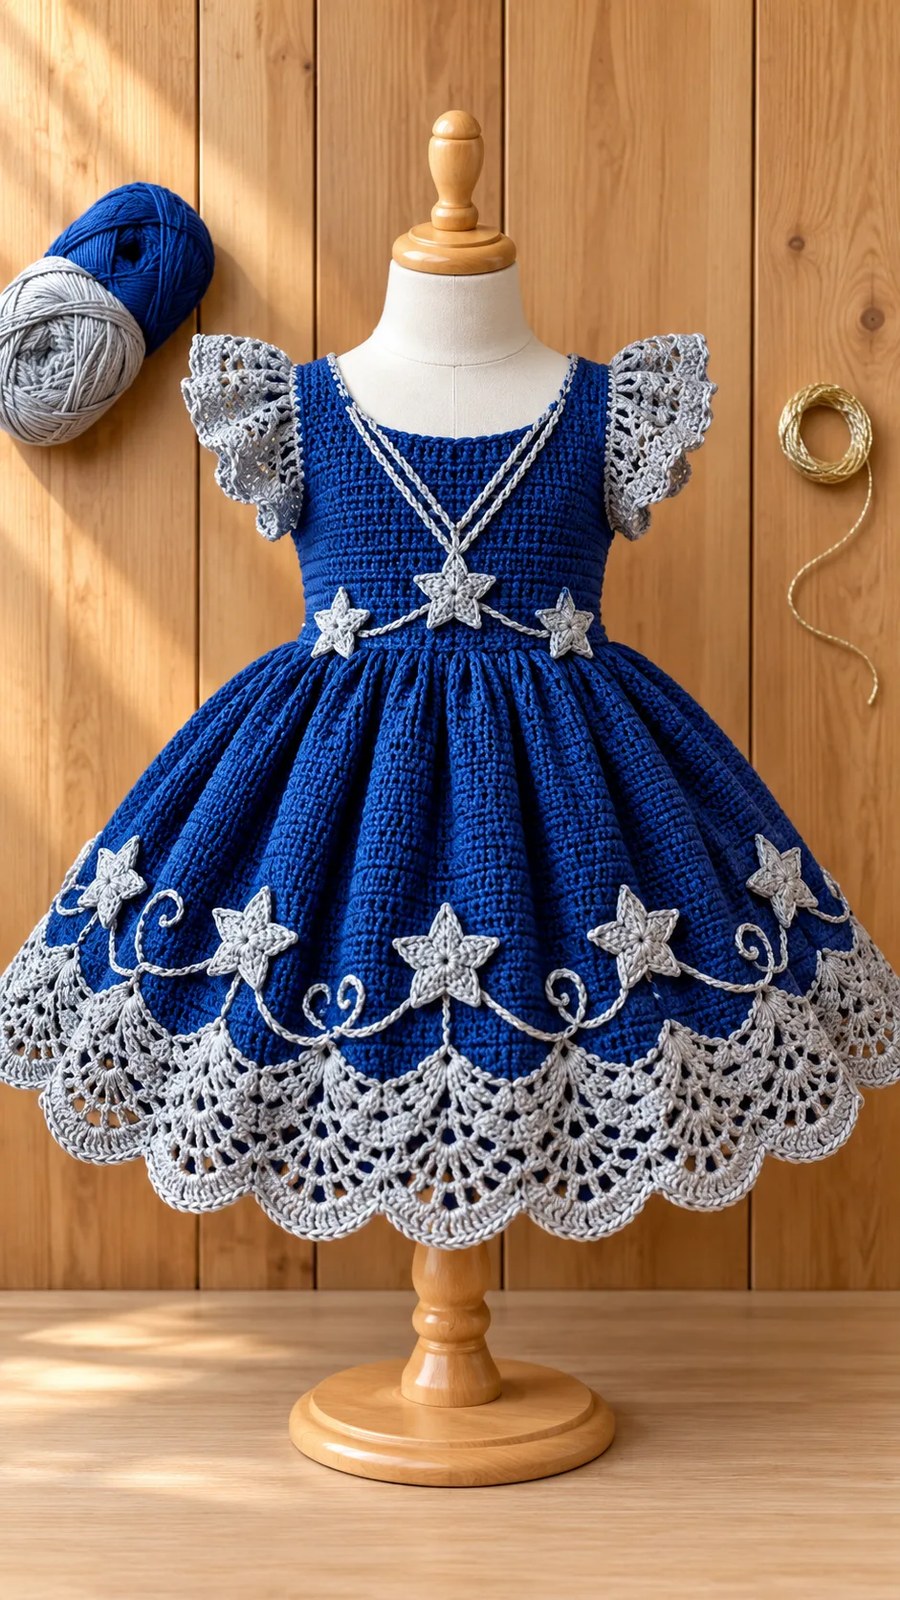
Last summer, my niece announced she wanted to be “a star princess” for her birthday party. Not just any princess, mind you. A star princess with a “sparkly blue dress like the night sky.” I nodded along, thinking I had plenty of time to figure something out. Spoiler alert: I did not have plenty of time.
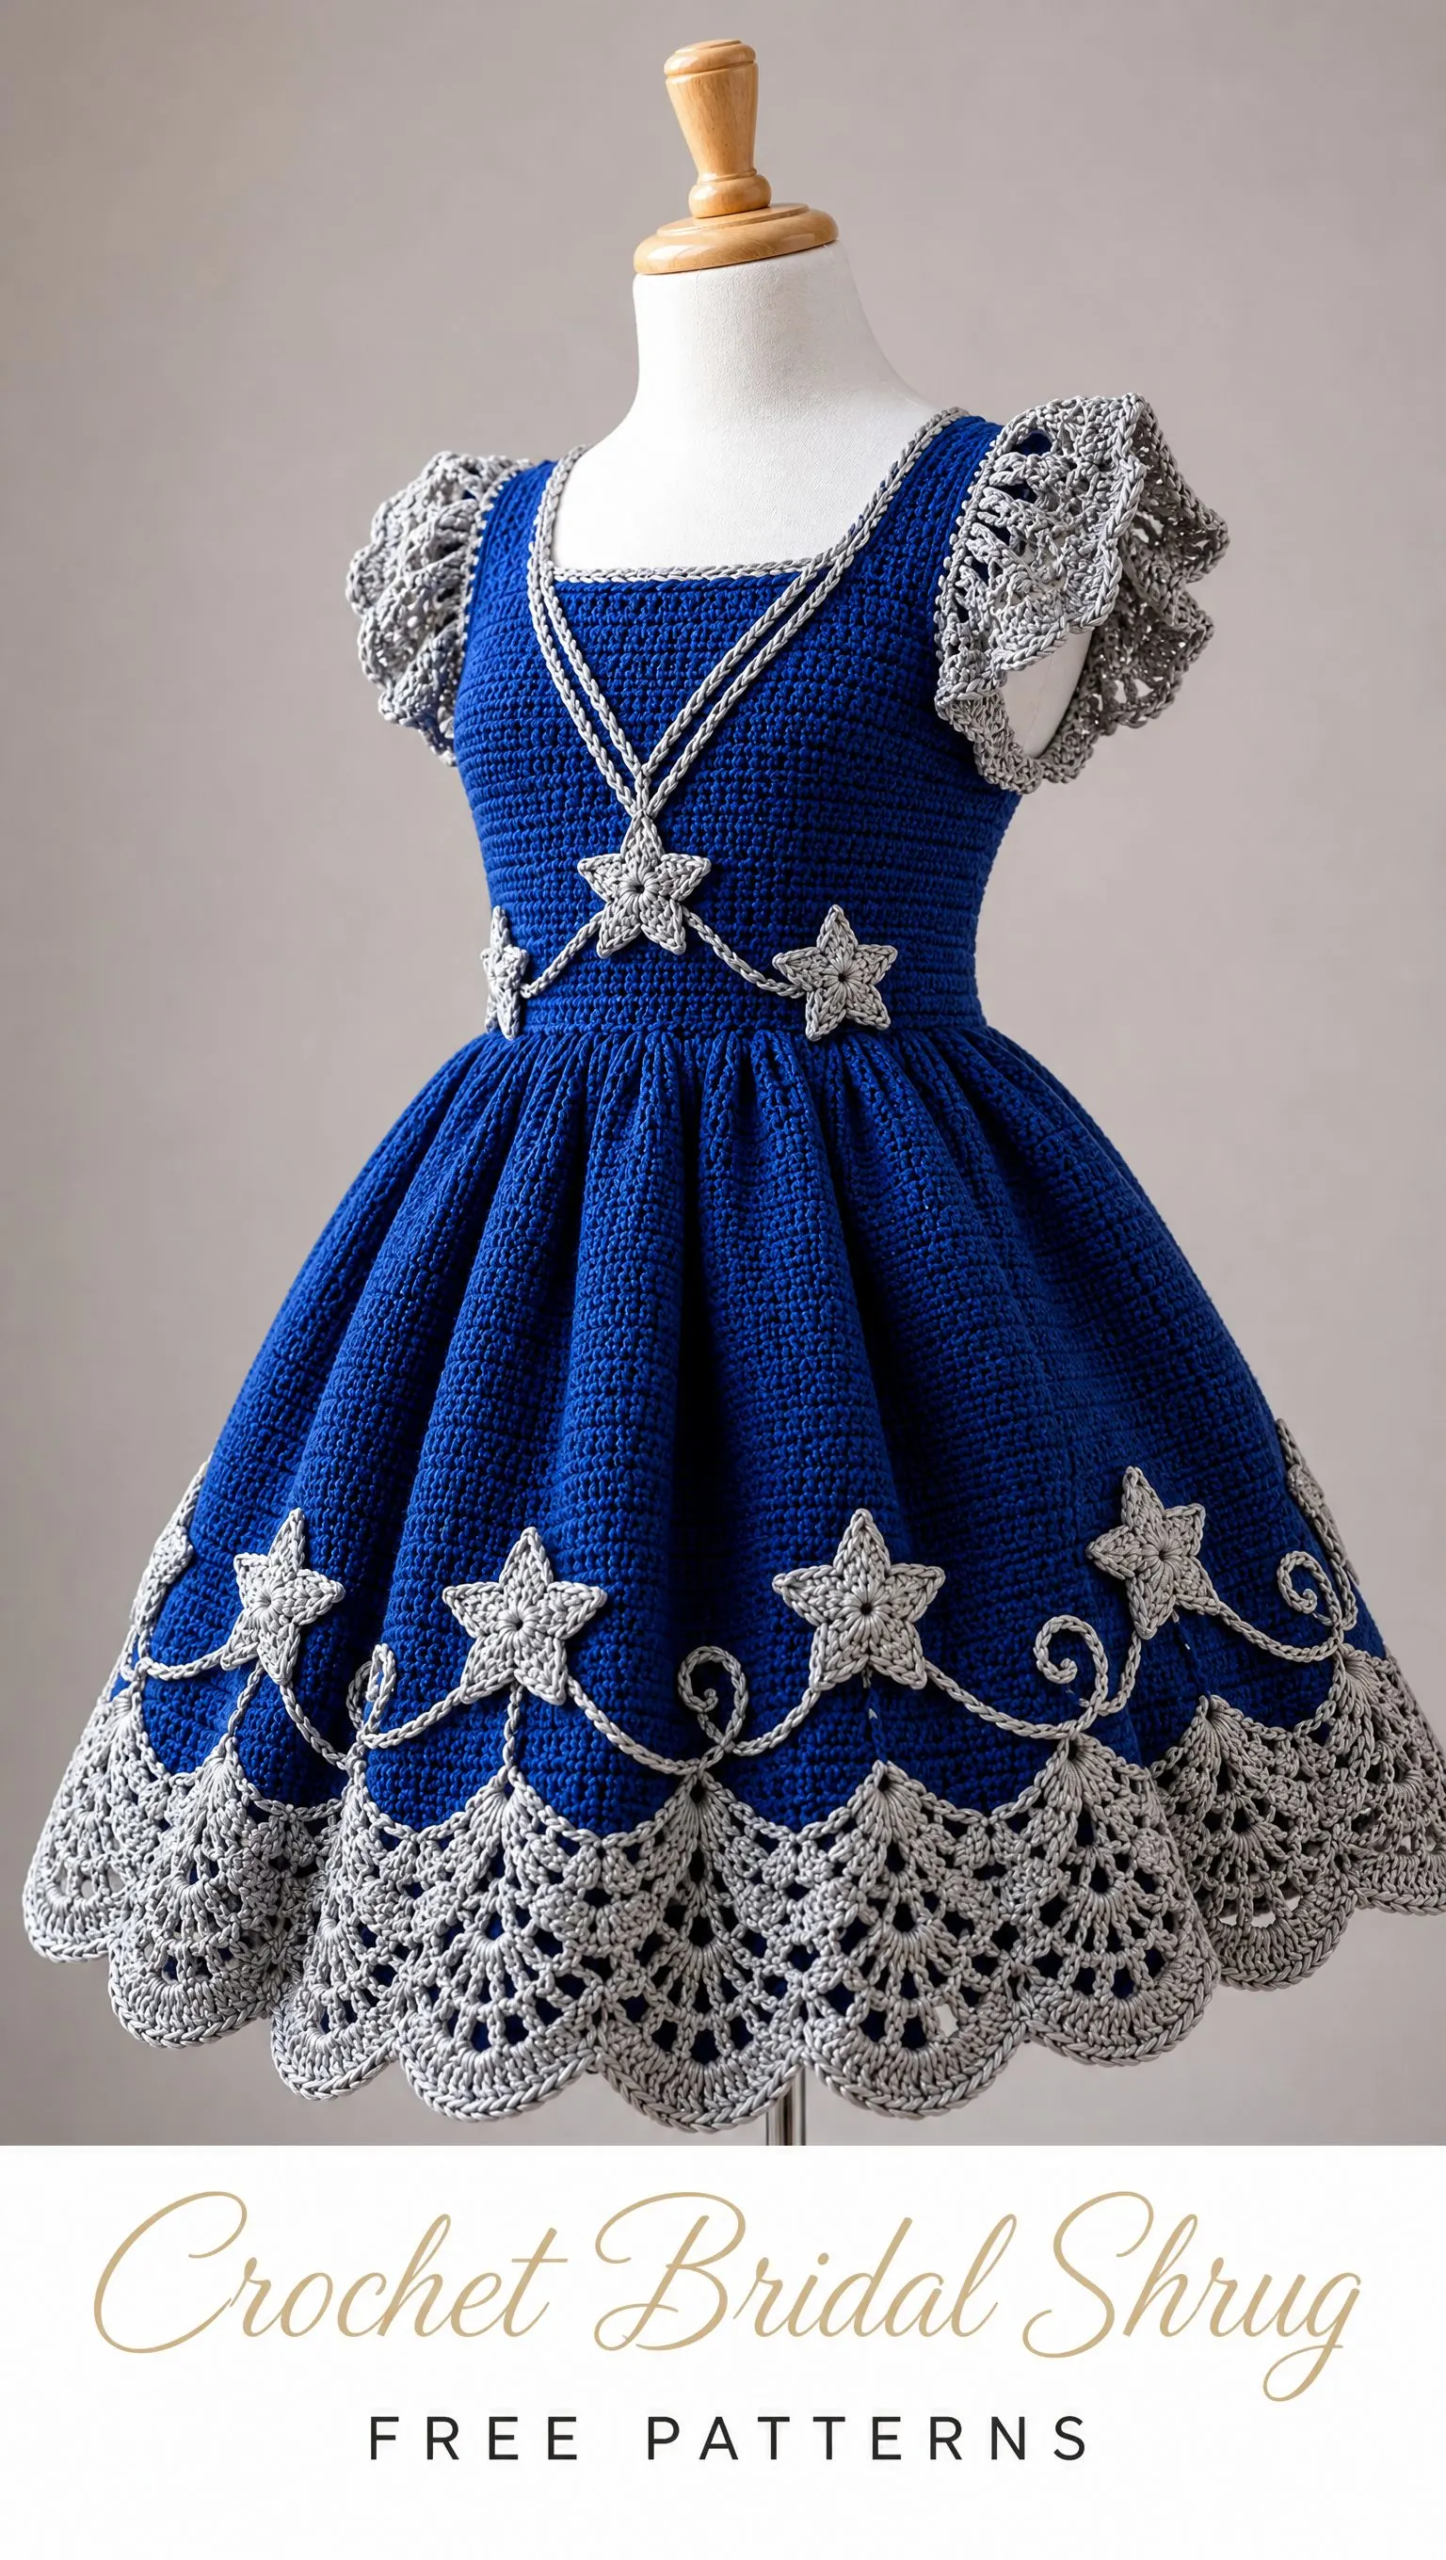
That frantic creative energy led me down a rabbit hole of sketching, swatching, and staying up way too late. What emerged was this Sapphire Silver Star Dress, a design that made my niece squeal with delight and honestly made me tear up a little. Watching her twirl around in something I made with my own hands? Pure magic.
Today I am sharing this pattern with you so you can create the same joy for a little one in your life. This toddler dress features a classic two panel bodice, a beautifully full gathered skirt, delicate flutter sleeves, a stunning lace fan hem border, and those signature five point silver stars scattered like constellations. It is an intermediate to advanced project, but I will walk you through every single step.
Pattern Overview and Skill Level
This Sapphire Silver Star Dress crochet pattern is designed for one toddler size, approximately 2 to 3 years old. However, always choose by measurements rather than age. Children vary so much at this stage!
The target finished chest measurement is 56 cm (22 inches), intended for a body chest of 50 to 52 cm with 4 to 6 cm of ease. The shoulder to hem length runs about 46 to 49 cm, with a bodice depth of approximately 22 cm.
Skill level: Intermediate to advanced. You will be working garment assembly, lace edging, small shaped motifs, and detailed appliqué. If you have never made a garment before, I recommend practicing the individual elements first. Make a few stars, try the lace hem on a swatch, and get comfortable with the construction before diving into the full dress.
The pattern uses US crochet terminology throughout. The skirt is worked downward from the bodice, and the back features a center opening with snap closures.
Materials You Will Need
Yarn
You will need sport weight or fine weight cotton yarn, approximately 125 meters per 50 grams. Here is the breakdown by color:
Sapphire Blue:
Silver Grey:
Combine allowances when colors repeat. The total comes to approximately 1,050 meters before small contrasts. Keep in mind that actual usage must be measured on your sample.
Tools
Adjust your garment hook size as needed to achieve gauge.
Gauge Information
Blocked gauge: 20 double crochet (dc) stitches and 12 rows equals 10 x 10 cm.
To make your gauge swatch, chain (ch) 32. Work a double crochet in the 3rd chain from hook and in each remaining chain across. You should have 30 dc. Work 18 rows total. Wash and dry the swatch exactly as you plan to care for the finished garment, then measure the central 20 dc and 12 rows.
Change your hook size and re-swatch until both dimensions match. I cannot stress this enough. Gauge matters tremendously for garments, especially for little ones who need proper fit and comfort.
Abbreviations and Terminology
Let me define every stitch abbreviation you will encounter:
Important counting rule: Turning ch 1 or ch 2 does NOT count as a stitch anywhere in this pattern. Join rounds to the first actual stitch. Mark that stitch and count every shaping row.
Front Bodice Instructions
Rows 1 through 14
With sapphire blue yarn and your 3.5 mm hook, ch 58.
Row 1: Dc in 3rd ch from hook and each remaining ch. (56 dc) Turn.
Rows 2 through 14: Ch 2, dc in every st. (56 dc) Turn after each row. Do not add a stitch into the turning chain.
Armhole Row 15
Sl st in the first 4 stitches. Ch 2, dc in each of the next 48 stitches. Leave the final 4 stitches unworked. Turn. (48 dc)
The 4 unworked stitches on each side form a 2 cm underarm ledge.
Rows 16 through 20
Ch 2, dc in all 48 stitches. Turn. (48 dc each row)
At gauge, the full panel is now about 16.7 cm tall. Place removable markers around the outermost 10 stitches at each edge. The central 28 stitches form the neckline opening.
First Shoulder, Rows 21 through 26
Ch 2, dc in the first 10 stitches. Leave the remaining 38 stitches unworked and turn. (10 dc) Work 5 further rows of 10 dc, turning each row. Fasten off with a sewing tail.
Second Shoulder, Rows 21 through 26
With the same face of the panel toward you, attach yarn at the opposite outer edge of Row 20. Work toward the center: ch 2 and dc across only the outermost 10 stitches. Turn. Work 5 further rows of 10 dc. Fasten off.
Both straps must have 6 rows above Row 20.
Front Bodice Checkpoint
Decorative neckline cords added later create a curved visual outline over this square structural opening.
Back Bodice Instructions
Rows 1 through 14
Using sapphire blue, make a second panel exactly as Front Rows 1 through 14: 56 dc each row. Mark the center between stitches 28 and 29.
Left Half, Rows 15 through 23
Row 15: Sl st in first 4 sts. Ch 2, dc in next 24 sts, stopping at the center marker. Leave the other half unworked. Turn. (24 dc)
Rows 16 through 23: Ch 2, dc in each st. Turn. (24 dc) Fasten off.
Right Half, Rows 15 through 23
Return to the unworked half of Row 14. Attach at the center marker and work toward the outer edge: ch 2, dc in the next 24 sts, leaving the final 4 sts unworked. Turn. (24 dc) Work Rows 16 through 23 as for the left half. Fasten off.
The center edges remain separate to create the back opening.
Back Shoulders, Rows 24 through 26
On each half, attach yarn at the outer armhole edge of Row 23 and dc across the outermost 10 sts. Leave the inner 14 sts unworked. Turn. Work 2 more rows of 10 dc. Fasten off.
The two 14 st inner gaps make a 28 st back neckline.
Joining the Bodice
Block the panels to the target measurements. With right sides together, join each pair of 10 st shoulder tops using mattress stitch. For mattress stitch, align matching edges and pick up one small strand from each edge alternately with a tapestry needle. Tighten gradually so the join lies flat. Never pull the seam shorter than the fabric.
Join side edges from the foundation edge through Row 14 only, matching rows carefully. Keep all upper edges open for armholes. Turn right side out.
Check Before Adding the Skirt
The lower edge has 56 foundation stitches on each panel, 112 total. The back slit begins above Row 14. Try the bodice on a correctly sized dress form, checking chest ease and head access before adding weight from the skirt.
Skirt Construction
Round 1
With sapphire blue, join at one side seam of the bodice foundation. Ch 2. Work 2 dc into the underside of each of the 112 foundation stitches. (224 dc) Join.
This intentional doubling forms the full gathered skirt. It is what gives the dress that beautiful princess volume!
Rounds 2 through 23
Ch 2, dc in each st around. Join. (224 dc each round) Turn after every round to reduce bias and keep the join less visible.
Round 24
Ch 2. Repeat 16 times. Join. (240 dc)
Each repeat consumes 14 old stitches and makes 15 new stitches.
Hem Foundation
Ch 1. Sc in each dc. Join. (240 sc)
