

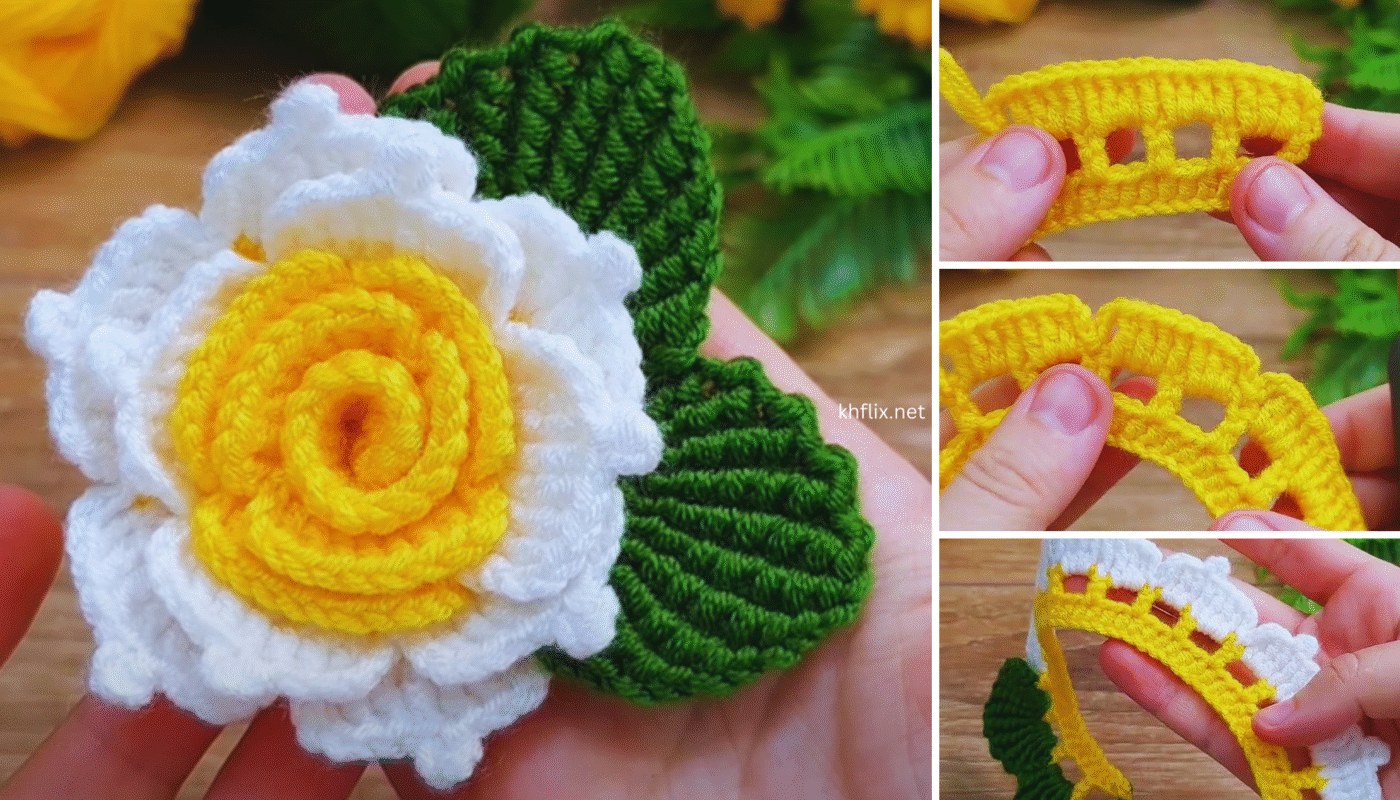
- Foundation chain: Ch 30
- Petal Row:
- In 3rd ch from hook: (sc, hdc, dc, hdc, sc) – 1 petal made
- Skip 1 ch, in next ch repeat: (sc, hdc, dc, hdc, sc)
- Repeat until end – you’ll have about 14 petals
- Fasten off and leave a long tail.

🌷 PART 2: Middle Petals (Color 2)
- Foundation chain: Ch 36
- Petal Row:
- Work larger petals: (sc, hdc, 2 dc, hdc, sc)
- Skip 1 ch, repeat across
- You’ll have ~17 petals
- Fasten off and leave tail for sewing.
🍃 PART 3: Outer Petals & Leaves (Color 3)
- Foundation chain: Ch 42
- Petal Row:
- Even larger petals: (sc, hdc, 2 dc, 2 dc, hdc, sc)
- Skip 1 ch, repeat – ~20 petals
- You can optionally add leaves at the end:
- Ch 6, turn, sl st in 2nd ch, sc, hdc, dc, sl st in last – makes one leaf
- Attach 2–3 around the rose
🌀 ASSEMBLY (The 3D Effect)
- Roll and stitch each strip:
- Start with the inner layer (Color 1), roll it gently into a spiral.
- Stitch the base with a yarn needle to secure it.
- Add middle layer (Color 2) around the first spiral.
- Finish with outer layer (Color 3), sewing around the base.
- Adjust the petals to fluff them and make it look natural.
✅ Tips:
- Use contrasting colors for a dramatic rose, or shades of the same color for realism (e.g., light pink → dark pink → green).
- You can glue or sew the rose to hats, hair clips, scarves, or brooches.
Would you like a diagram or photo tutorial to follow along with this project?
Video Here:
Pages: 1 2
