

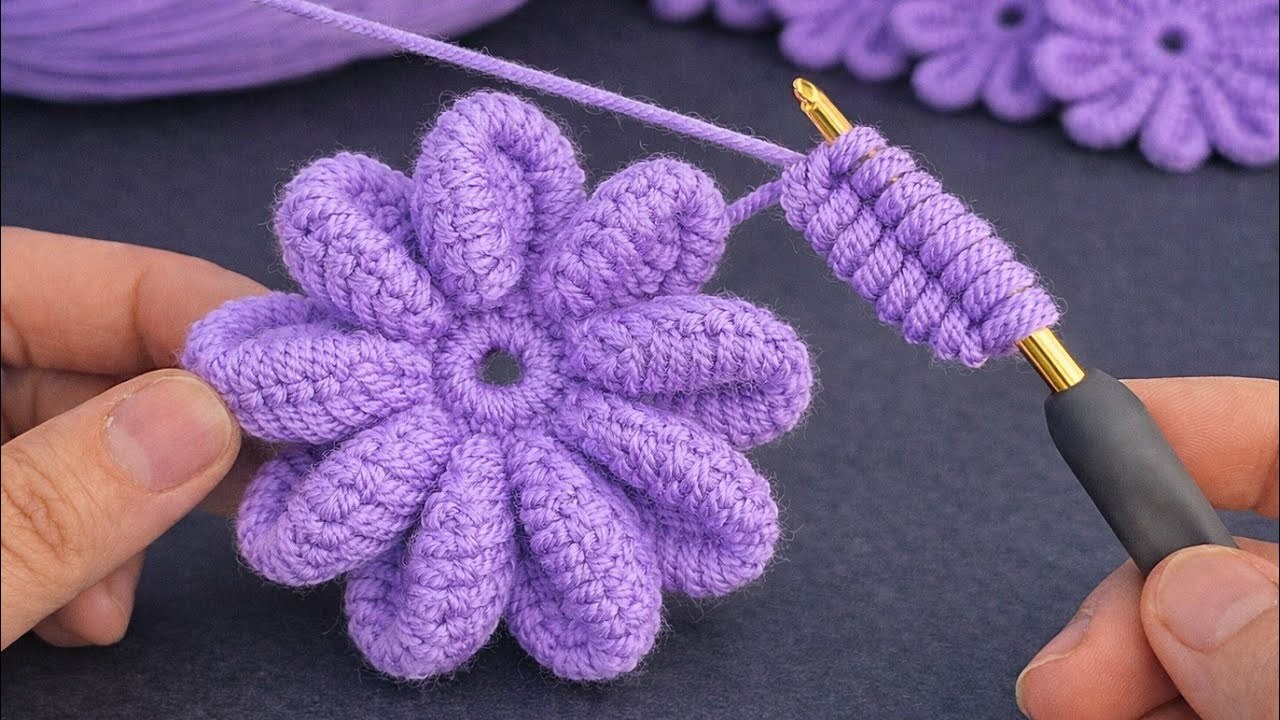
Creating a 3D Crochet Flower is a wonderful milestone for beginners. By moving beyond flat circles and learning how to work in different loops (front loops versus back loops) or building stacked petal layers, you can create gorgeous, tactile blossoms that pop off your project with realistic dimension.
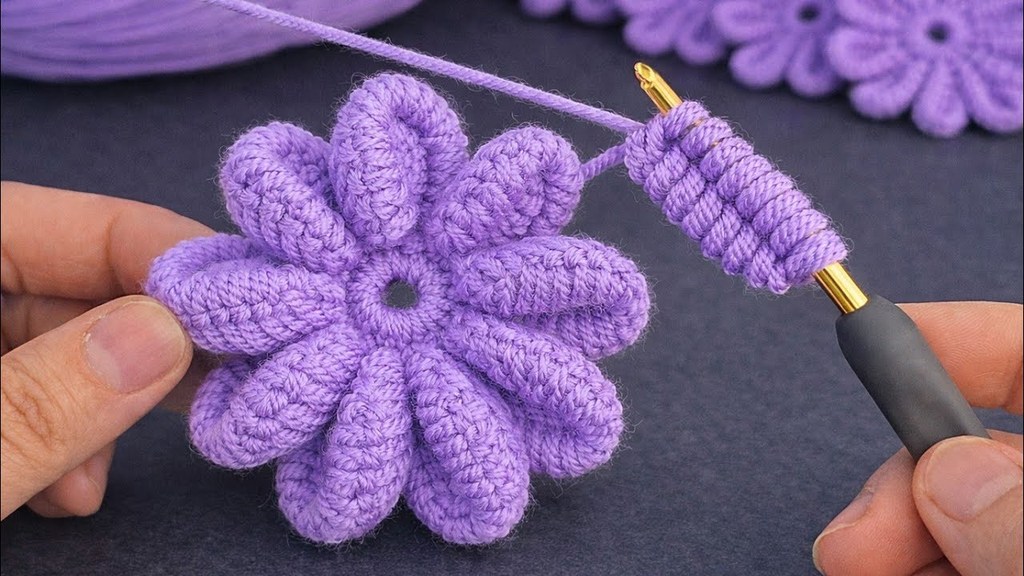
Here is your detailed, step-by-step beginner masterclass on how to crochet a stunning, multi-layered 3D flower from scratch.
🧶 The Beginner 3D Flower Toolkit
- Yarn:100% Mercerized Cotton Yarn (Sport weight, DK, or Worsted weight). Cotton is ideal for beginners learning 3D work because it has zero fuzz, meaning you can see every single stitch clearly, and it naturally holds its shape without drooping.
- Palette: Bright yellow for the center core, and a fun petal color (such as soft pink, lavender, or cream).
- Hook: 3.5 mm or 4.0 mm. A comfortable mid-size hook makes it easy to maneuver in and out of tight spaces.
- Extra Supplies: Tapestry needle for weaving ends and sharp scissors.
🟡 Step 1: Crocheting the Center Core
Every great 3D flower starts with a solid, compact foundation ring.
- With your Center Color (yellow), make a Magic Ring (or and join with a to form a tiny circle).
- (does not count as a stitch), and work 10 single crochets (sc) directly into the center of the ring.
- Pull the starting tail tightly to close the hole completely.
- Join with a slip stitch () to the very first single crochet. Fasten off your yellow yarn, leaving a short tail.

Pages: 1 2
