

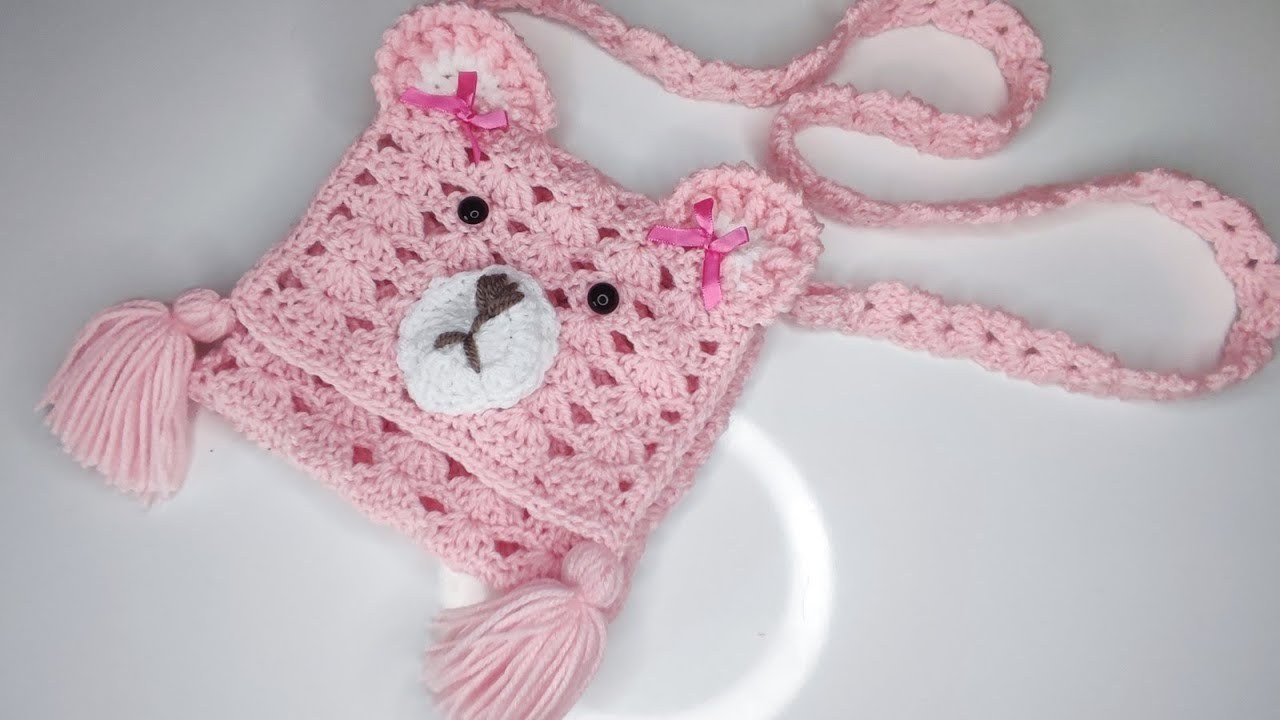
Who can resist the charm of a cuddly bear? Now imagine that charm translated into a functional and utterly adorable accessory! A crocheted bear bag or purse is a fantastic project that combines the joy of amigurumi (crocheting 3D shapes) with the practicality of a small carrying bag. Perfect for a child’s precious treasures, a unique statement piece for an adult, or a thoughtful handmade gift, this bag is guaranteed to bring smiles.
This detailed article will guide you step-by-step through crocheting your very own bear bag. We’ll focus on creating a round, flat bag body and then adding the essential bear features – ears, a muzzle, and embroidered details – to bring your cuddly companion to life. Get ready to crochet a bag that’s bursting with personality!
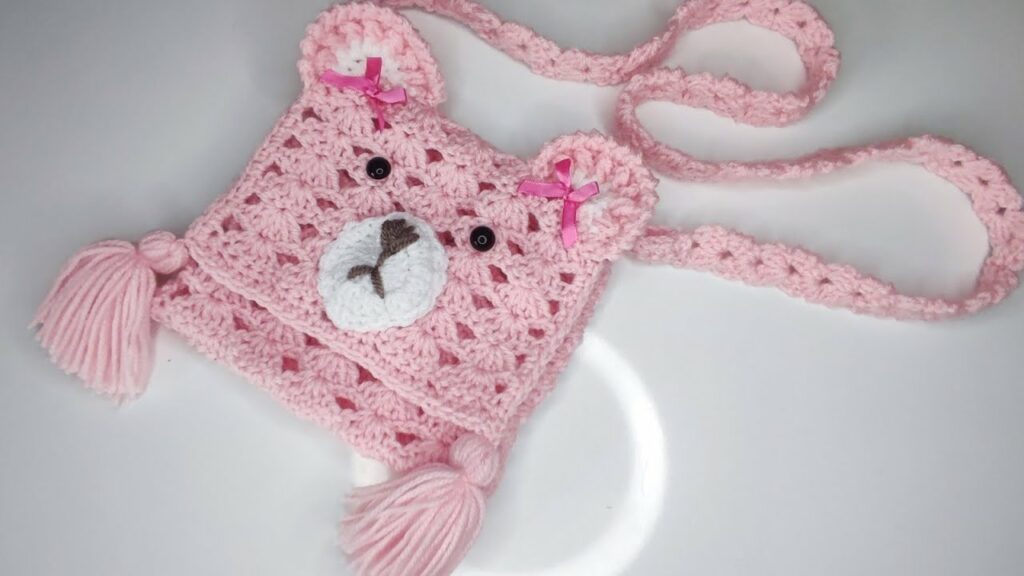
Why Crochet a Bear Bag/Purse?
- Adorable & Unique: Stand out from the crowd with a whimsical accessory that showcases your crafting skills.
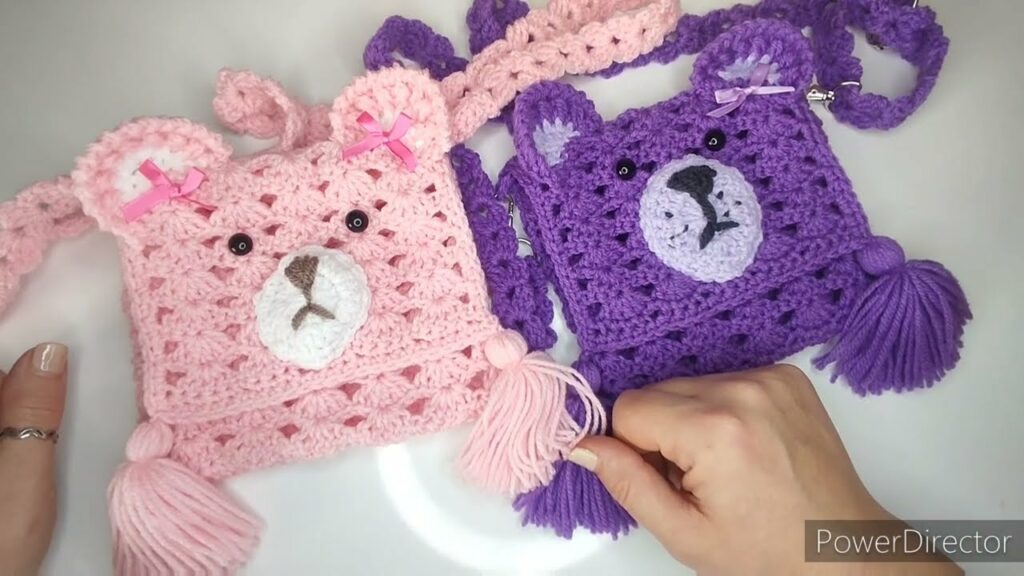
- Customizable: Endless possibilities for color combinations, bear expressions, and adding little details like bows or scarves.
- Skill Building: Practices fundamental crochet techniques (working in the round, increasing, invisible decreases), basic amigurumi construction, and simple embroidery.
- Great Gift: A thoughtful and playful handmade present for birthdays, holidays, or just because.
- Stash Buster: Ideal for using up smaller amounts of yarn for the facial features or inner ears.
- Functional Art: Not just decorative, but a usable bag for small essentials.
Key Considerations Before You Start:
- Size & Functionality:
- For a Child: A smaller bag (approx. 6-8 inches diameter) is perfect for carrying small toys, snacks, or treasures.
- For an Adult: A slightly larger bag (8-10 inches diameter or more) can comfortably fit a phone, wallet, and keys.
- This tutorial will focus on a child’s small purse (approx. 7 inches diameter), but notes on how to adjust for larger sizes will be included.
- Yarn Choice:
- Main Body (Bear Color): Choose a yarn that’s soft, durable, and holds stitch definition well.
- Acrylic: Affordable, wide color range, durable, and highly washable. Great for a plush, cuddly look.
- Cotton or Cotton Blends: Good stitch definition, sturdy, and breathable.
- Chenille/Velvet Yarn: For an extra fuzzy, super soft bear, but can be trickier for beginners as stitches are harder to see.
- Accent Colors: Small amounts of contrasting colors for the muzzle (e.g., cream, light brown), nose (black/dark brown), and inner ears (pink/white).
- Weight: Worsted weight (Category 4) is highly recommended as it’s easy to work with and creates a good size for this project.
- Main Body (Bear Color): Choose a yarn that’s soft, durable, and holds stitch definition well.
- Hook Size:
- Match your hook size to your yarn weight. For amigurumi or bags, it’s often best to go down half a size from the yarn label’s recommendation to create a denser fabric with no gaps.
- For Worsted weight yarn: 4.0 mm (US G/6) or 4.5 mm (US 7).
- Stitch Patterns:
- The entire bag and features will primarily use single crochet (sc) worked in continuous rounds (unless otherwise specified) to create a dense fabric.
- We’ll use increases (sc inc) and invisible decreases (sc2tog through front loops only) for shaping.
- Construction Method: We’ll crochet two flat circles for the front and back panels, crochet the ears and muzzle separately, assemble the face, and then join the panels.
- Closure: A simple button-and-loop closure or a drawstring are easy options.
- Strap: A basic crocheted strap will be included.
Materials You’ll Need:
- Yarn:
- Main Color (Bear Body): Approx. 100-150 yards of Worsted Weight yarn (e.g., brown, tan, cream, gray).
- Muzzle Color: Small amount (approx. 10-15 yards) of Worsted Weight yarn in a contrasting color (e.g., cream, light brown).
- Nose/Mouth/Eye Embroidery: Small amounts of black or dark brown Worsted Weight yarn.
- Inner Ear Color (Optional): Small amount of pink or white yarn.
- Crochet Hook: Size G/6 (4.0 mm) or H/8 (5.0 mm) (adjust for tension).
- Yarn Needle (Tapestry Needle): For weaving in ends and seaming.
- Scissors: For cutting yarn.
- Stitch Marker: Essential for working in continuous rounds.
- Safety Eyes (Optional): 2 small (approx. 8mm-10mm) safety eyes with washers (ensure they are securely attached if for a small child).
- Stuffing (Optional): Tiny amount for muzzle to give it dimension.
- Button (Optional): One button (approx. 3/4 inch diameter) for closure.
Essential Crochet Abbreviations:
- ch: chain
- sl st: slip stitch
- sc: single crochet
- sc inc: single crochet increase (2 sc in same st)
- sc2tog: single crochet 2 together (decrease – use invisible decrease for neater look)
- st(s): stitch(es)
- MR: magic ring (or magic circle)
- (): indicates instructions to be worked into the same stitch/space
- ***…***: repeat instructions within asterisks
- [ ]: indicates stitch counts at the end of a round/row
How to Crochet a Bear Bag/Purse: Step-by-Step Tutorial (Child’s Bag Approx. 7″ Diameter)
All parts worked in continuous rounds unless specified. Use a stitch marker to mark the first stitch of each round.
Part 1: The Bag Body Panels (Make 2 – Front & Back)
We’ll create two identical flat circles.
- Start with Main Color yarn.
- Round 1: Make a MR. Sc 6 into MR. Pull tail tight to close ring. Place stitch marker in first sc.
- Round 2: Sc inc in each st around.
- Round 3:Sc in next st, sc inc in next st. Repeat from * around.
- Round 4:Sc in next 2 sts, sc inc in next st. Repeat from * around.
- Round 5:Sc in next 3 sts, sc inc in next st. Repeat from * around.
- Round 6:Sc in next 4 sts, sc inc in next st. Repeat from * around.
- Round 7:Sc in next 5 sts, sc inc in next st. Repeat from * around.
- Round 8:Sc in next 6 sts, sc inc in next st. Repeat from * around.
- Round 9:Sc in next 7 sts, sc inc in next st. Repeat from * around.
- Round 10:Sc in next 8 sts, sc inc in next st. Repeat from * around.
- For a larger bag, continue increasing in this pattern (e.g., Round 11: Sc in next 9 sts, sc inc in next st. , etc.) until desired diameter.
- FO the first panel, leaving a long tail (approx. 18-24 inches) for seaming later.
- For the second panel: Repeat steps 1-11. Do NOT fasten off the second panel; we will use this yarn for joining.
Part 2: The Bear’s Snout/Muzzle
This will be a slightly raised circle.
- Start with Muzzle Color yarn.
- Round 1: Make a MR. Sc 6 into MR. Place stitch marker.
- Round 2: Sc inc in each st around.
- Round 3:Sc in next st, sc inc in next st. Repeat from * around.
- Round 4: Sc in each st around.
- FO, leaving a long tail for sewing to the front panel.
