

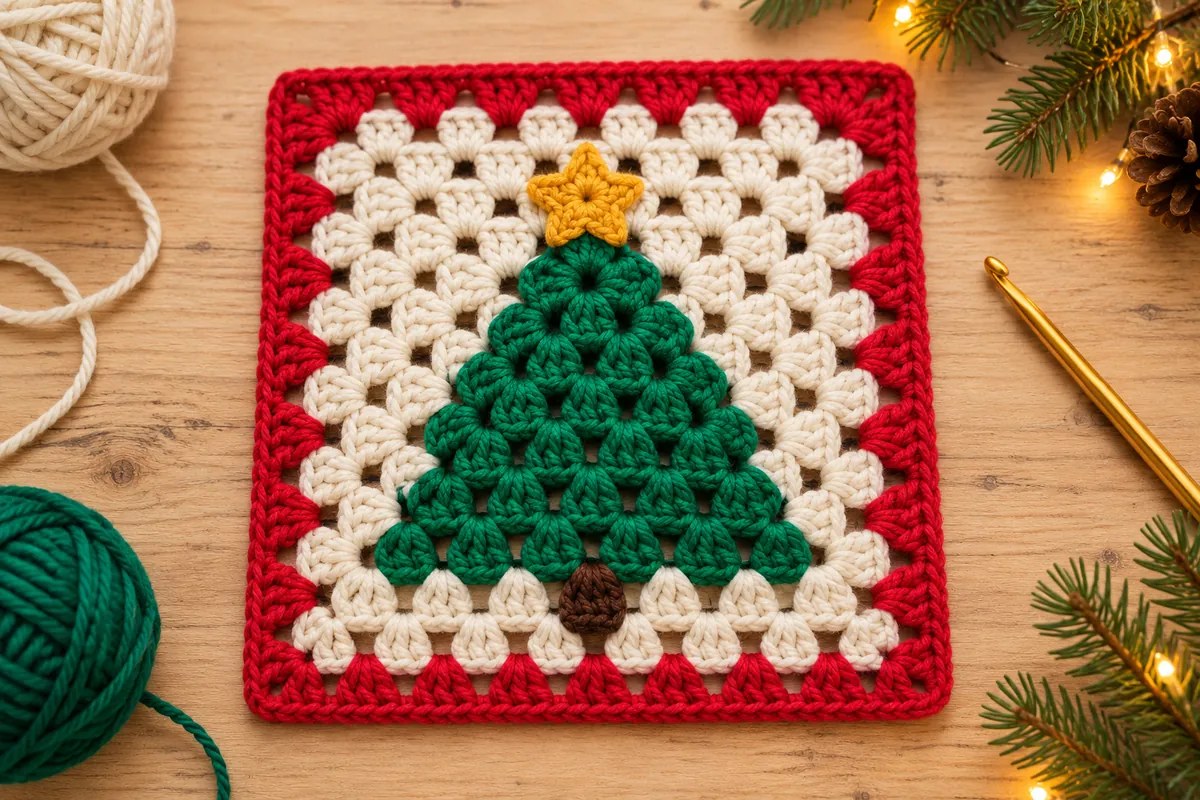
A Christmas tree granny square puts a green tree against a cream openwork background, with a red border framing the whole motif. The reference combines familiar three-stitch groups with a raised tree, a brown trunk and a golden topper, making the tree shape easy to read from across the room.
This free pattern is an original interpretation inspired by that reference: crochet the square and the triangular tree separately, then sew on the tree, trunk and small star. The counts have been reviewed for internal consistency, but the design has not been physically crocheted or tested. The AI-generated images illustrate the intended appearance, rather than a tested sample.
Working the pieces separately gives you a chance to check their proportions before assembly. Block the cream-and-red square first, lay the green triangle in its center and leave room above and below for the star and trunk. The result is a decorative block for a wall display, cushion panel or a larger holiday project.
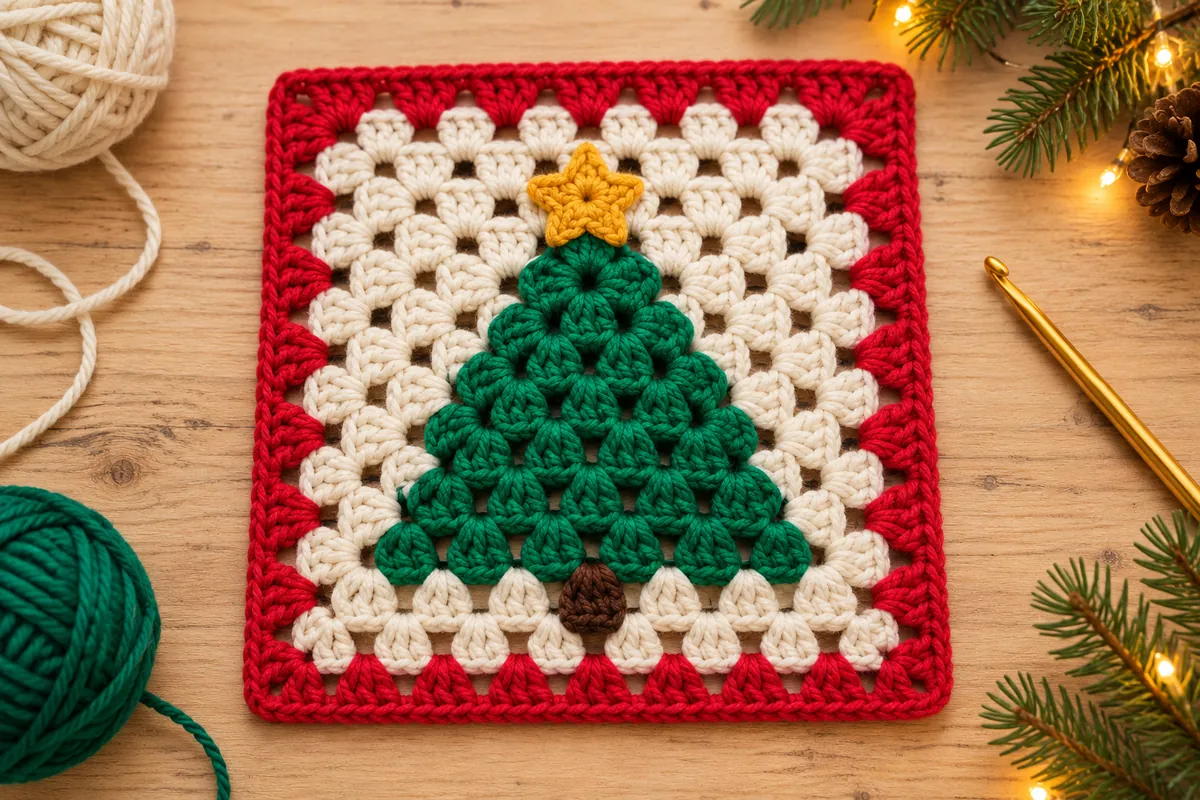
Plan the tree and its frame together
The cream background uses a classic granny square worked in rounds. The tree uses rows of three double crochets, gaining one group each row. Keeping the same yarn weight across both pieces helps the raised tree sit neatly on the background without overwhelming it.
Start with smooth worsted-weight yarn and a 4 mm hook. Cotton gives a defined, washable decorative panel; a washable wool or acrylic may suit a soft cushion or blanket block. Choose similar thicknesses for all five colors, even if their labels give the same weight category.
- Cream for six background rounds and red for two border rounds.
- Green for the six-row tree, plus small amounts of brown and golden yellow.
- A 4 mm crochet hook, or a size suited to your yarn and tension.
- A blunt yarn needle, scissors, removable markers and blocking pins.
Allow roughly 100–150 yards total as a planning estimate, with cream taking the largest share. An approximately 8–10-inch square is a tentative size target, not a measured sample dimension. There is no established gauge for this untested design; measure your pieces and adjust the background before sewing.
This is a confident-beginner project if you already work double crochet, recognize chain spaces and sew on appliques. The layered center makes it decorative rather than a flat cup surface. For drinks, the crochet wreath coaster has a solid, flat cup area with its decoration kept near the outside.
Read the groups and spaces before starting
Instructions use U.S. terms. A granny group means three complete double crochets worked into one indicated space or stitch; do not close them together as a decrease. The Craft Yarn Council crochet abbreviations guide is a useful reference for the standard stitch names below.
- ch: chain
- sl st: slip stitch
- sc: single crochet
- hdc: half double crochet
- dc: double crochet
- st/sts: stitch/stitches
- ch-sp: chain space
The starting ch 3 counts as one dc in both the square and tree. Ch 1 does not count as a stitch in the trunk or star center. Count groups as well as stitches: the background keeps four corners, while the tree gains one three-dc group every row.
Christmas Tree Granny Square: Cream Base and Red Border
Round 1: Establish four corners
With cream, make a magic ring. Ch 3, work 2 dc into the ring, ch 2. Repeat three times. Close the ring and sl st to the top of the beginning ch 3.Count: 4 groups, 12 dc and four ch-2 corners.
Before each new round, sl st across the next two dc and into the first ch-2 corner. These positioning slip stitches do not count in the round totals. Keep the right side facing you and work without turning.
Round 2: Put two groups in each corner
Ch 3, then work in the same corner space. Ch 1. Repeat three times. Sl st to the top of the beginning ch 3.Count: 8 groups, 24 dc, four ch-2 corners and four ch-1 side spaces.
Rounds 3–6: Grow the cream background
Position in the first corner as described above. Ch 3 and work in that corner. Ch 1, then work 3 dc in every ch-1 space along the next side, making ch 1 after each group. Work in the next corner.
Continue around: ch 1, work the side groups with ch 1 after each, then work the next corner. After the fourth corner, complete the remaining side and its final ch 1. Join to the beginning ch 3. Repeat this method through Round 6. Do not work into the tops of the side dc; the groups go into spaces.
- Round 3: 12 groups, 36 dc; four corners and 8 side spaces.
- Round 4: 16 groups, 48 dc; four corners and 12 side spaces.
- Round 5: 20 groups, 60 dc; four corners and 16 side spaces.
- Round 6: 24 groups, 72 dc; four corners and 20 side spaces.
Fasten off cream after Round 6. Each additional square round adds four groups: one new side group per side. This is a useful check when a corner looks crowded or a side seems shorter than the others.
Rounds 7–8: Frame the square in red
Join red with a sl st in any ch-2 corner. Work Round 7 with the same corner-and-side method: the starting ch 3 counts as the first dc. Join. Count: 28 groups, 84 dc, four corners and 24 side spaces.
Position in a corner and repeat for Round 8. Count: 32 groups, 96 dc, four corners and 28 side spaces. Fasten off and weave in the ends. There is no extra edging round in this version.
