

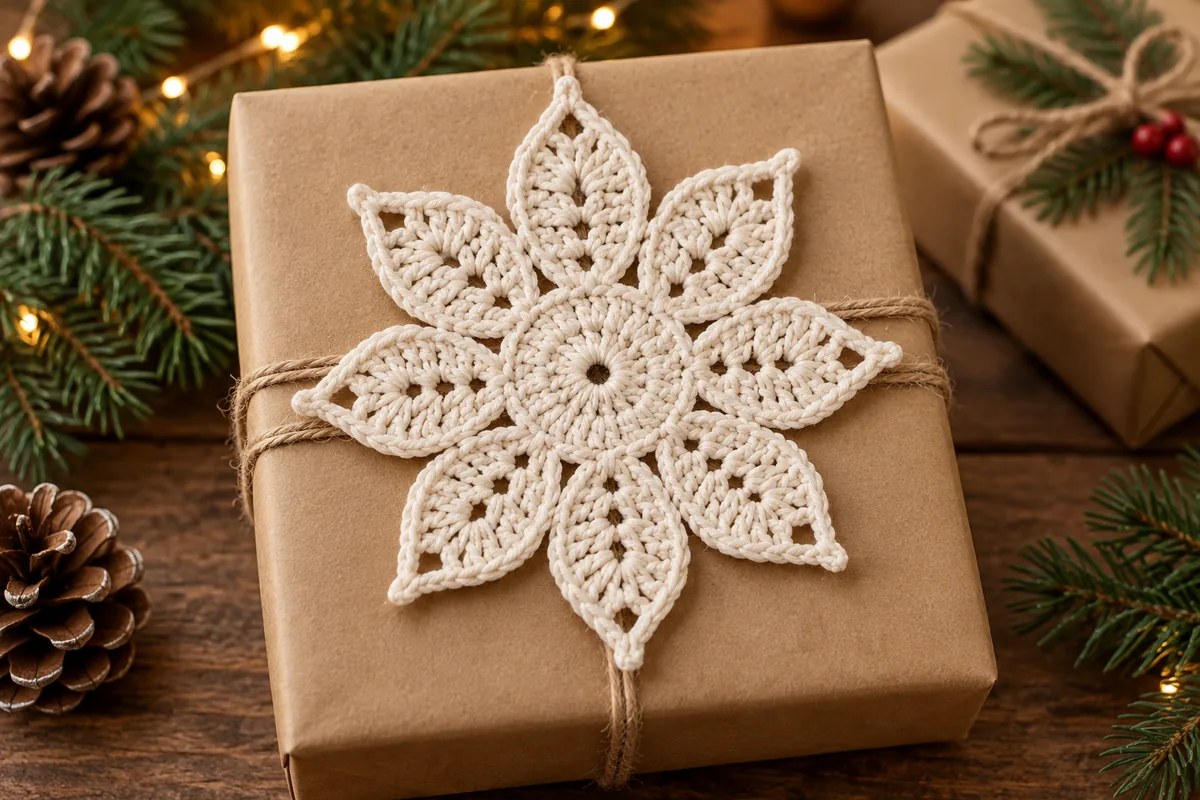
A leaf point crochet star adds a soft, handmade finish to a wrapped gift. Its eight pointed petals surround a small circular center, and the spaces between the leaves let the wrapping paper show through. An ivory cotton yarn keeps the stitch texture at the heart of the design.
This photo-inspired ornament uses five rounds: two for the center, one for the supporting arches, one for the leaves and one for the edging. Each leaf grows taller toward its tip, then returns to shorter stitches. That change in height creates the outline without sewing separate pieces together.
Tie one onto a kraft-paper parcel, hang it from a branch or use several along a simple cord garland. If you prefer a colorful motif worked in granny groups, the Christmas granny star makes a cheerful companion to this neutral ornament.
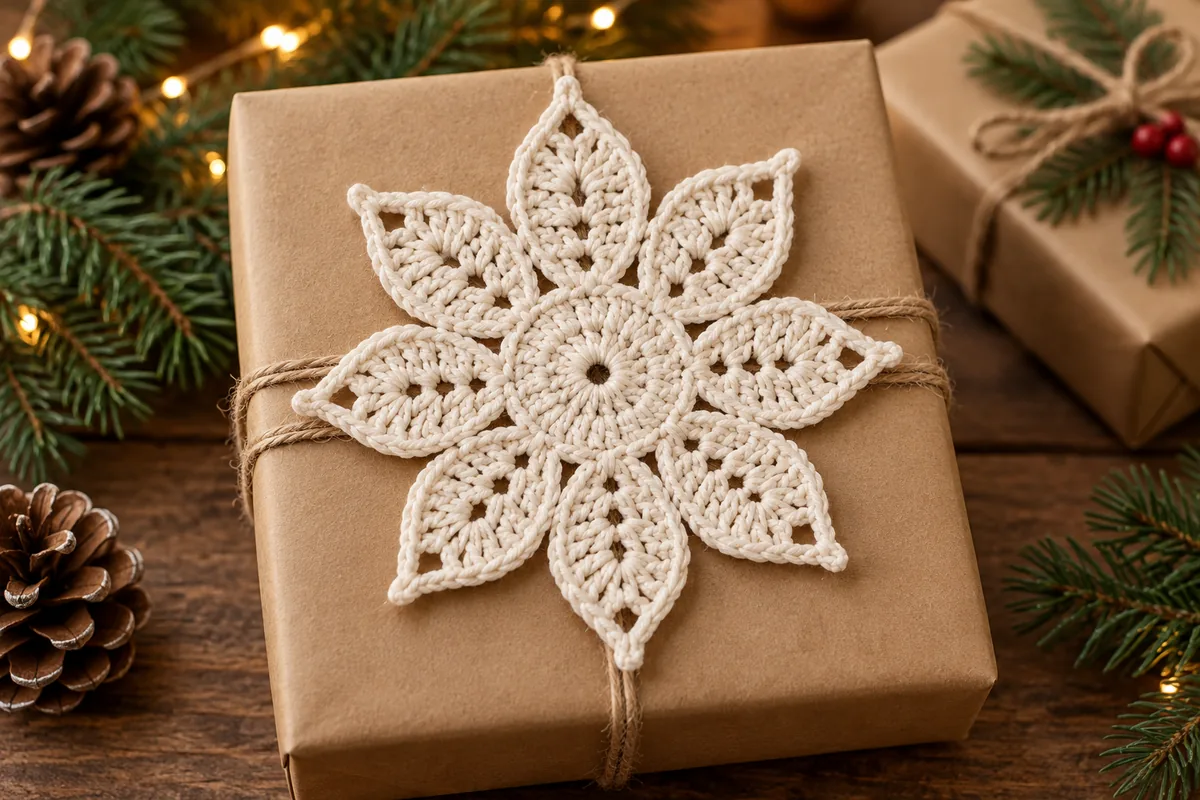
What gives the leaves their shape
The center is a small disc of double crochet stitches. Eight chain arches sit around its edge. Each arch receives one complete leaf, with single crochet at the base and treble crochet beside the tip. A final single crochet round outlines all eight leaves.
The reference has a rounded flower center and broad, open points. This original interpretation follows that structure; it is not a transcription of the exact photographed pattern. No measured sample size, gauge or yarn usage is supplied. Check the motif as you work, especially before making a matching set.
Yarn and tools for a leaf point crochet star
- Smooth cotton yarn in ivory, cream or an unbleached shade; DK weight is a useful starting choice.
- A 3.5 mm hook as a starting point, adjusted to the yarn label and your tension.
- A blunt yarn needle and scissors.
- Eight removable stitch markers.
- A short length of cord or matching yarn for a hanging loop.
- A blocking surface and rustproof pins, if damp blocking suits the yarn.
A smooth yarn makes the shorter stitches at the bases easier to find. Very fluffy yarn can hide the slip stitches between leaves. Choose a hook that gives clear stitches without a stiff center; the yarn should move freely through the larger leaf groups.
Keep the first ornament as your size reference. Use the same yarn, hook and chain tension for the rest of a set. Thicker yarn will make a larger motif, but it can also crowd the ten stitches worked into each supporting arch.
Stitches, terms and starting chains
The instructions use US crochet terms: ch = chain; sc = single crochet; hdc = half double crochet; dc = double crochet; tr = treble crochet; sl st = slip stitch; st/sts = stitch/stitches; sp = space; MR = magic ring. The Craft Yarn Council abbreviation guide is a useful reference for these standard names.
A starting ch 3 counts as one dc in Rounds 1 and 2. A starting ch 1 does not count as a stitch in Rounds 3, 4 or 5. Joining slip stitches do not count toward the working stitch totals. Work in joined rounds without turning.
Half double crochet
Yarn over, insert the hook into the indicated space, yarn over and pull up a loop. Yarn over and pull through all three loops. This stitch bridges the height difference between the single and double crochet stitches at each leaf base.
Treble crochet
Yarn over twice, insert the hook into the indicated space, yarn over and pull up a loop. Yarn over and pull through two loops three times. The two treble stitches in each leaf sit on either side of its ch-2 tip.
The complete leaf sequence
Work (sc, hdc, 2 dc, tr, ch 2, tr, 2 dc, hdc, sc) into one ch-5 arch. That is ten stitches plus one ch-2 tip. Five stitches lead up to the tip and five lead away from it. Both ends of the leaf are worked into the same arch.
Leaf point crochet star: five-round pattern
Round 1: a small circular center
Make a magic ring. Ch 3 to count as the first dc, then work 15 dc into the ring. Join with a sl st to the third chain of the starting ch 3. Tighten the ring gently.
Count: 16 dc. Count the starting chain as one of those sixteen stitches. Keep the ring tail available for weaving in securely once the star is finished.
Round 2: double the center stitches
Ch 3 to count as the first dc. Work 1 dc in the same stitch at the base of that chain. Work 2 dc in each of the remaining 15 stitches. Join to the third chain of the starting ch 3.
Count: 32 dc. Every stitch from Round 1 receives two dc. The first pair is the starting ch 3 and the dc at its base, so do not work a third stitch there.
Round 3: make eight supporting arches
Ch 1 without counting it, then sc in the same stitch as the join. Ch 5, skip the next 3 dc and sc in the next dc. Repeat (ch 5, skip 3 dc, sc in the next dc) six more times. Ch 5, skip the final 3 dc and join with a sl st to the first sc.
Count: 8 sc and 8 ch-5 arches. The last arch ends at the first sc; do not add a ninth anchor. Each arch spans a section of four underlying dc: one anchoring stitch and three skipped stitches.
Place a marker in each arch if the spaces are hard to distinguish. Count eight marked spaces before moving on. These are the supports for the eight leaves, not separate hanging loops.
