

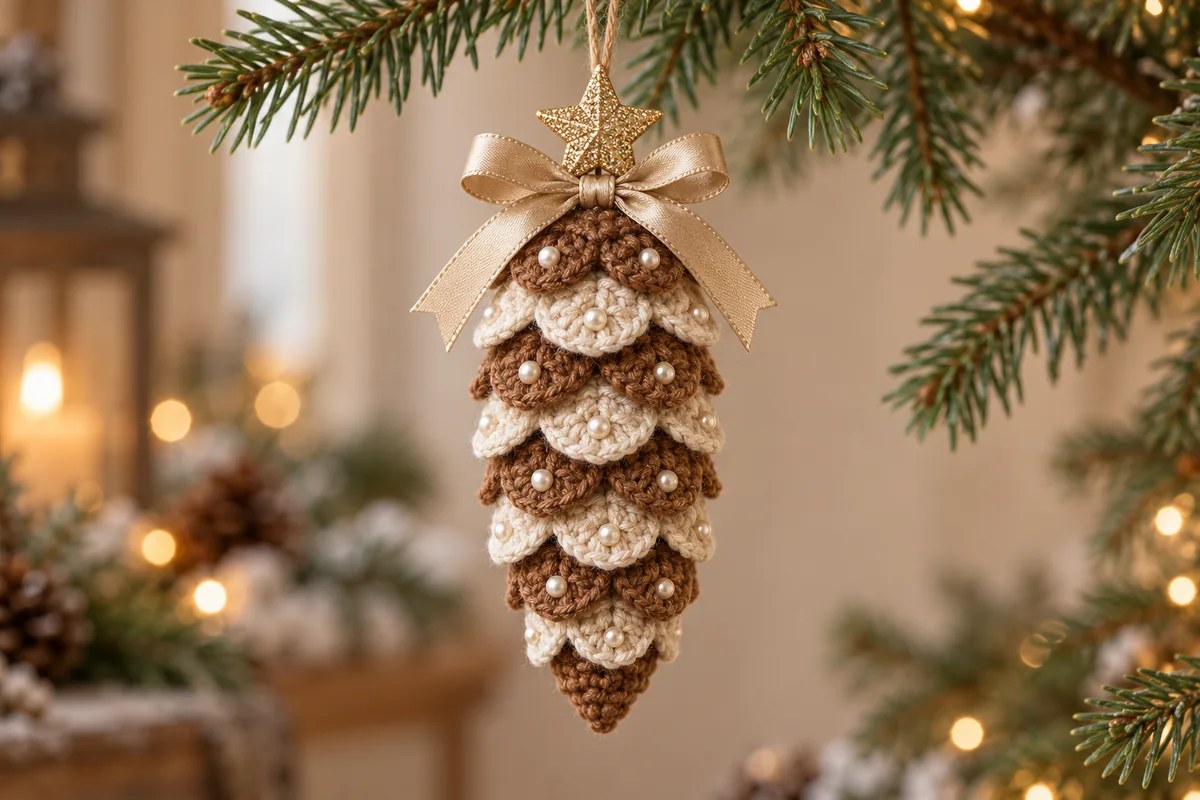
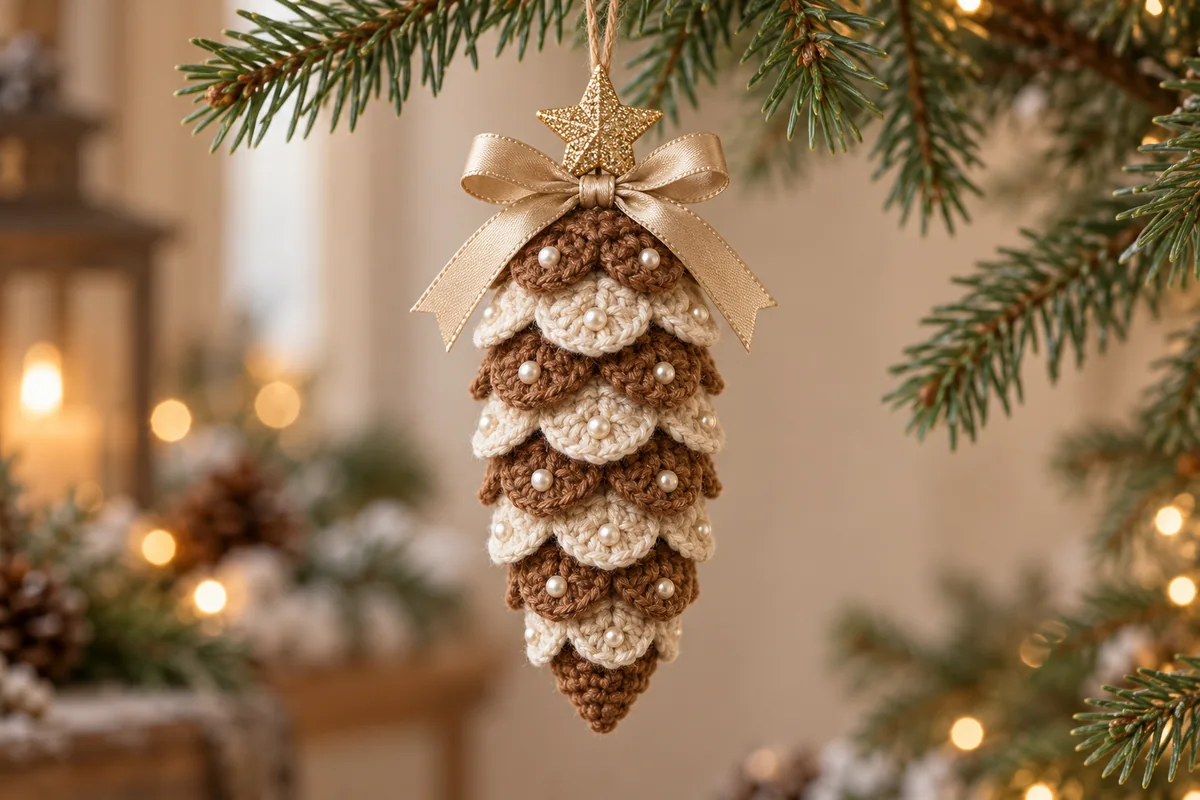
This crochet pinecone ornament builds its woodland shape from overlapping caramel and cream fan scales. A soft oval core supports the layers, while a champagne bow, optional pearls and a small gold star echo the warm details of the reference.
The pattern is an original interpretation of that inspiration, rather than the exact recipe behind the photograph. The stitch arithmetic has been checked, but the design has not been physically crocheted or tested. The seven-tier arrangement below is a starting layout: pin the scales to your own core and adjust the overlap before sewing.
Begin with one core and one scale, using the same yarn and hook for both. This lets you check how the fan sits against the stuffing before making the full batch. The styling images suggest the finished look; use the written rows and assembly table for the construction.
Plan your crochet pinecone ornament
The core is worked in continuous single-crochet rounds, from the lower tip to the top. Separate scales are made in two flat rows and sewn around the core from bottom to top. Only each scale’s straight edge is attached, leaving the curved edge free to overlap the tier beneath it.
This is a small assembly project for someone comfortable with a magic ring, increases, decreases and sewing crochet pieces together. No measured gauge, finished dimensions or yarn consumption are available. Your yarn, hook, stuffing and overlap determine the finished size and the number of scales needed for full coverage.
Materials
- Smooth DK cotton in caramel and cream. Keep both colors the same yarn weight so the scales behave similarly.
- A 3 mm hook as a starting point; adjust to make a firm core that holds stuffing without large gaps.
- A small amount of fiberfill, a yarn needle, scissors, stitch markers and pins or removable clips.
- A sturdy hanging cord and champagne satin ribbon for the bow.
- Optional sew-on pearl beads, strong sewing thread and a suitable needle; embroidered dots can replace the beads.
- Optional lightweight ready-made gold star charm. The star and ribbon are separate embellishments, not crocheted components of this pattern.
Make decorative choices before closing the core. The hanging cord must be secured to the core itself; a bow or a loose scale should never carry the ornament’s weight. If you prefer an all-yarn finish, the Christmas crochet bows pattern offers a separate bow project.
US abbreviations and stitch notes
All instructions use US terms. The Craft Yarn Council crochet abbreviations guide is a useful reference for the standard stitch names.
- MR: magic ring
- ch: chain
- sc: single crochet
- dc: double crochet
- st/sts: stitch/stitches
- inc: 2 sc in the same stitch
- dec: single crochet 2 stitches together (sc2tog)
- R: round in the core instructions; scales use rows.
Single crochet: insert the hook, yarn over and draw up a loop; yarn over and pull through both loops. Double crochet: yarn over, insert the hook and draw up a loop; yarn over and pull through two loops twice. Decrease: insert the hook into the next stitch and draw up a loop, repeat in the following stitch, yarn over and pull through all three loops. One decrease consumes two stitches and makes one.
The core has no joining slip stitches or turning chains. Move a marker into the first sc of each new round. For the scales, the opening ch 3 counts as one dc; the ch 1 before Row 2 does not count. Those two chain rules are different, so keep them beside you while making the first fan.
Crochet pinecone ornament: the stuffed core
Use caramel throughout. Work through both loops unless specified. Bracketed repeats are repeated six times; the count at the end is the total number of stitches in that round.
- Round 1: Make a MR and work 6 sc into it. Pull the ring closed. 6 sc.
- Round 2: Inc in every stitch. 12 sc.
- Round 3:6 times.18 sc.
- Round 4:6 times.24 sc.
- Round 5:6 times.30 sc.
- Rounds 6–12: Sc in every stitch for seven rounds. 30 sc in each round.
- Round 13:6 times.24 sc.
- Round 14: Sc in every stitch. 24 sc.
- Round 15:6 times.18 sc.
- Round 16: Sc in every stitch. 18 sc.
- Round 17:6 times.12 sc.
- Round 18: Dec 6 times. 6 sc.
Add small pieces of stuffing during Rounds 13–17, spreading them down toward Round 1. Keep the core gently oval and compressible, rather than packing it into a hard ball. Round 1 is the lower tip; the final closure is the top.
Before Round 18, pass the two ends of a hanging cord through opposite sturdy stitches near Round 16, leaving the loop outside at the top. Knot the ends together securely inside and check the anchor with a gentle pull. Finish Round 18, fasten off and thread the tail through the front loops of the six remaining stitches. Draw closed and bury the tail inside.
Count check: each increase round adds six stitches. The reductions go 30 → 24 → 18 → 12 → 6. Plain Rounds 14 and 16 preserve the count from the preceding decrease round; they are not additional decrease rounds.
