

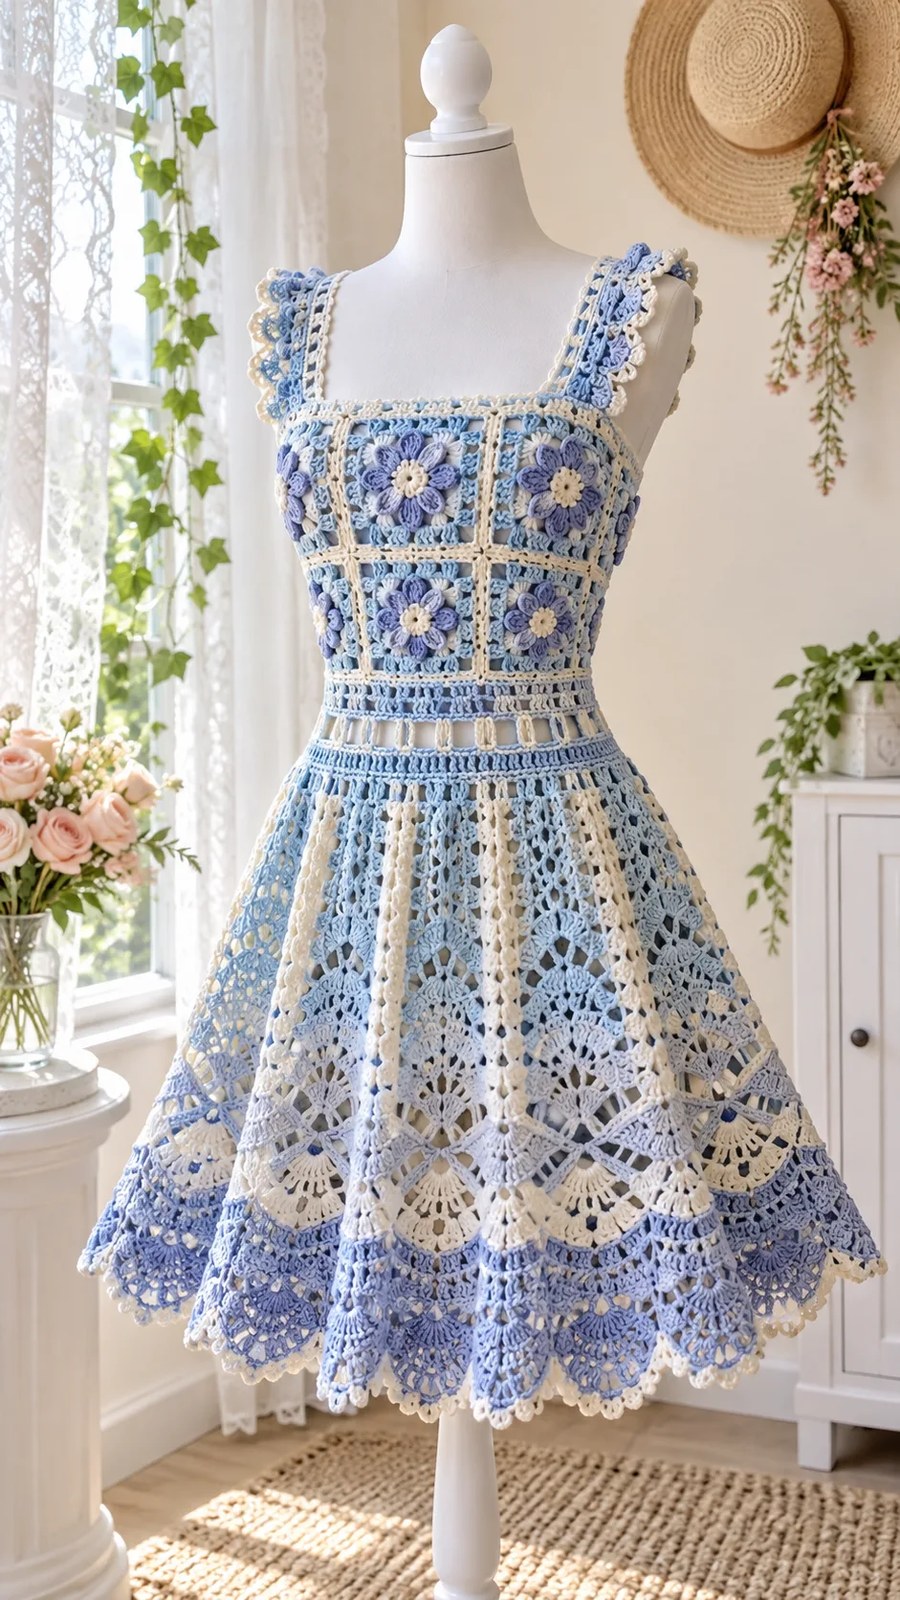
I’ve been searching for the perfect summer dress pattern for ages, and this one stopped me in my tracks. The combination of dimensional flowers, delicate lace panels, and that gorgeous scalloped hem creates something truly special.
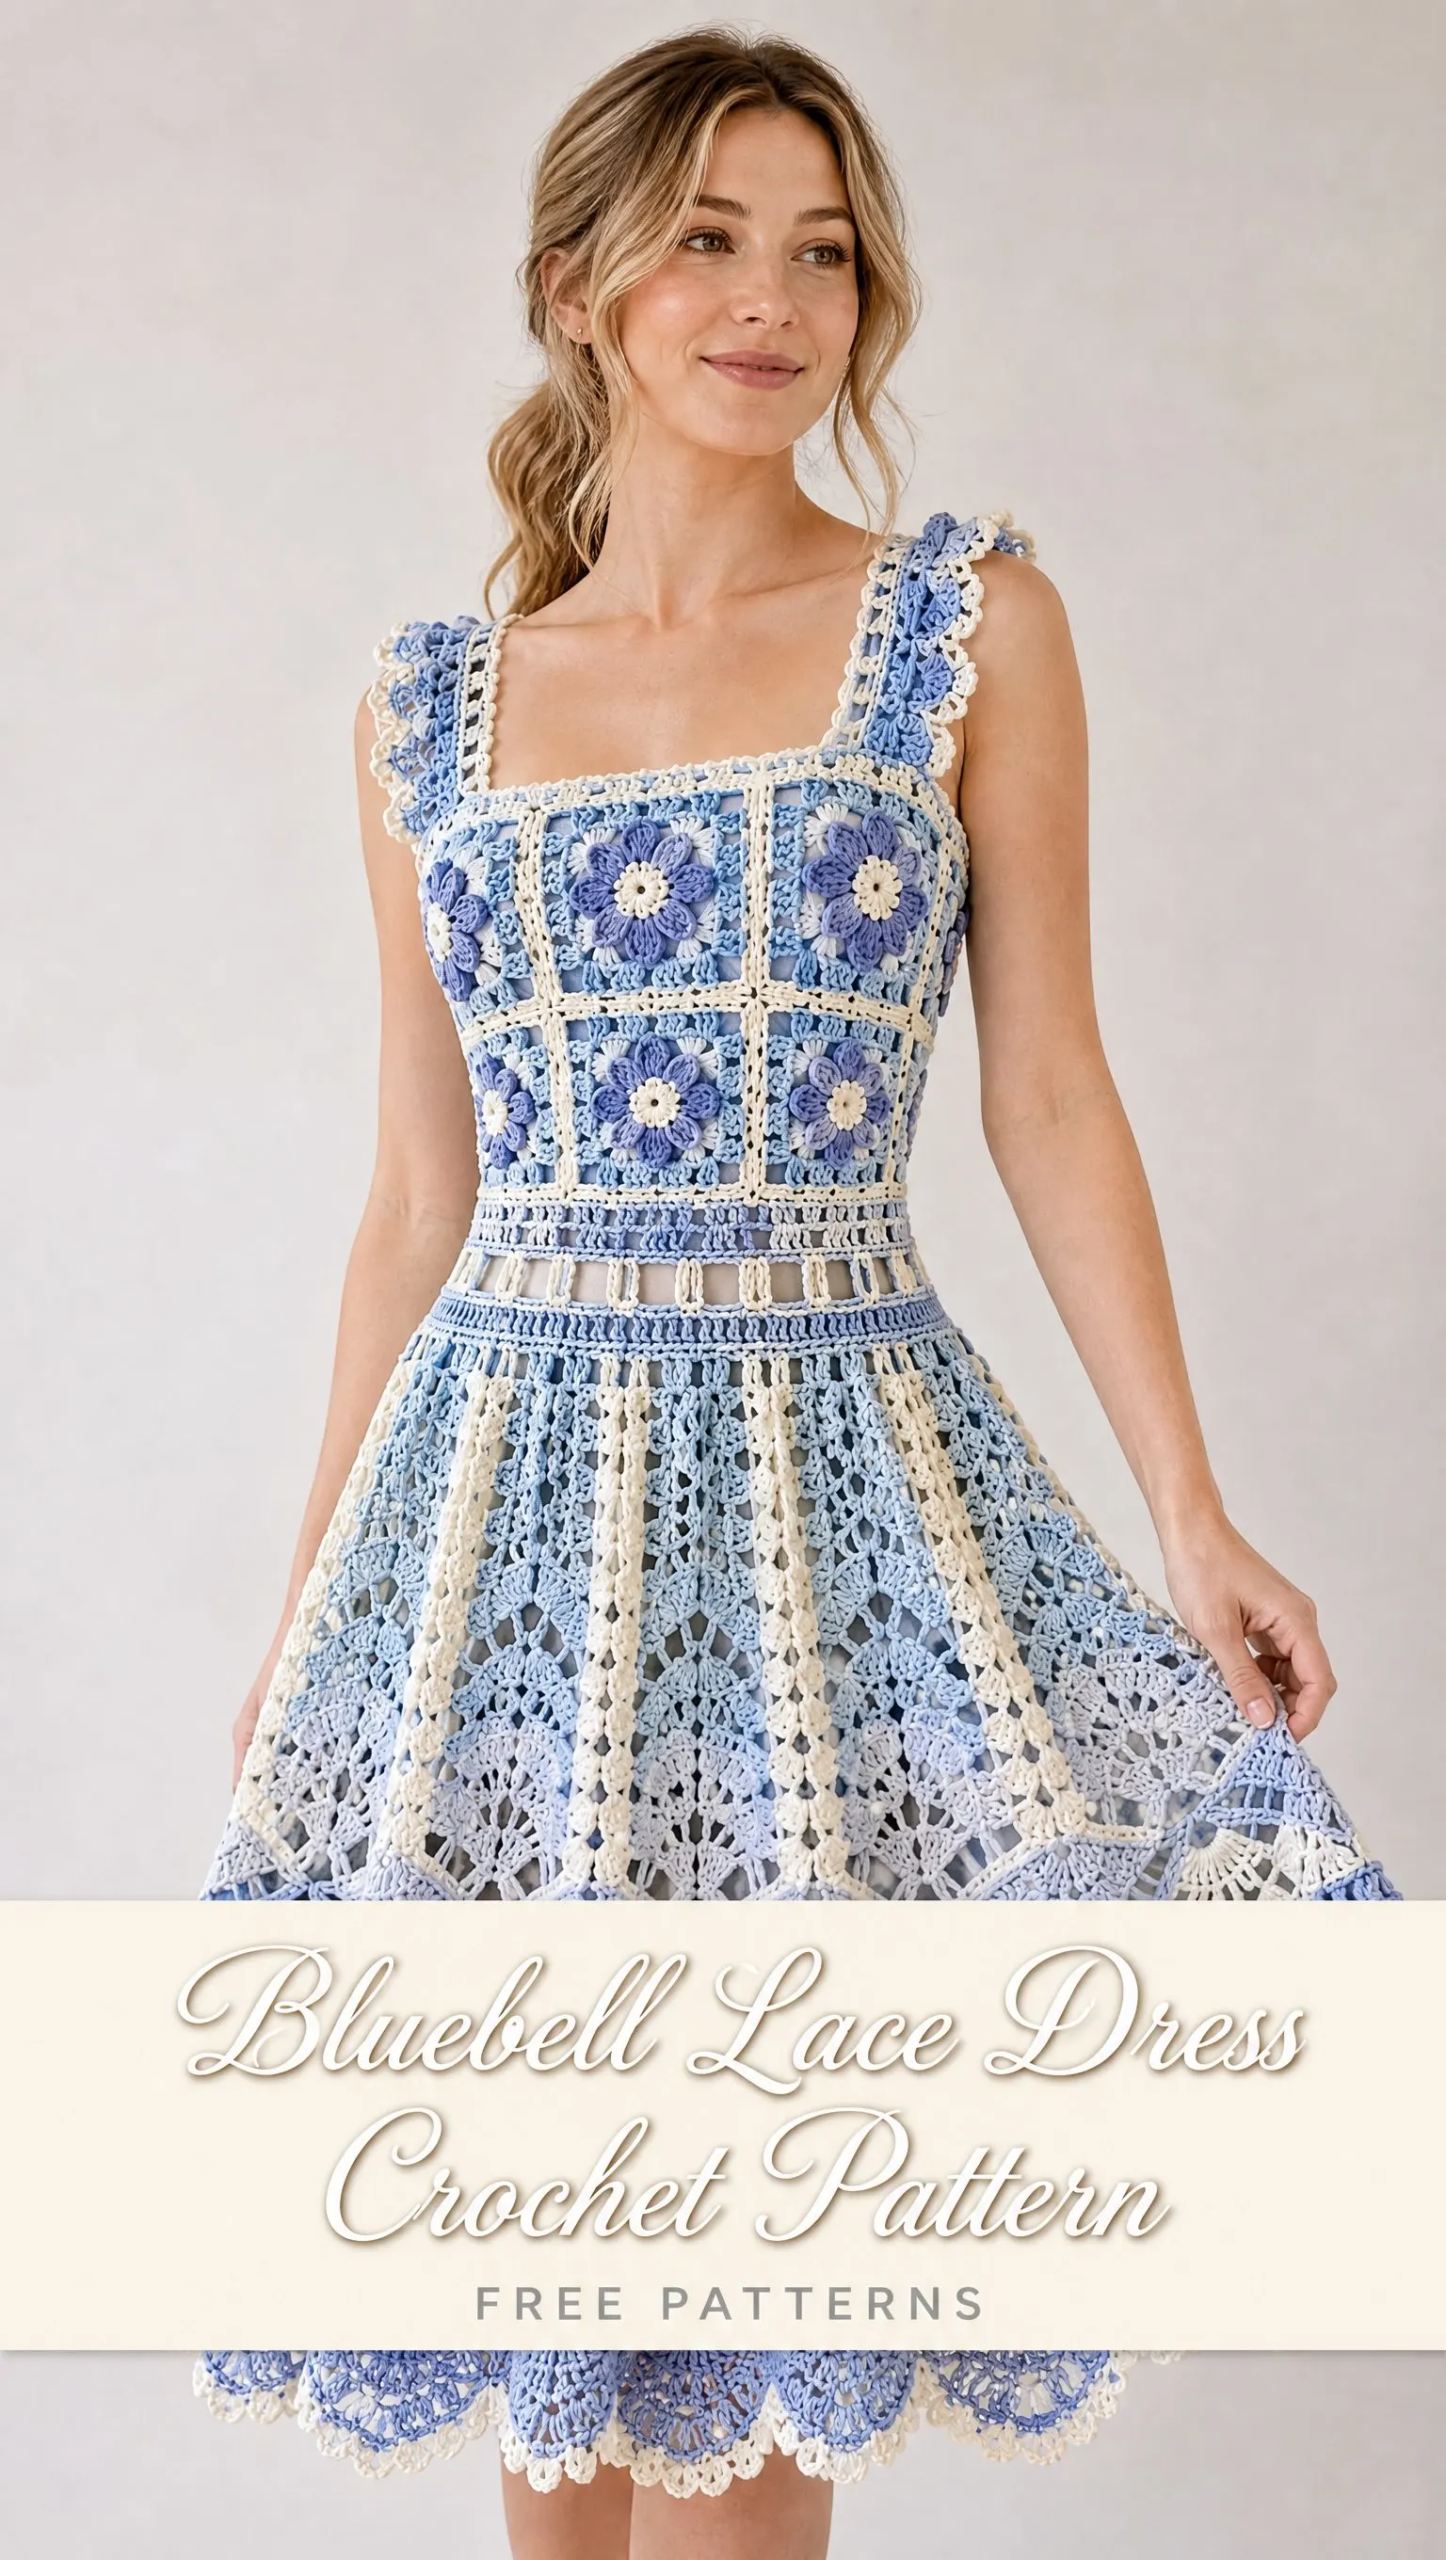
This is my favourite kind of project. It looks incredibly intricate and impressive, but the construction is actually modular and manageable. You make individual floral squares, join them together, then work the skirt downward in rounds.
If you’ve been wanting to try garment construction or level up your lace skills, the Bluebell Lace Dress is an ideal challenge. The powder blue, ivory, and periwinkle color palette gives it a romantic cottage feel that’s perfect for garden parties, beach days, or just feeling beautiful on a summer afternoon.
About This Pattern
The Bluebell Lace Dress is a fitted, openwork sundress built from six distinct modules: dimensional floral squares for the bodice, ivory joining seams, a structured open lattice waistband, broad ruffled straps, a flared 16 panel lace skirt, and a bluebell shell and picot hem finish.
This pattern is written for an adult Medium with a finished bust of approximately 88 cm (34.5 inches) and a gently fitted waist. The modular construction makes resizing straightforward. You can adjust the bodice by changing your motif size or adding side panels.
Important note: This dress is intentionally unlined and openwork. Plan to wear it over a slip, bodysuit, swimsuit, or lining of your choice. Always check opacity and stretch before wearing.
Finished Measurements for Size Medium
Here are the key measurements for the sample size:
Skill Level
This pattern is rated Intermediate. You should be comfortable working in rounds and rows, joining motifs, changing colors, counting stitch multiples, making clusters and shells, and modifying fit based on your gauge.
Don’t let that intimidate you though. If you’ve made granny squares and worked any lace patterns before, you have the skills for this dress. The pattern breaks everything into manageable steps.
Materials You Will Need
Yarn: Fine matte cotton or cotton bamboo yarn, sport weight (category 2), approximately 1,250 to 1,450 meters total for size Medium.
Break down by color:
Hooks:
Notions:
Gauge
Getting gauge right is essential for garment fit. Here is what you are aiming for:
One blocked floral square = 11 x 11 cm / 4.3 x 4.3 inches using the stated yarn and 2.5 mm hook.
In the skirt lace: 4 fan panel repeats across 22 cm / 8.7 inches after light blocking.
Row gauge is less critical than matching the overall lengths listed in the measurements section.
Fit rule: Block one complete square before making the rest. Eight squares around the torso make the sample 88 cm bust. If your square measures 10.5 cm, the same arrangement gives 84 cm. If it measures 11.5 cm, you get 92 cm. Adjust your hook size accordingly.
Abbreviations Used (US Terms)
Let me define every abbreviation before we dive into the pattern:
Construction Overview
The dress is built in six modules, and you will work them in this order:
1. 16 floral squares for the main bodice
2. Ivory joining seams to connect the squares
3. Upper neckline shaping and broad straps
4. Fitted waistband
5. 16 panel flared skirt worked downward
6. Bluebell shell and picot finishing
Bodice Layout for Size Medium
Make 16 identical floral squares. Arrange 8 squares for the front and 8 for the back. Each panel uses 4 squares across by 2 squares high.
Join the front and back at the side seams to create a tube. The square neckline is built upward from the upper row, leaving the center two motifs open at front and back.
Floral Square Motif Pattern (Make 16)
Colors: Periwinkle for the flower, ivory for the center and seam accents, powder blue for the openwork frame. Work with the RS facing unless stated otherwise.
Step 1: Center (ivory)
Make a magic ring.
Round 1: Chain 1, work 6 single crochet into the ring. Join with a slip stitch to the first sc. Fasten off. (6 sc)
Step 2: Petals (periwinkle)
Join periwinkle in any sc.
Round 2: Chain 3, work 3 treble crochet in the same stitch, chain 3, slip stitch in same stitch; slip stitch in next sc. Repeat around for 6 rounded petals. Fasten off.
Gently roll each petal edge outward for dimension. This gives your flowers that beautiful 3D look you see in the photos.
Step 3: Flower Foundation (powder blue)
With the flower RS facing, join powder blue into the back loop or rear base of any center sc between two petals.
Round 3: Chain 1, sc at petal base, chain 4 around, placing one sc behind each petal. Join. (6 ch-4 spaces)
Step 4: Building the Square Frame
Round 4: Slip stitch into the first ch-4 space. Chain 3 (counts as dc), 2 dc, ch 2, 3 dc in same space; (ch 1, 3 dc in next space) twice, ch 1, (3 dc, ch 2, 3 dc) in next space. Repeat to create 4 corner groups, distributing the 6 original spaces evenly. Join to top of beginning ch-3.
Round 5: Slip stitch to corner ch-2 space. Chain 3, 2 dc, ch 2, 3 dc in corner; ch 2, 3 dc in each ch-1 or ch-2 side space to next corner, ch 2; (3 dc, ch 2, 3 dc) in corner. Repeat around. Join.
Step 5: Ivory Outline
Round 6: Join ivory in any corner. Chain 1, (sc, ch 2, sc) in corner; ch 2, sc in each side space across, ch 2, (sc, ch 2, sc) in next corner. Repeat around. Join and fasten off.
Step 6: Blocking
Pin each square to exactly 11 x 11 cm, keeping corners square and the flower centered. Steam lightly without pressing the raised petals flat.
Troubleshooting tip: The frame should remain airy. If the square cups, loosen Round 5 or increase a side chain from ch 2 to ch 3. If it ruffles, reduce a side chain from ch 2 to ch 1.
Joining the Bodice
Use ivory yarn and a flat slip stitch join for the neat raised seams you see in the reference photos. Keep the motifs RS together while joining so the seam ridge appears subtly on the outside when opened.
1. Lay four squares in a row for the first front row. Join adjacent vertical edges through corresponding back loops with loose slip stitches.
2. Join the second row of four squares in the same way, then join the two rows along their long horizontal edge.
3. Repeat for the back panel.
4. With panels RS together, join the left and right side edges from underarm to lower bodice edge. Turn RS out.
5. Try on over your intended underlayer. The tube should be fitted but not strained. The motif corners should remain square rather than diamond shaped.
