

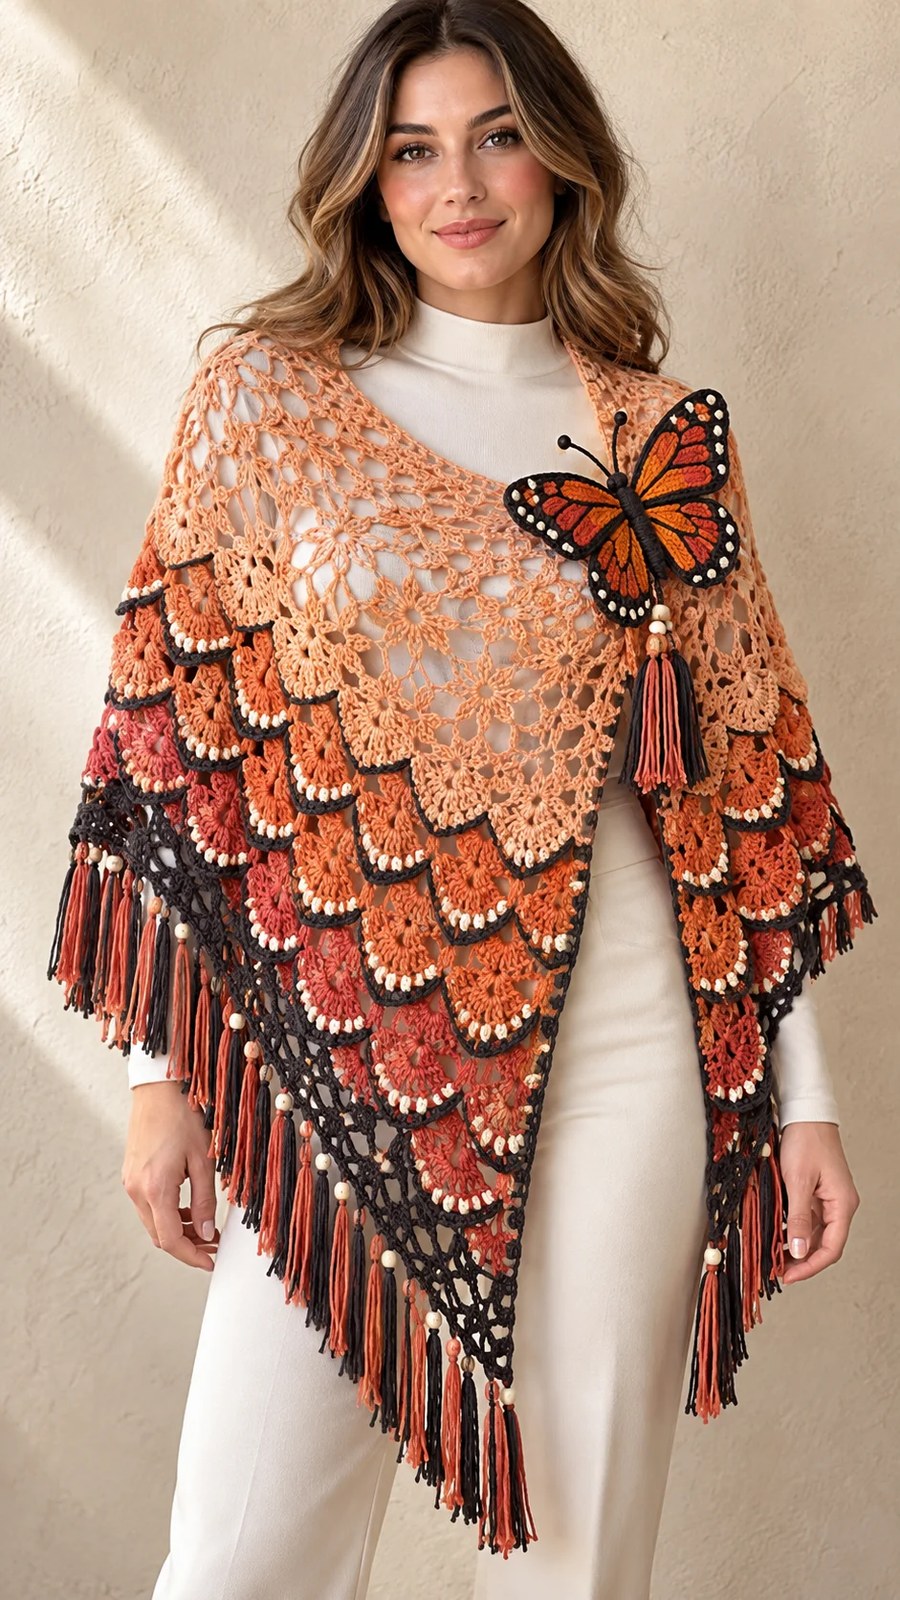
A stunning triangular shawl like this one keeps you warm during those transitional seasons while making a serious style statement. The Sunset Monarch Shawl combines an airy lace yoke with raised overlapping scales that create incredible texture and dimension. It works up in sport weight cotton or cotton-bamboo blend yarn, making it perfect for cool summer evenings or layering in autumn.
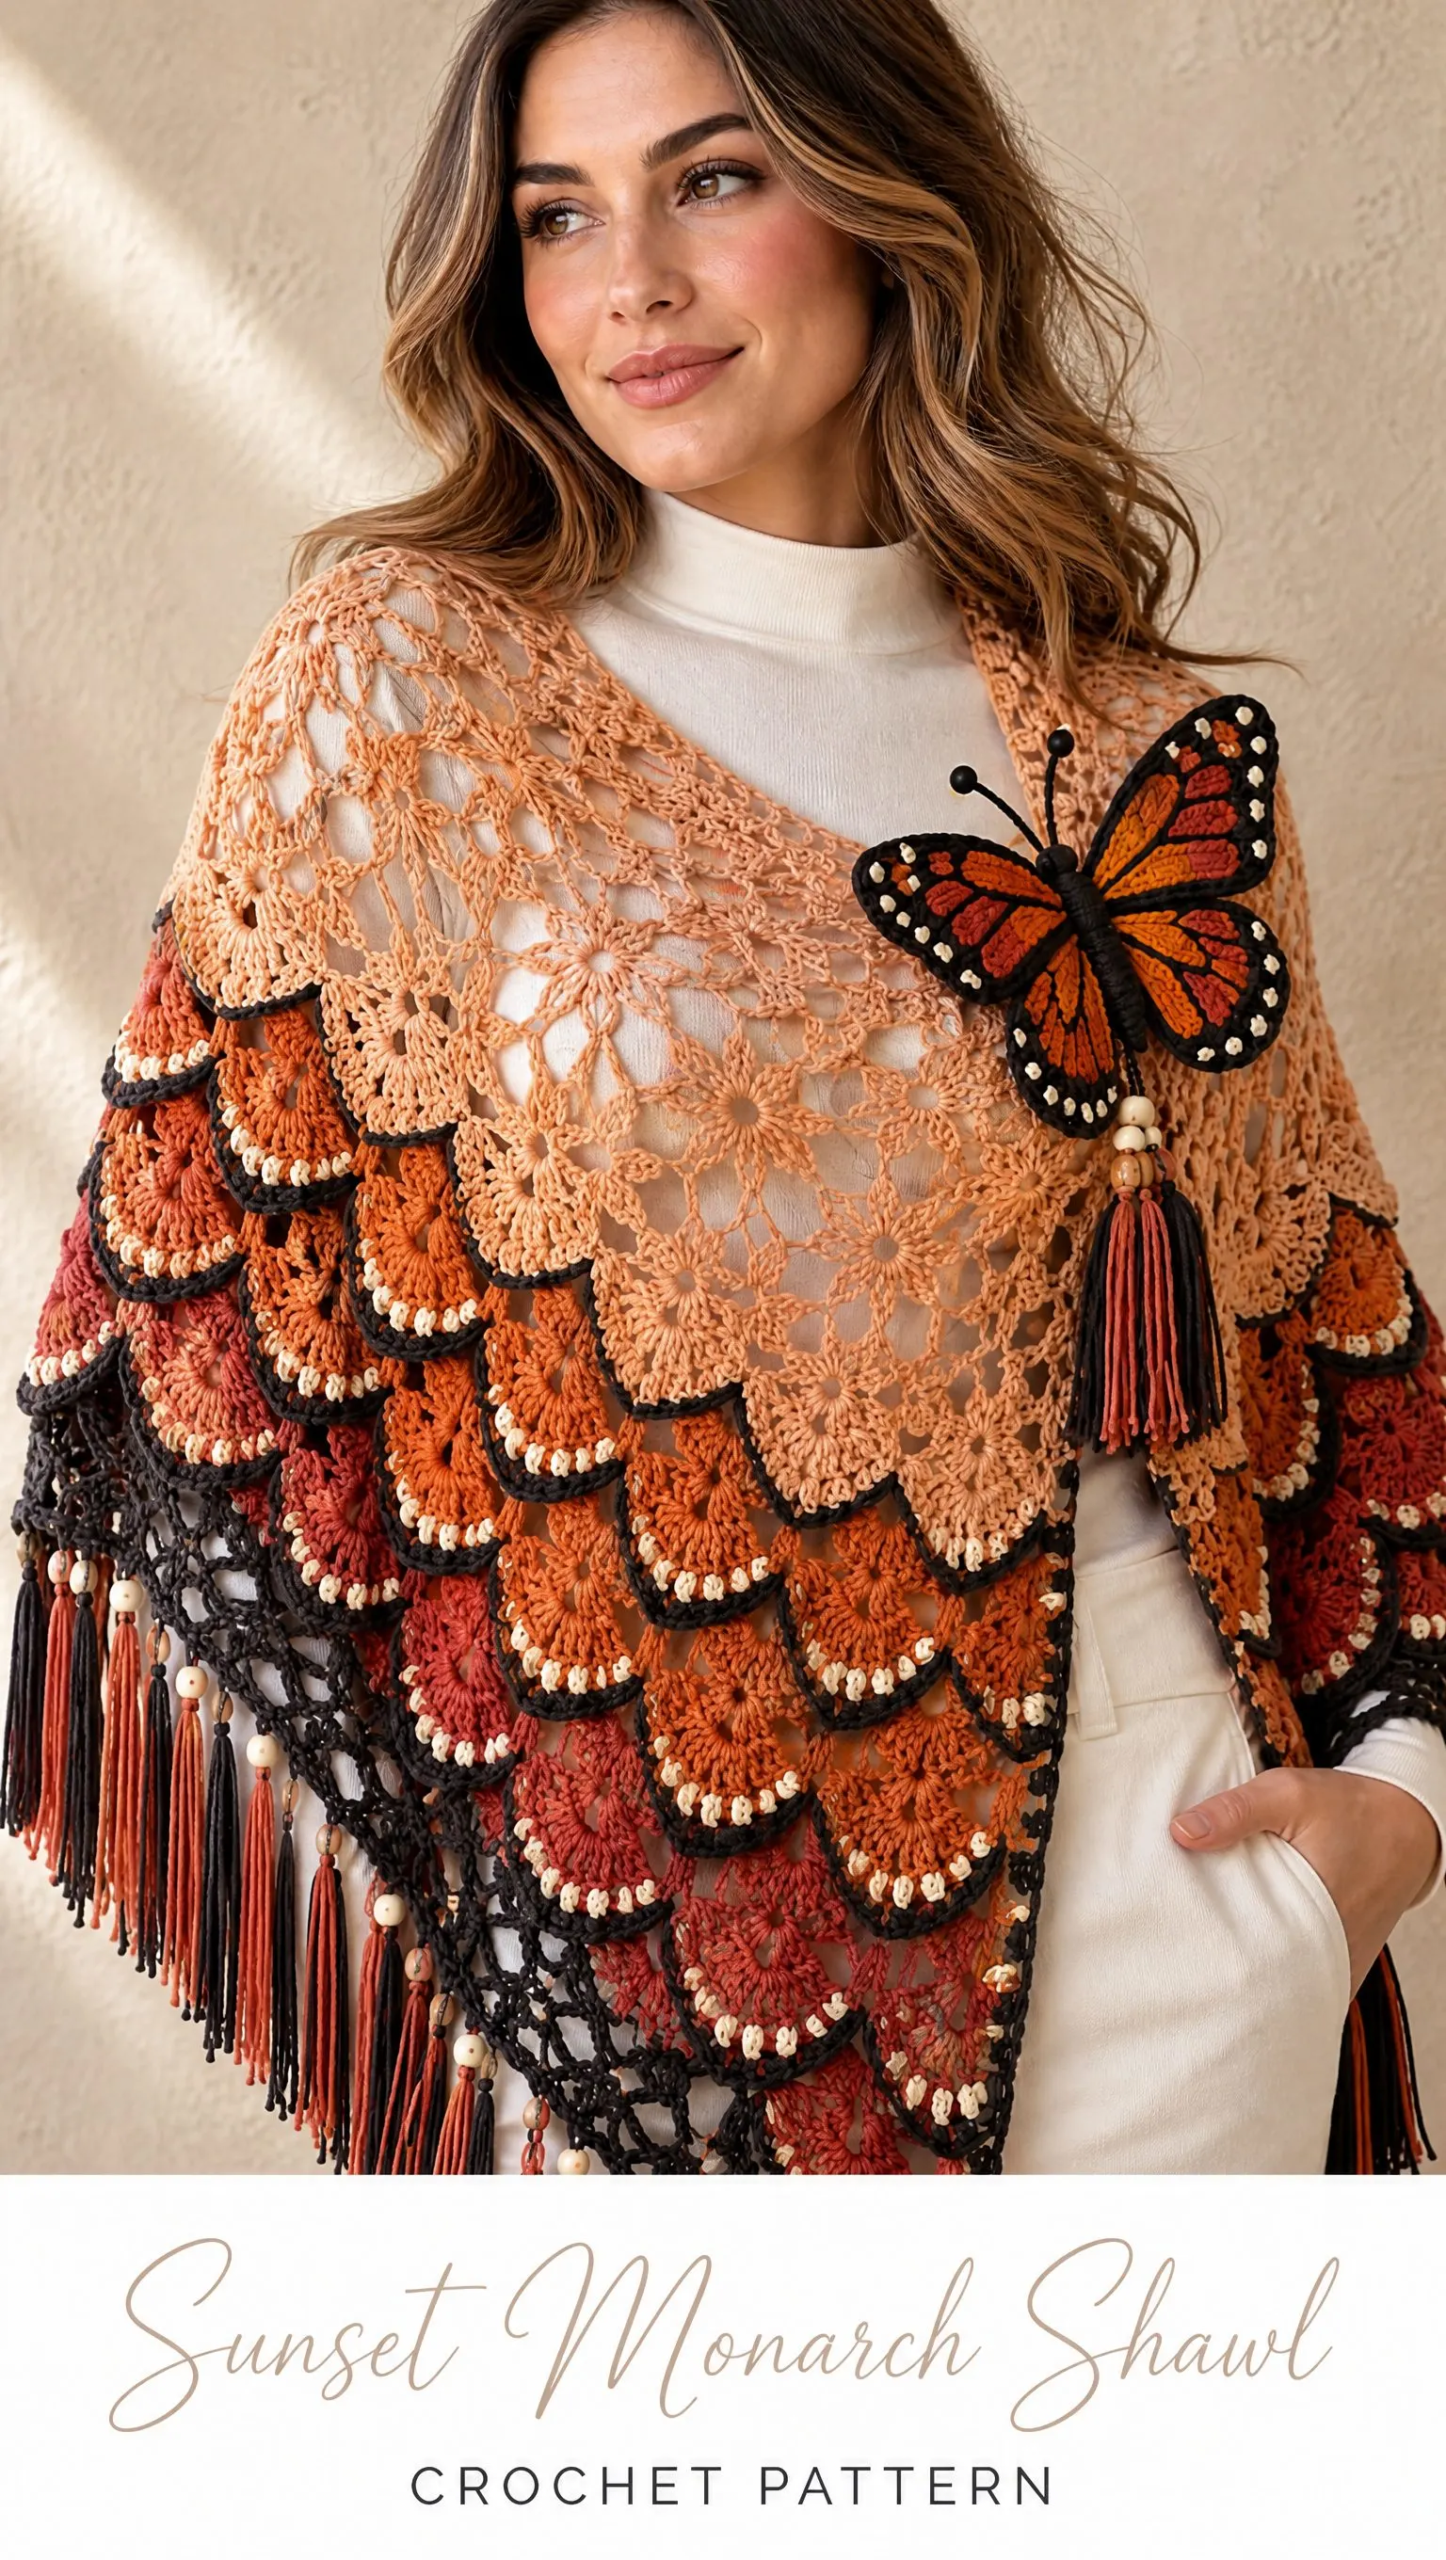
This pattern uses familiar stitches like double crochet (dc), treble crochet (tr), and chains, but arranges them in a way that creates those gorgeous scalloped scales you see in the photos. The construction is straightforward once you understand the rhythm. You will work from the center neck down, building the triangle with increases at the edges and center spine.
Whether you are making this for yourself or as a gift for someone who appreciates wearable art, this shawl delivers. The graduated sunset colors paired with that dimensional monarch butterfly fastening make it a true showpiece. Let me walk you through everything you need to bring this beauty to life.
Project Overview and Skill Level
This pattern is rated intermediate to advanced. You should be comfortable with basic crochet stitches and ready to try some new techniques like surface slip stitch, working into spaces, and applique assembly.
Finished Measurements:
The construction follows a logical progression. You will create a top-down triangular shawl with four distinct sections: the airy lace yoke, the raised overlapping scale field, the openwork hem, and finally the separate butterfly fastening.
Materials You Will Need
Gathering your supplies before you start makes the whole process smoother. Here is everything this pattern calls for:
Yarn (Sport / Light DK Weight, #2-#3):
| Color | Amount | Use |
|---|---|---|
| Pale peach / apricot | 350 m / 383 yd | Upper lace and first scales |
| Apricot / burnt peach | 280 m / 306 yd | Scale field |
| Pumpkin orange | 240 m / 262 yd | Scale field and butterfly |
| Deep coral | 260 m / 284 yd | Lower scales and fringe |
| Charcoal | 320 m / 350 yd | Scale outlines, hem, fringe, butterfly veins and body |
| Warm cream / ivory | 45 m / 49 yd | Accent stitches and butterfly dots |
Choose a smooth cotton or cotton-bamboo blend with good stitch definition. This helps the lace stay open and the scales maintain their shape.
Hooks:
Adjust your hook size as needed to obtain gauge.
Additional Supplies:
Gauge
Getting your gauge right ensures your shawl matches the intended measurements.
18 dc x 9 rows = 10 cm / 4 inches in blocked double crochet.
Scale tier depth: approximately 5.5 cm / 2 1/8 inches after blocking.
Always make a gauge swatch before starting. If your stitches are too tight, go up a hook size. Too loose? Go down a size.
Abbreviations and Special Stitches
Let me define every stitch abbreviation you will encounter:
Construction Notes Before You Begin
Understanding the structure helps everything make sense:
1. Work the shawl from the center neck downward. Every right side (RS) row has an increase section at both outer edges and at the center spine.
2. Place a locking marker in the center ch-2 space and move it upward every row. This is the easiest way to keep the triangle symmetrical.
3. The scale field is built in two-row tiers: a mesh foundation row followed by a fan row. Alternate the fan positions so the scales overlap like shingles.
4. Charcoal is added as a narrow surface outline after each colored tier. This keeps the fabric flexible and gives that gorgeous dark-edged look you see in the photos.
5. For a broader shawl, continue the lace repeat or add additional scale tiers before the hem. For a shallower shawl, stop earlier and proceed to the border.
Part 1: Airy Peach Shoulder Lace
With pale peach/apricot yarn and your 3.5 mm hook, you will create the delicate upper portion. Turn after every row unless instructed otherwise. The first ch-3 counts as a dc throughout.
Row 1 (RS): Ch 6. Sl st to first ch to form a ring. Ch 3, 2 dc in ring, ch 2, 3 dc in ring. Turn.
Row 2: Ch 3, dc in same st, ch 2, sk 1 dc, V-st in next dc, ch 2, work (2 dc, ch 2, 2 dc) in center ch-2 sp, ch 2, V-st in next dc, ch 2, sk 1 dc, 2 dc in last st. Turn.
Row 3: Ch 3, dc in same st, ch 3, sc in first ch-2 sp, ch 3, V-st in next ch-1 sp, ch 3, work (dc, ch 1, dc, ch 2, dc, ch 1, dc) in center ch-2 sp, ch 3; mirror across second half, ending ch 3, 2 dc in last st. Turn.
Row 4: Ch 3, dc in same st. Ch 2, 3-dc fan in next ch-3 sp, ch 2, sc in next ch-3 sp; rep to last V-st before center. Ch 2, V-st in that V-st, ch 2, work (2 dc, ch 2, 2 dc) in center sp. Mirror across second half. End 2 dc in last st. Turn.
Row 5: Ch 3, dc in same st. Ch 3, sc in center dc of next 3-dc fan, ch 3, V-st in next V-st or open ch-sp; rep to center. Work (V-st, ch 2, V-st) in center ch-2 sp. Mirror across second half. End 2 dc in last st. Turn.
Row 6: Ch 3, dc in same st. Ch 2, 3-dc fan in next ch-3 sp, ch 2, sc in next ch-3 sp; rep across, placing V-sts in established V-sts. At center work (2 dc, ch 2, 2 dc). Mirror. End 2 dc in last st. Turn.
Rows 7-18: Repeat the lace logic of Rows 5-6, maintaining the edge increases and the center ch-2 spine. Keep the fabric open and balanced by placing each fan into a chain space and each sc into the top of the fan below. Finish on a WS row.
At the end of Row 18, the yoke should measure about 22-25 cm / 8.5-10 inches deep after gentle stretching.
Sizing checkpoint: The top edge should sit comfortably from upper arm to upper arm without pulling. If you want more shoulder coverage, add 2-4 more lace rows before beginning the scales.
Part 2: Graduated Raised Scale Field
This is where the magic happens. The overlapping scales create that stunning texture.
Color order: pale apricot → apricot → pumpkin orange → deep coral. Work 2-3 tiers in each shade, or blend as desired.
Scale Tier A: Mesh Foundation
RS mesh row: Ch 4 (counts as dc + ch 1), dc in same st. Ch 2, sk next fan/sc group, V-st in next open space; rep to center. In center ch-2 sp work (V-st, ch 2, V-st). Mirror across the second half. End (dc, ch 1, dc) in last st. Turn.
WS stabilizing row: Ch 1, sc in first st. Ch 3, sc in next V-st ch-1 sp; rep to center. Work (sc, ch 3, sc) in center sp. Mirror. Turn.
Scale Tier B: Raised Fans
RS fan row: Ch 1, sc in first st. In next ch-3 sp work 7 tr, sc in next ch-3 sp; rep across to center. In center ch-3 sp work (5 tr, ch 2, 5 tr) to preserve the point. Mirror to opposite edge. Turn.
WS locking row: Ch 1. Sc in each sc; over each scale work ch 5 loosely behind the 7-tr fan and sc in the next valley. Do not crochet through the fan face. The loose back chain lets the scale lift away from the fabric, creating that dimensional effect.
Offset next tier: On the following mesh row, place the first V-st halfway between two scales rather than directly above a scale. This creates the overlapping shingle effect. Continue alternating aligned and offset tiers.
Suggested Tier Distribution:
