

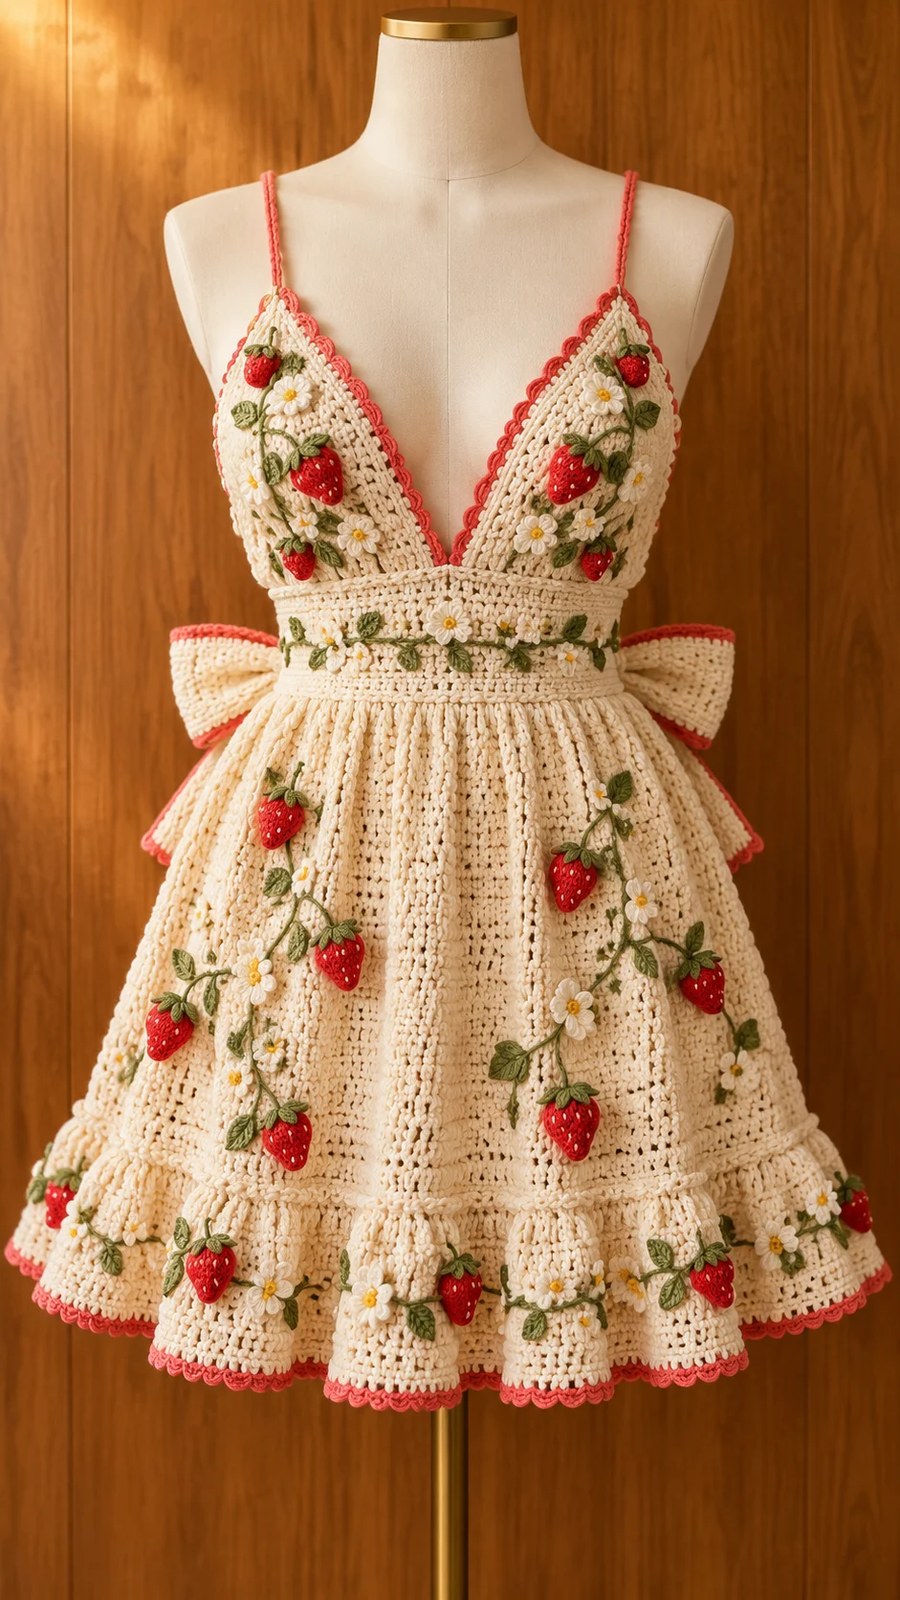
When I sat down to design this dress, I had a clear vision in my head. I wanted something that felt like summer in wearable form, with a fitted silhouette that actually flatters, delicate fruit motifs that pop without overwhelming, and that perfect balance between sweet and sophisticated. The triangular cup bodice, the gathered skirt with its flirty ruffle, the coral accents against creamy cotton, those tiny crocheted strawberries scattered like little jewels.
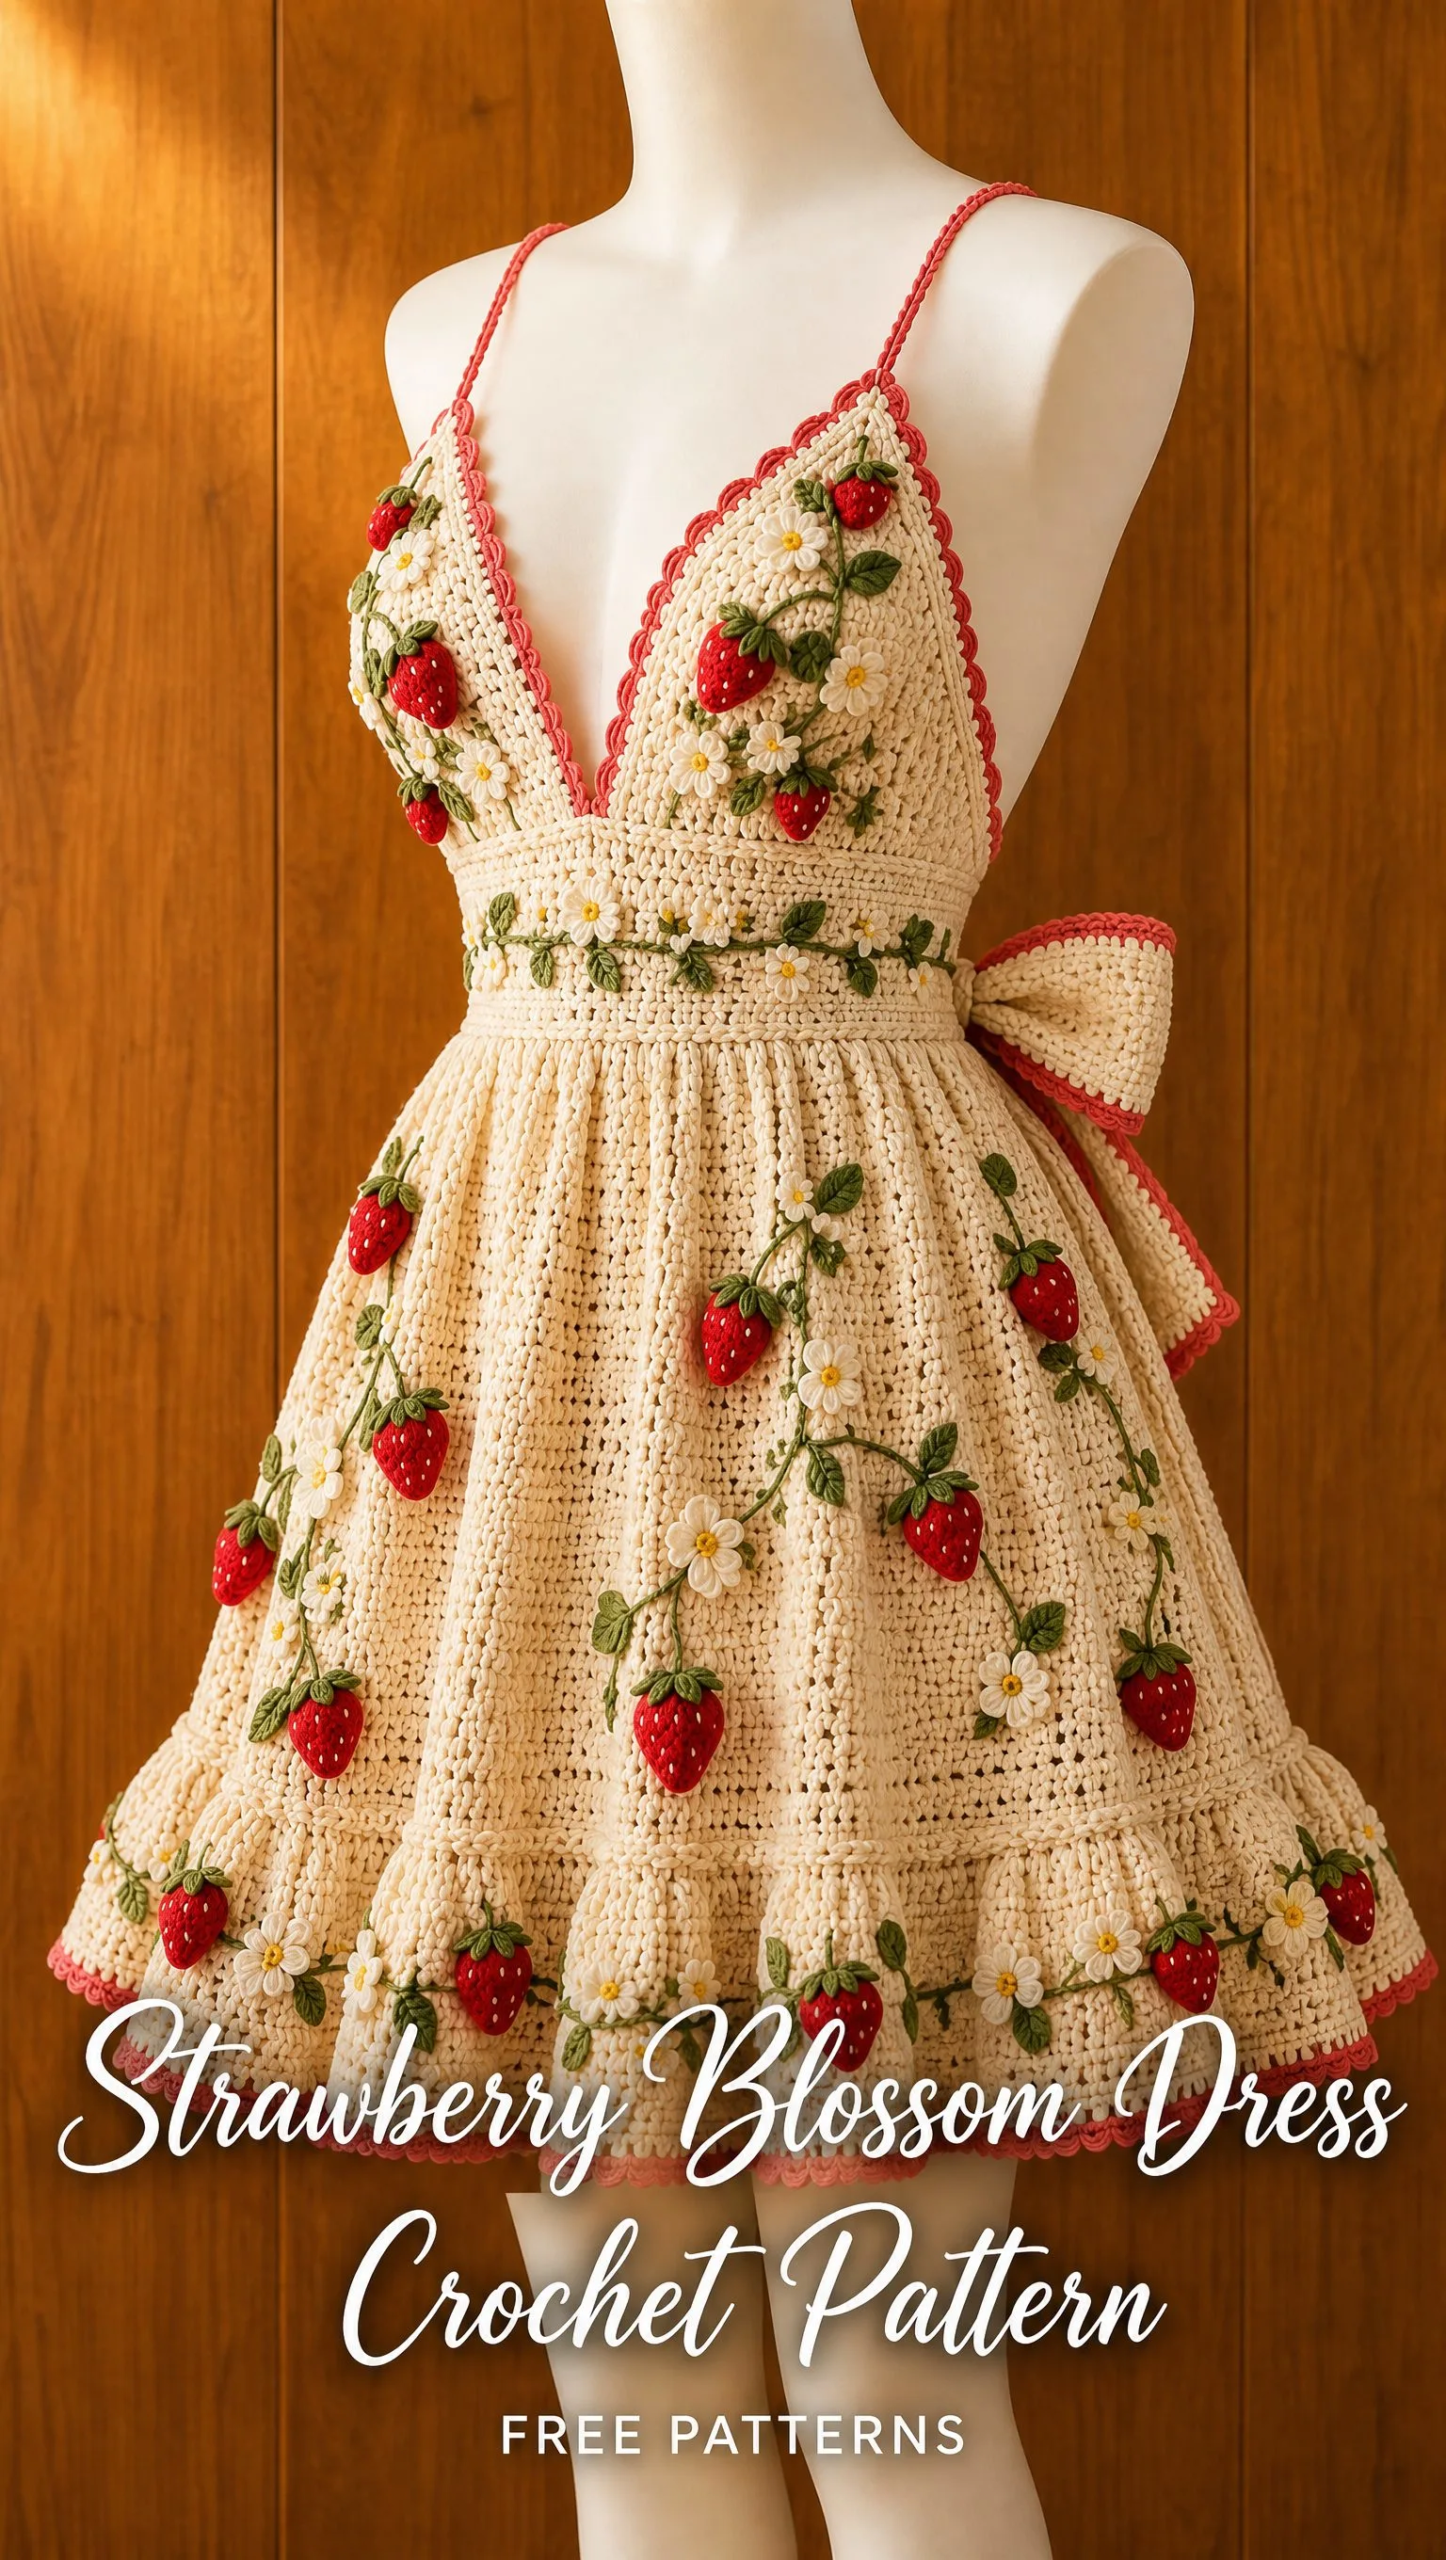
I spent hours tweaking the waistband height, adjusting the skirt fullness, and perfecting those applique placements. Every detail had to work together.
And honestly? I am SO pleased with how this turned out. This Strawberry Blossom Dress is exactly what I imagined, and I cannot wait to walk you through every single step.
About This Crochet Dress Pattern
This is an intermediate to advanced level project, but please do not let that scare you off if you are a confident beginner ready for a challenge. The construction is actually quite logical once you break it down. You will work the bodice cups separately, join them, add a fitted waistband, then build the gathered skirt with a sweet lower ruffle. The strawberry and blossom appliques are made individually and sewn on at the end.
The finished dress features a deep V neckline, coral spaghetti straps, a surface crocheted vine detail across the waist, and decorative bows at the sides. It is designed for handmade fashion photography or special occasions, though honestly, I think it would be perfect for a summer garden party or beach vacation too.
Skill Level: Intermediate to Advanced
Garment Type: Adult crochet sundress
Style: Fitted bodice, triangular cups, gathered skirt, floral fruit applique detailing
Materials You Will Need
Gathering your supplies before you start makes the whole process so much smoother. Here is everything you need for this strawberry dress crochet pattern:
Yarn:
Tools:
Cotton yarn is essential here. It gives the dress structure, keeps it breathable for warm weather, and holds those crisp stitch definitions you see in the finished piece. I recommend a quality mercerized cotton for the smoothest finish.
Gauge
Approximately 20 single crochet (sc) stitches x 22 rows = 10 cm square
Take the time to check your gauge before starting. You want a firm but flexible fabric. If your swatch is too loose, the dress will stretch and sag. Too tight, and it will not have any drape. Adjust your hook size up or down until you hit that sweet spot.
To make a gauge swatch, chain 24 and work 26 rows of single crochet. Block it lightly, then measure the center 10 cm both horizontally and vertically.
Stitch Abbreviations
Let me walk you through every stitch abbreviation you will encounter in this pattern:
Construction Overview
Understanding how this dress comes together will help you visualize the process. The Strawberry Blossom Dress is made in sections:
1. Bodice cups, worked flat as triangles
2. Waistband, worked in the round
3. Gathered skirt, worked in the round with increases
4. Lower ruffle, added at the hem
5. Appliques, made separately and attached
6. Finishing details, including straps, bows, and blocking
You will start from the top and work your way down, adding the decorative elements last.
Bodice Pattern
Left and Right Triangle Cups
You will make two identical cups. Here is how to crochet each one:
Foundation: Chain 18 using your cream yarn.
Row 1: Single crochet (sc) across the chain. You should have 17 sc, not counting the turning chain.
Row 2: Chain 1, turn. Increase one stitch at each edge by working 2 sc in the first stitch and 2 sc in the last stitch.
Repeat increase rows until the cup reaches your desired bust coverage. The number of rows will depend on your size, but you are building a clean triangular shape. Keep your single crochet stitches compact and even throughout.
Once each cup reaches the right size, switch to your coral yarn and work a scalloped border around the entire edge of each cup. This creates that pretty coral trim you see in the finished dress.
Joining the Cups
Now you will connect your two triangles:
1. Place the cups with the V neckline centered, points meeting in the middle
2. Using your cream yarn, single crochet (sc) across the joining edge
3. Reinforce the center point with extra stitches to make sure it holds securely
This creates the signature deep V neckline of the bodice.
Straps
The straps are simple but important for fit:
1. Attach coral yarn at the outer corner of each cup
2. Chain until the strap reaches your shoulder placement, measuring as you go for accurate length
3. Single crochet (sc) back along the chain to create a solid strap
4. Sew securely to the back bodice
Make sure both straps are equal length. Nothing ruins a cute dress faster than uneven straps!
Waistband
The waistband creates structure and definition at the natural waist:
1. Work rounds of compact single crochet (sc) around the torso in cream yarn
2. Create an opaque fitted band approximately 8 to 10 cm tall
3. Keep your stitches tight and even for a smooth appearance
Once your waistband is complete, add a surface crochet green vine across the front. Surface crochet means you are working slip stitches on top of your finished fabric, creating a raised line that looks like a trailing vine. This is where some of your blossoms will attach later.
Skirt Pattern
The gathered skirt is where this dress really comes to life. That beautiful fullness and movement happens through strategic increases.
Attach yarn below the waistband.
Round 1: Increase evenly around the waist edge. This initial increase round creates the foundation for the gathered look.
