

740 shares
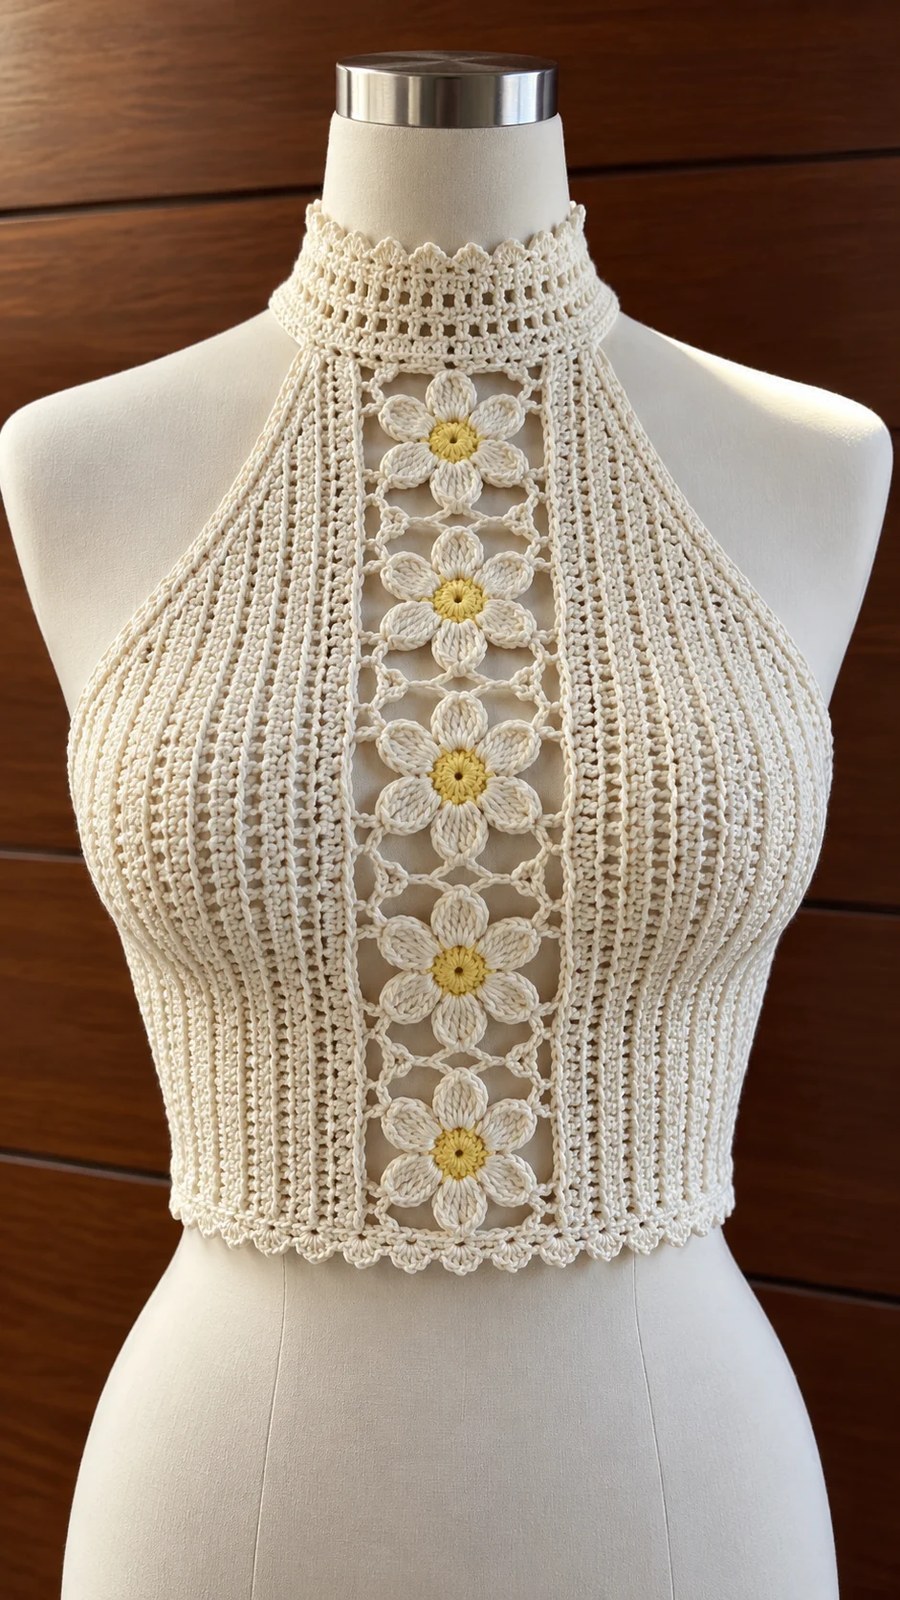
Crochet garments look intimidating. I hear it all the time. “I could never make something that fitted” or “Joining motifs sounds way too complicated for me.” Here’s the truth: if you can work a half double crochet and follow a simple flower pattern, you can absolutely make this stunning halter top. The construction breaks down into manageable pieces that you work separately and then join together. No complicated shaping worked all at once. No confusing circular yoke math.
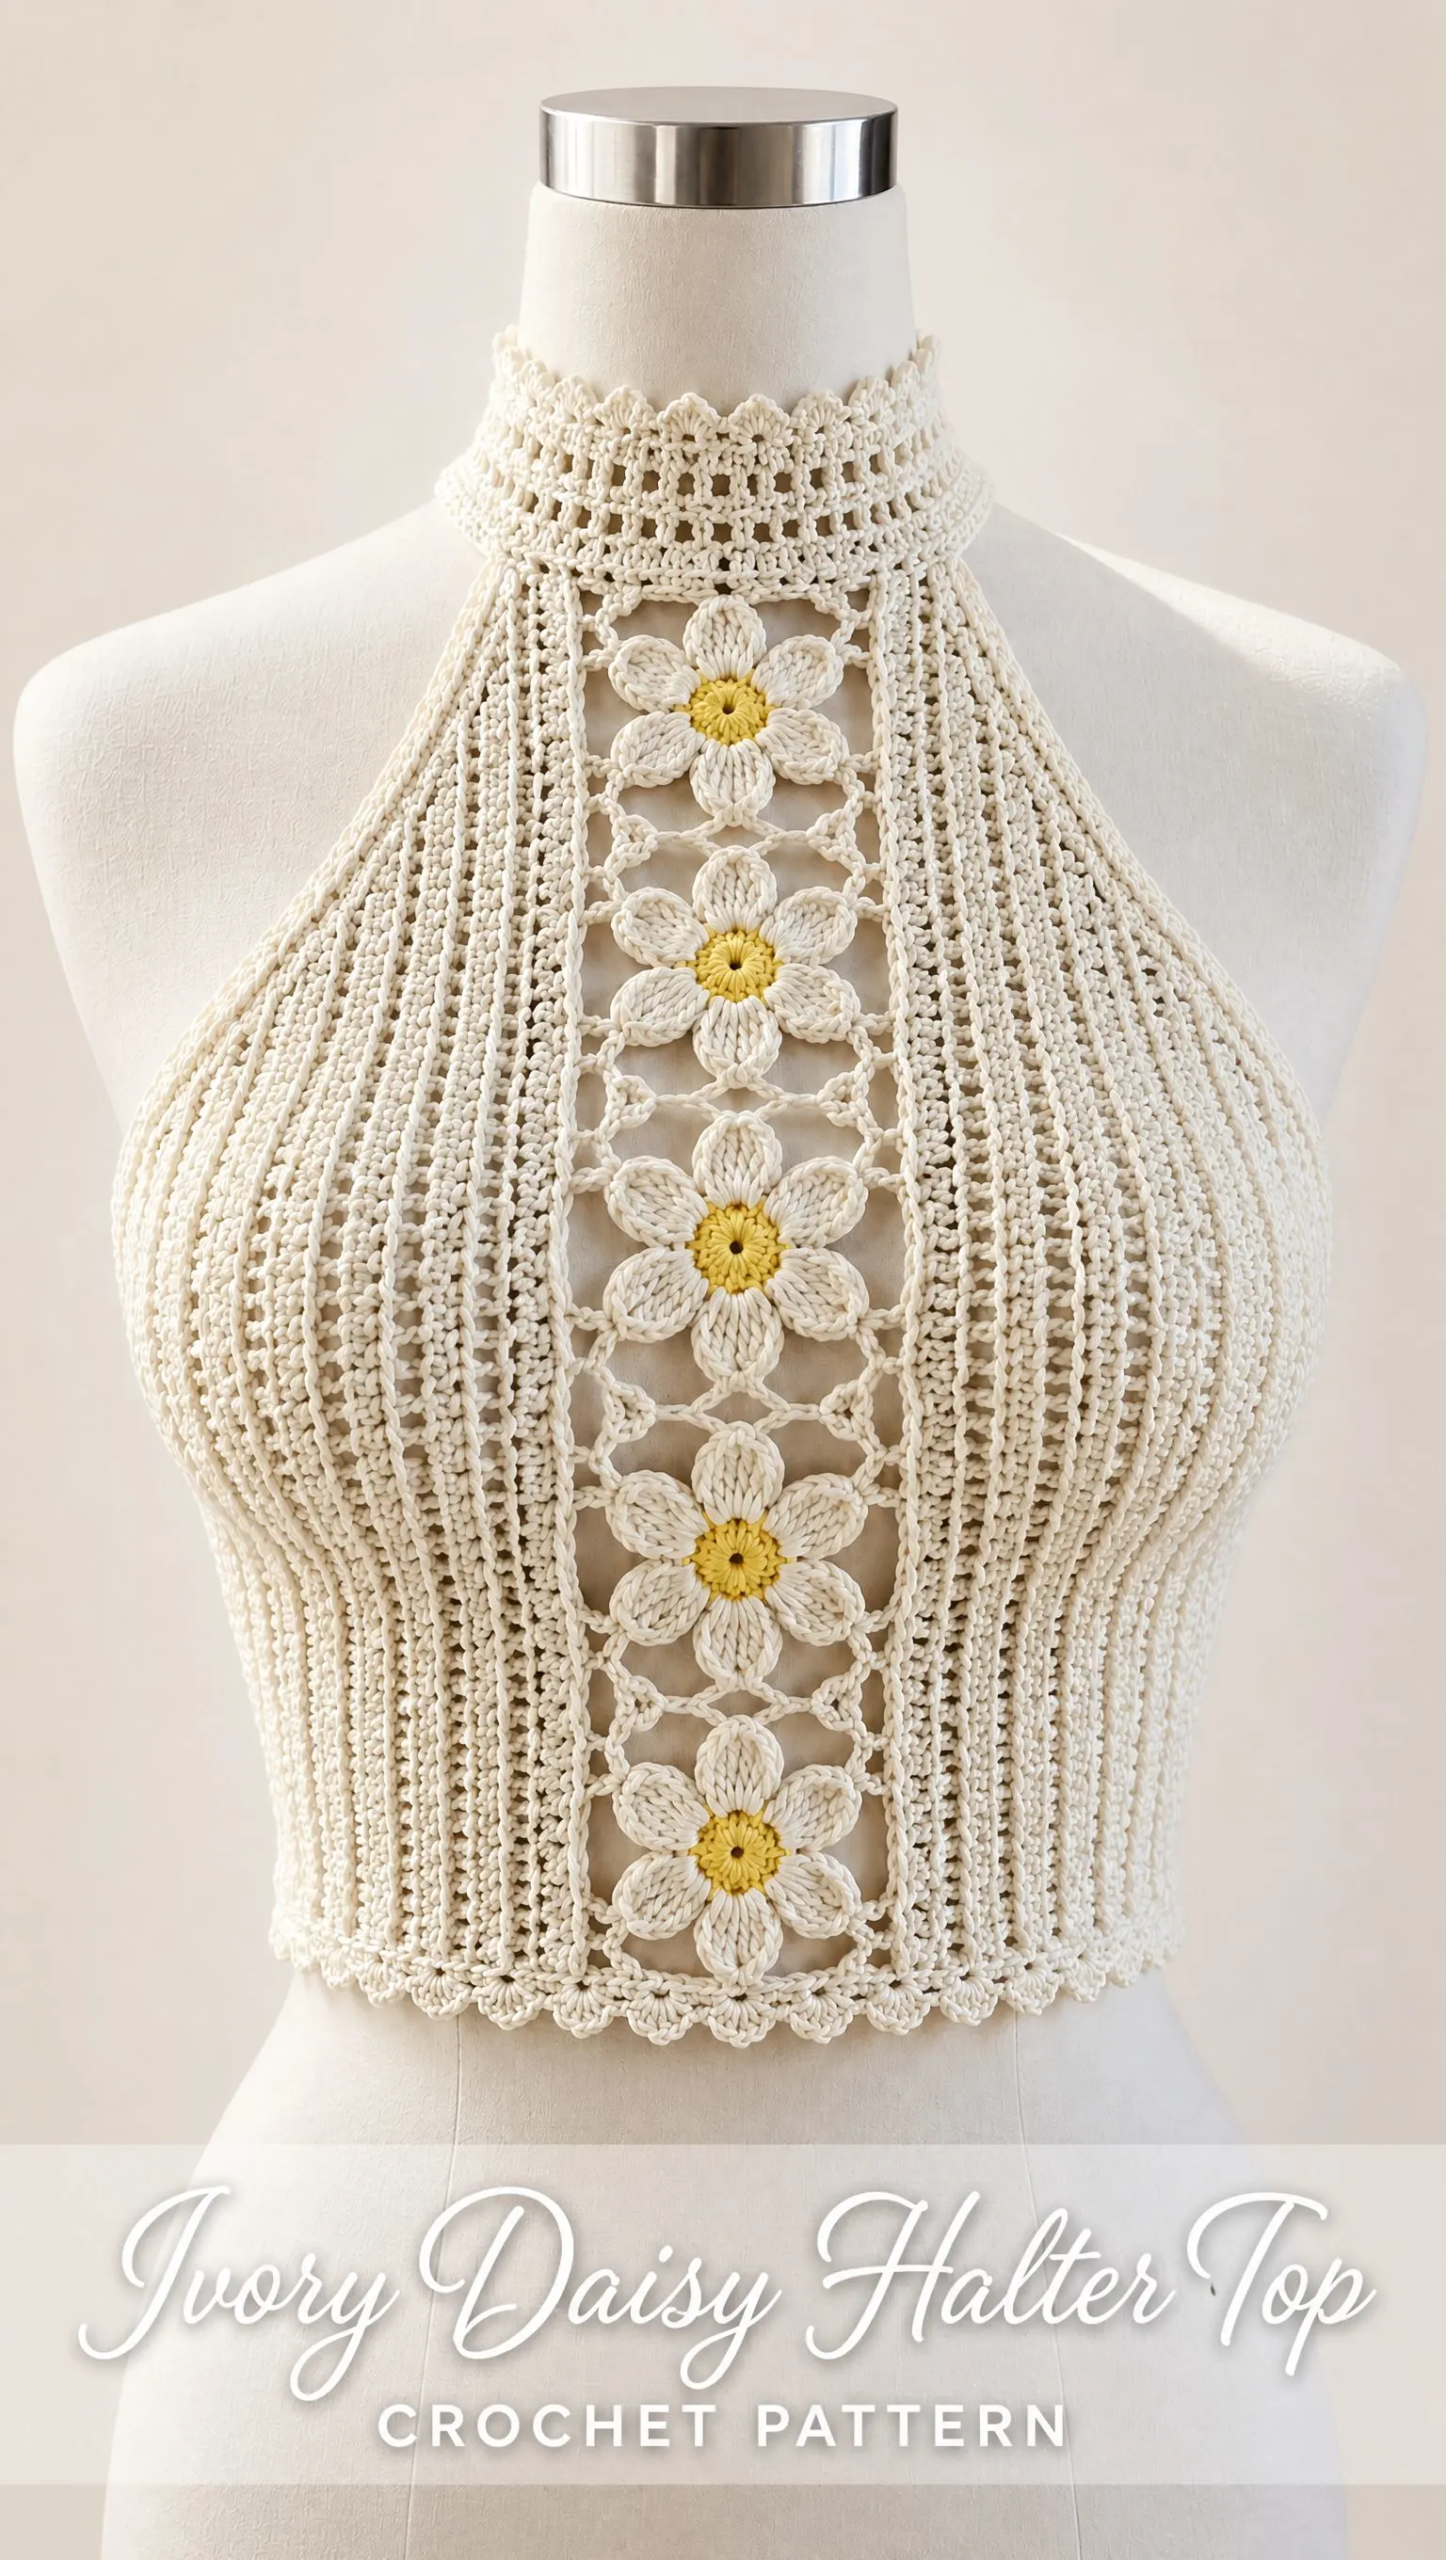
This Ivory Daisy Halter Top looks like something you’d find in a boutique window, but the techniques are surprisingly approachable. You’ll make flat ribbed panels, simple six-petal daisies, and then connect everything with basic single crochet joins. Each step builds on skills you likely already have.
Whether you’re an intermediate crocheter ready to try your first garment or someone who’s made tops before and wants a fresh summery project, this pattern meets you where you are. I’ll walk you through every section with clear explanations, stitch counts, and tips for getting that professional finish.
About This Pattern
This fitted ivory cotton halter crop top features vertical half double crochet (hdc) ribbing on the side panels, a tall lace neck collar, and a central openwork panel made from linked six-petal daisy medallions. The design is lightweight, structured, and elegant with a vintage floral-inspired finish that’s perfect for warm weather layering.
The top is constructed in three main sections: left and right ribbed side panels, a central daisy lace strip, and a neck collar with finishing edges. This modular approach means you can work on pieces separately and check your progress as you go.
Skill Level
This pattern is rated Intermediate.
Skills required include working in rows, increasing and decreasing, creating lace spaces, joining motifs, shaping garments, and clean edging techniques. If you’ve never shaped a garment before, don’t worry. The bust shaping here is gradual and straightforward, with decreases spaced every few rows to create a natural curve.
Finished Sizes
This pattern includes four women’s adult sizes:
Finished length measures approximately 15-16 inches (38-41 cm) from neck to hem.
Materials You’ll Need
Yarn:
Tools:
Cotton yarn is essential for this project. It provides the structure needed for a fitted garment and blocks beautifully to open up those lace spaces. The butter yellow is just for the daisy centers, so you only need a small amount.
Gauge
20 half double crochet stitches x 14 rows = 4 x 4 inches (10 x 10 cm)
Gauge matters for garments! Take time to make a swatch before starting. If your swatch is too small, go up a hook size. If it’s too large, go down a hook size. Your finished top will fit much better if you match gauge.
Abbreviations
Before we dive into the pattern, let’s define all the stitches and terms you’ll encounter:
Construction Notes
Understanding how this top comes together will help you visualize your progress. The top is made in three sections:
1. Left and right ribbed side panels
2. Central daisy lace strip
3. Neck collar and finishing edges
You’ll work the side panels first, then create and connect your daisy motifs, join everything together, and finish with the collar and edging details.
Step-by-Step Pattern Instructions
Section 1: Side Ribbed Panels
Make two identical panels.
Foundation:
Ch 42.
Row 1:
Hdc in second chain from hook and across. Turn. (41 sts)
Row 2:
Ch 1, hdc in each stitch across working in the back loop only. Turn.
Repeat Row 2 until the panel measures approximately 7 inches (18 cm).
Working in the back loop only creates that beautiful vertical ribbing texture you see in the finished top. This technique makes the fabric stretchy horizontally, which helps the top hug your curves comfortably.
Shape the Bust:
Decrease one stitch at each outer edge every 3 rows until the upper halter shaping is achieved. Continue until the panel follows the bust curve.
To decrease, simply skip the first stitch after your turning chain and stop one stitch before the end of the row. This gradual shaping creates the fitted silhouette.
Repeat for the second panel. Make sure both panels match in size and row count before moving on.
Section 2: Daisy Motifs
Make 5 six-petal daisies.
These sweet flowers are the star of the show! Each one starts with a butter yellow center and finishes with ivory petals.
Flower Center:
Using butter yellow yarn:
Create a magic ring (also called a magic circle or adjustable ring).
Round 1:
Work 6 sc into ring. Join with sl st to first sc. (6 sts)
Round 2:
Work 2 sc in each stitch around. Join with sl st. (12 sts)
Petals:
Fasten off butter yellow and attach ivory yarn.
For each petal:
